Free 186 More Best Homemade Tools eBook:  
Get tool plans

User Tag List

Results 1 to 3 of 3

Thread: Using hole saw drilling guides

  1. #1
    Supporting Member astroracer's Avatar
    Join Date
    May 2012
    Location
    Byron, Michigan
    Posts
    311
    Thanks
    20
    Thanked 574 Times in 174 Posts

    astroracer's Tools

    Using hole saw drilling guides

    I posted these up a while back but thought I would show them in use during a new console build for my '56 Chevy Wagon. http://www.homemadetools.net/forum/s...-6188#post7430
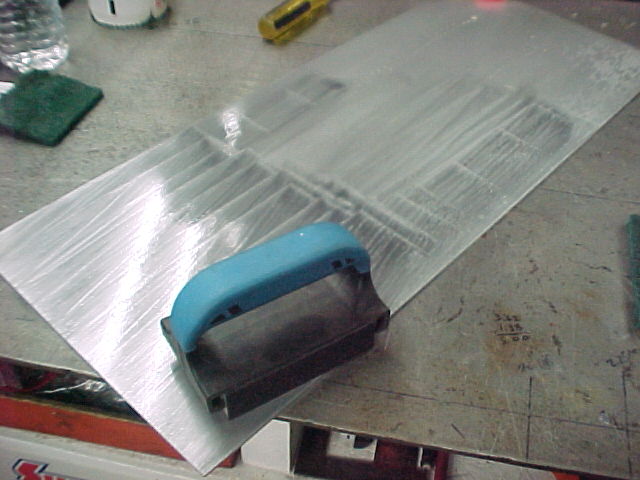
    I am building the console top out of .090 thk aluminum sheet. I developed patterns using foam core board and, after I got the top chunked out on the shear, I used some ScotchBrite and a sanding sponge to make it satin.

    All cleaned up and ready for the work to begin.

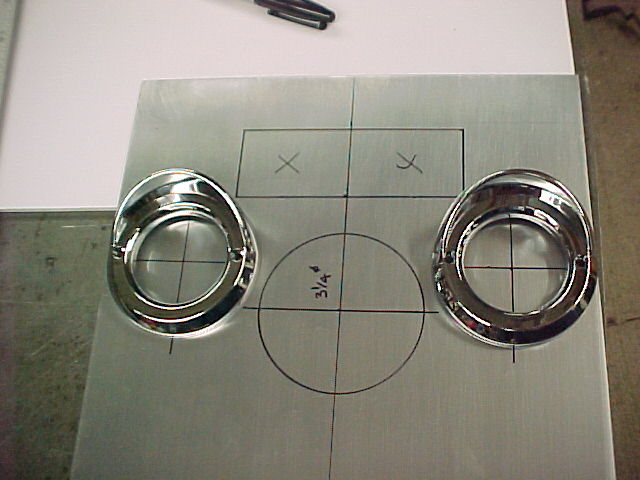
    I laid out the gauge and A/C holes and got to work cutting out the gauge holes.

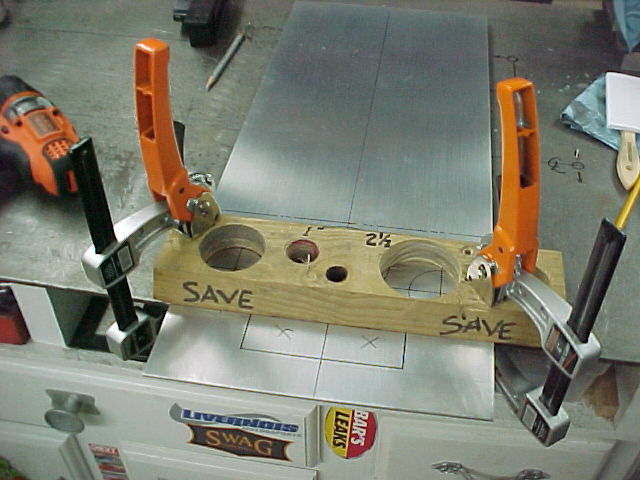
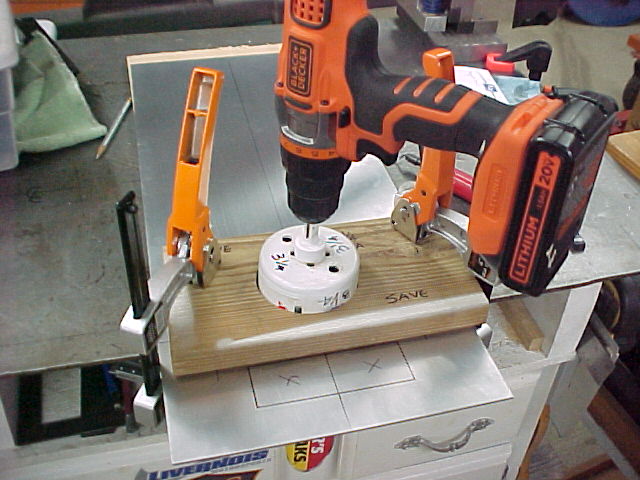
    I used regular hole saws to cut the three holes. Two 2" holes and 1 3 1/4" hole. I also have these "fixtures" I made to make clean cuts with the hole saws. These guide and control the saw well enough that they make nice clean holes very easily.

    I see people are asking for plans but these are something you just make on the fly. No plans needed. Cutting an initial hole in a piece of wood, with the saw you want to use, gives you a perfect guide to make clean holes. As you can see I have multiple holes cut into numerous boards. I have a whole selection of these now and rarely need to cut a new one.
    Mark

    186 More Best Homemade Tools eBook
    Last edited by astroracer; Mar 23, 2016 at 10:49 AM.

  2. #2
    Supporting Member astroracer's Avatar
    Join Date
    May 2012
    Location
    Byron, Michigan
    Posts
    311
    Thanks
    20
    Thanked 574 Times in 174 Posts

    astroracer's Tools

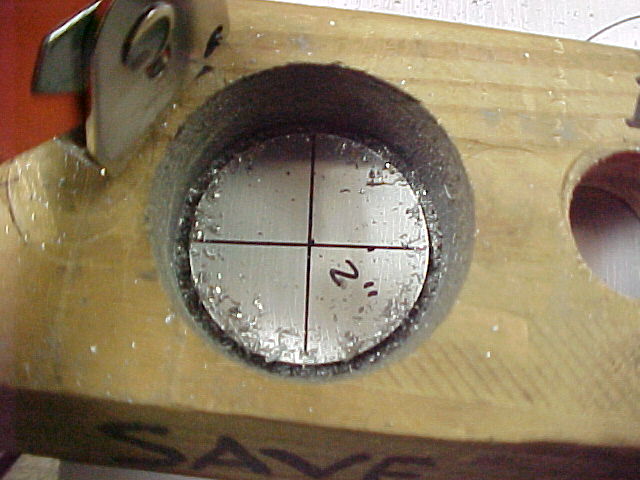
    Cutting the actual hole took about 2 minutes or so. I put very little pressure on the drill as it is cutting. Keeps the saw from grabbing and tearing the aluminum.

    Cutting the big guy. This went just as easy as the two smaller holes.

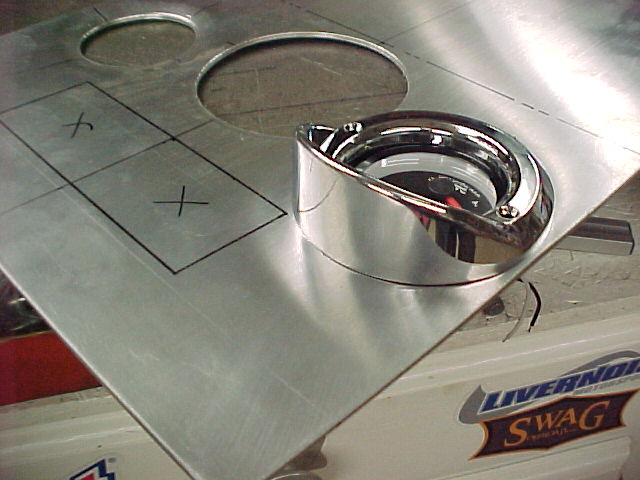
    All of the holes are cut and deburred and test fitting the gauges finds a couple of issues...
    In this pic you can see how the gauge cover fits nice and tight to the aluminum.

    2,000+ Tool Plans

  3. #3
    Supporting Member astroracer's Avatar
    Join Date
    May 2012
    Location
    Byron, Michigan
    Posts
    311
    Thanks
    20
    Thanked 574 Times in 174 Posts

    astroracer's Tools
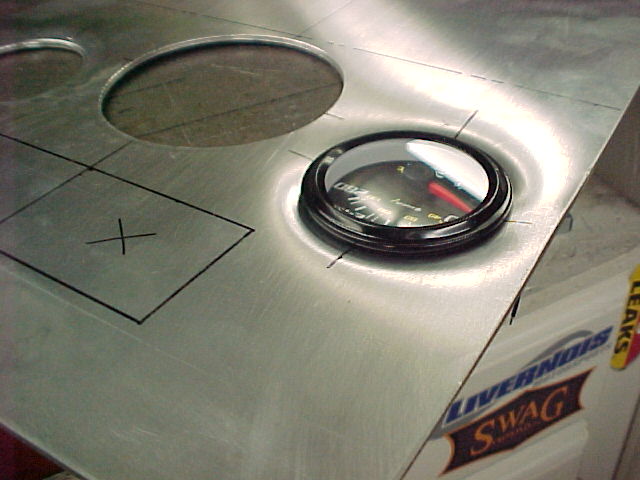
    Well... to get it to sit nice and flush I had to use a dimple die to set the actual gauge a bit below the surface. The covers don't quite fit the gauges so they were a bit proud of the surface before the dimpling.

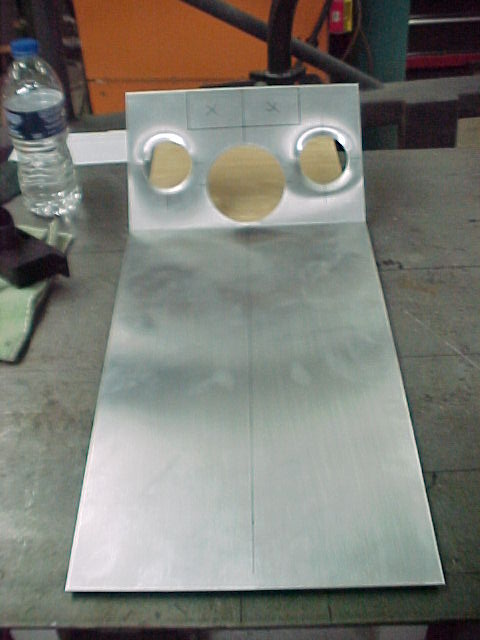
    With everything mocked up.

    I got the top flange and bottom kick outs bent up and ran out of steam.


    Tomorrow I'll get the A/C and shifter holes cut out and get the top plate bolted into the car. THEN I can finish the side patterns.
    Mark


    2,000+ Tool Plans

  4. The Following 3 Users Say Thank You to astroracer For This Useful Post:

    Jon (Mar 20, 2016), kbalch (Mar 20, 2016), PJs (Mar 24, 2016)

Thread Information

Users Browsing this Thread

There are currently 1 users browsing this thread. (0 members and 1 guests)

Bookmarks

Posting Permissions

  • You may not post new threads
  • You may not post replies
  • You may not post attachments
  • You may not edit your posts
  •