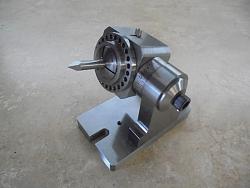
This tool was designed and made by me to facilitate in the holding of small to medium size parts to be machined or ground which require angular and simple indexing or both, such as multi flute milling cutters, square and hex punches just to name a few.
Most of the posts that I have submitted are dealing with holding fixtures of some sort, it seems as though we’re always looking for a different or easier way to hold something that’s to be machined at angles, needing divisions or both, something small enough to setup in just a couple of minutes, something versatile, something ridged and accurate, something that makes time consuming setups quick and easy.
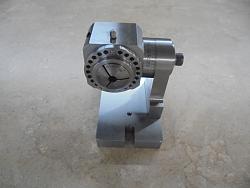
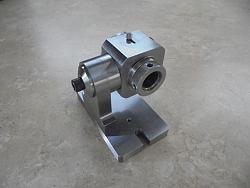
The unit utilizes 5C collets with a 24 hole division ring incorporated on the spindle which gives the divisions of 2-3-4-6-8-12-24, the unit will tilt from vertical to the left 100°or to the right 100°, it has a spring loaded indexing plunger in the housing and a spindle lock screw with a brass seat, the base of the unit has a .625” slot milled on the bottom to accompany a key for locating itself onto the milling machine table, this key can be removed and the unit will sit on the magnetic chuck of a surface grinder or in a milling machine vise, if additional left and right angles are needed that are not achievable from the unit it can be held in the milling machine vise with a swivel base, or can be installed on the magnetic chuck of a surface grinder with the appropriate angle plate between the edge of the base and the back rail on the magnetic chuck.
The entire tool was constructed from 4140 steel, although most any steel would be fine, 4140 is just my choice of steel, I make all my tooling and fixtures from this steel and hardened when necessary or purchase PreHardened.
All surfaces were ground flat, parallel and square with each other, the Base, Column and Housing were assembled with socket head cap screws and carefully aligned,
The graduated dial was engraved and stamped using a Machine Tool Dial Making Fixture which I designed and built, this fixture is posted in homemadetools.net as well.
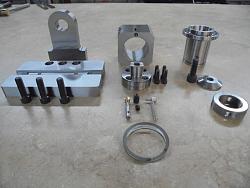
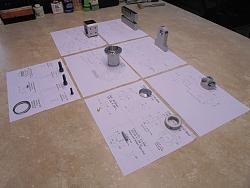
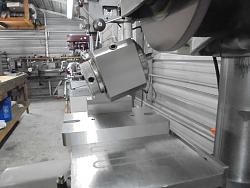
In the photos below you will see all the parts ready to be assembled and some of the machining steps, also there a couple photos of a simple square tapered punch being machined and ground using this tool.
As always thanks for looking
And happy machining
Doug
Completed Parts
Assembled
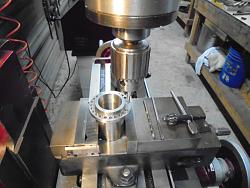
Drilling and Reaming the 24 holes
Scribing a line horizontally to coincide with the graduations to be stamped
All parts and drawings
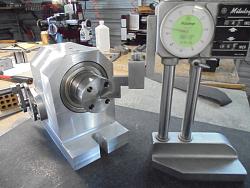
Side View
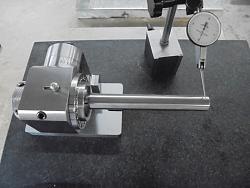
Aligning the spindle horizontally
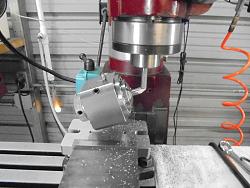
Machining a 4 sided tapered punch
For Demonstration Purposes
Grinding the 4 sided tapered punch
For Demonstration Purposes
A finished ground punch


 LinkBack URL
 About LinkBacks



 Reply With Quote

Bookmarks