Taper turning in the manual lathe is a pretty straight forward process; there are basically 3 ways to do it using the Lathes own features, #1- moving the tail stock off center, #2- with a taper turning attachment, #3- with the compound.
My lathe does not have a taper turning attachment and I don’t particularly care moving the tailstock off center due to the lengthy process of realigning, all the angles I machine are done with the compound, luckily enough the compound on my major Lathe has enough travel to cut a #3 Morse Taper without having to reposition the cutting tool.
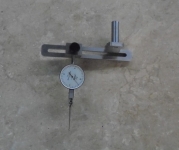
With all that said it is still a process of setting the compound to cut a precise angle such as the Morse Taper, I usually do this by using a well known manufactured tool with a ground Morse Taper Shank, with the manufactured shank mounted between centers in the lathe and a dial indicator mounted on the compound I then run the compound back and forth on the taper until I zero it out.
I have used Milling Machine boring heads with a #3 MorseTaper shank mounted in the tailstock of the lathe with a dead center mounted where the boring bar would normally go, the Boring Head will give you a much finer off set adjustment especially when you’re trying to get acouple of thousands of an inch out of a taper.
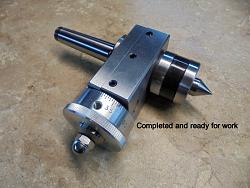
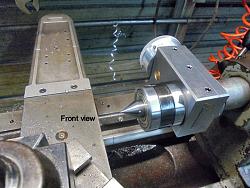
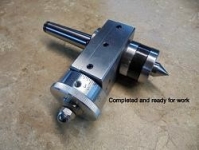
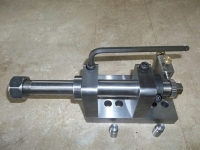
So by using the same principle as the Boring Head I came up with this dedicated tool that I call the Tail Stock Taper Turning Attachment.
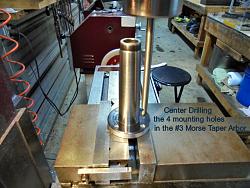
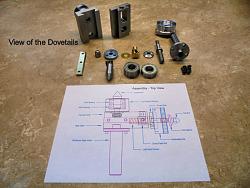
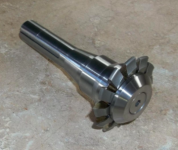
This tool consists of a Male and Female Dovetail Slide, It has a Live Center fixed to the Female Slide and a #3 Morse Taper Shank fixed to the Male Slide, I had a new #3 Morse Taper Shank with 1.500”-18 threads which was originally designed for a Milling Machine Boring Head that I modified and fixed to the Male Slide, the offset of the Live Center is adjustable by means of a left hand screw and a Graduated Dial that has one hundred .0005” increments engraved on the circumference for precise adjustments, the unit has an off center movement of 11/16” which will cover most any taper I desire.
This tool can be set to cut any angle, just indicate the live center in with the headstock of the lathe then set the graduated dial to zero, with some simple math you can then move the center over the amount require to cut the angle you want.
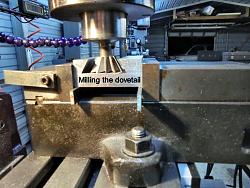
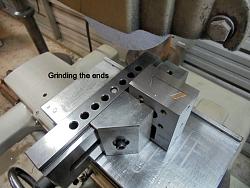
Everything pictured in this post was made from brass, aluminum and alloy steels, I have included multiple photos of the machining processes, a couple videos of the graduated dial being engraved and numerals being stamped, along with a video of the completed tool being used, I am not an actor nor a narrator so excuse my repeated words and or my fumbling for words in the videos.
Captainleeward made a tool similar to this one back inDecember; I made a comment in his post that I was in the process of making something similar to his at the same time.
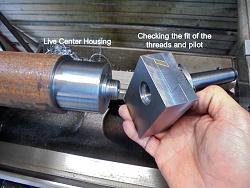
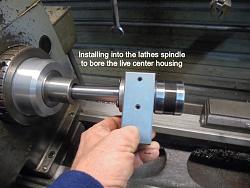
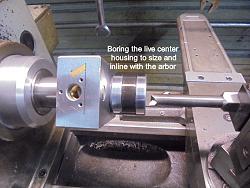
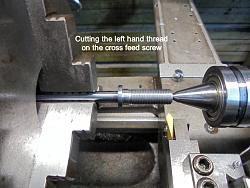
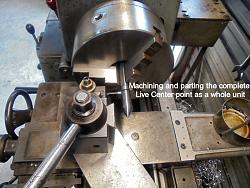
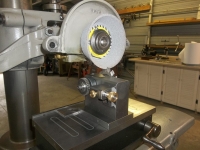
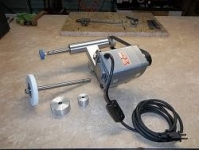
Below are some photos of the machining processes and three videos of the tool being made and operated.
As always Thanks For Looking and Happy Machining
Doug
<span style="font-family: Calibri"><font size="3"><font color="#000000">
<span style="font-family: Calibri"><font size="3"><font color="#000000">
<span style="font-family: Calibri"><font size="3"><font color="#000000">


 LinkBack URL
 About LinkBacks






 Reply With Quote












Bookmarks