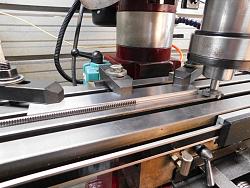
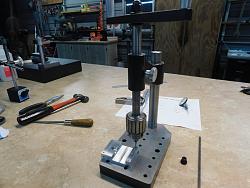
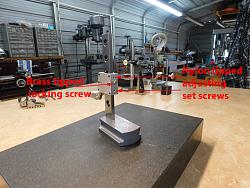
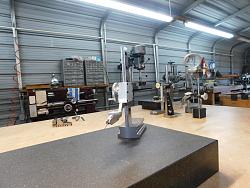
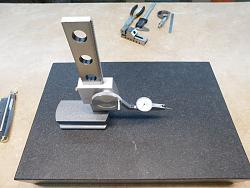
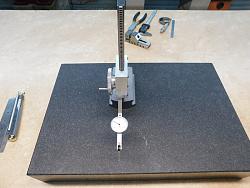
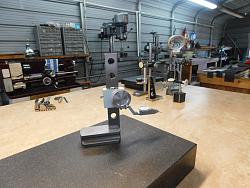
I built this Surface Gage to take the place of a Surface Gage that I was using and had been using for years, Surface Gages have to many joints but are accentual for certain adjustments and depending upon where youre using it, this Gage doesnt need those movements, I like to have dedicated tools for the sole purpose for what Im using it for, I dont like changing tools over to another tool and so on, I wanted something that was rigid with a heavy base that just goes up and down, this tool looks and works like a height gage, the only thing different between this tool and a height gage is it carries a dial test indicator up and down a column instead of a measuring head, this tool works great for paralleling something quickly in the mill vise, surface plate Etc, it can also be used as a comparator, it has a vertical travel of 8 which will get me within any measuring range Ill be doing , the head is elevated and lowered by a crank handle that turns a 32 pitch 10 tooth pinion gear running against a 32 pitch rack gear.
I have two height gages a (6 & 12) either one of those tools would have worked just as good as the tool I made, but I didnt want to go through the agony and painstaking work of removing their carbide scribes only to replace the scribes with a dial indicator, besides that I need something to do and stay busy.
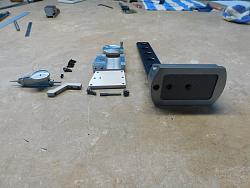
The base is made from 1 ¼ X 2 ½1018 Steel; the column is made from 3/8 X 1 ¼ 4140 Steel, the head is made from 7075 Aluminum, the indicator arm is made from 303 Stainless Steel, the revolving handle is made from 2 round 6061 Aluminum, the column is attached to the base by two 3/16 dowel pins and two #10 socket head cap screws, the base and column were precision ground square on all sides before assembly, I now have enough gages with dedicated dial indicators to check anything for square, parallel without having to change any tool.
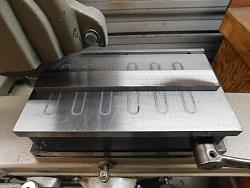
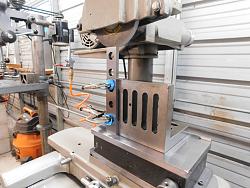
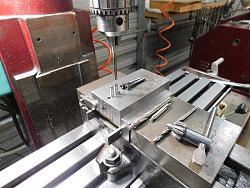
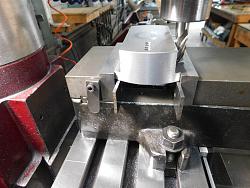
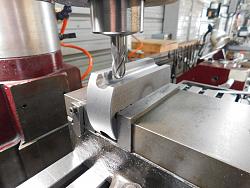
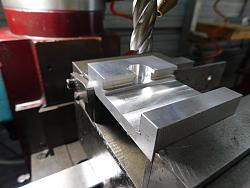
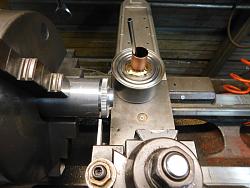
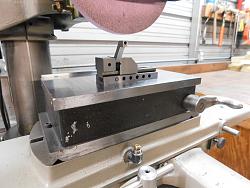
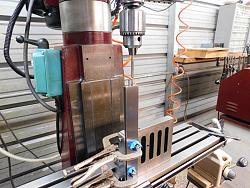
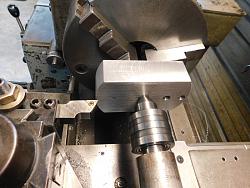
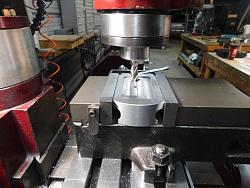
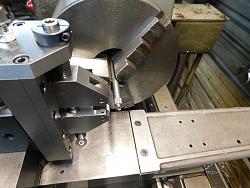
I have included multiple photos of the machining processes it took to make this tool.
As always thanks for looking and happy machining
Doug


 LinkBack URL
 About LinkBacks



 Reply With Quote


Bookmarks