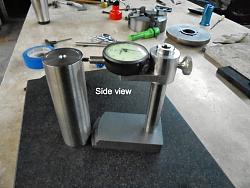
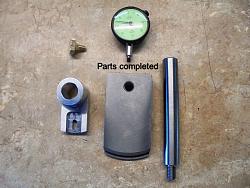
I built this dedicated Squarness Comparator (squarness checker) to take the place of a surface gage that I normally would convert over to a squarness comparator for checking something after grinding, having a tool that is made for a certain application speeds up the machining process, no more fumbling around with a surface gage a hand full of yokes and a dial indicator, this tool is dedicated for this purpose and will never be altered.
This tool will check the squarness of something from 1 ½ to 6 in height, the same height as my cylinder square, for those of you that dont know what a cylinder square is, it is one of the masters of squares.
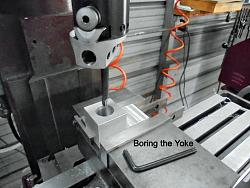
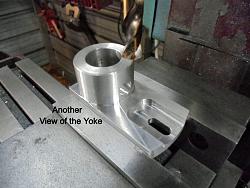
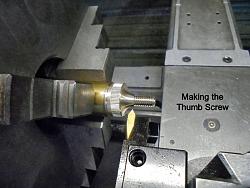
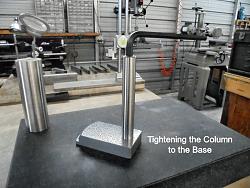
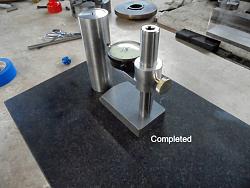
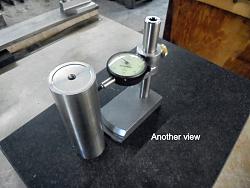
The Comparator has a 7/8 thick cast iron base, a 7/8 round TG&P 303 Stainless steel column, an aluminum yoke with a brass thumb screw and a used but not abused .0005 graduated Federal dial indicator with .125travel.
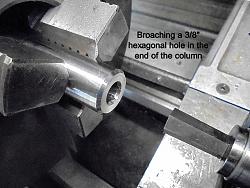
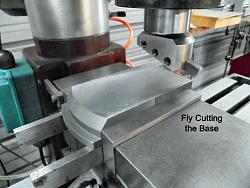
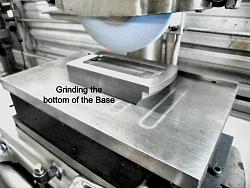
The base has been fine ground on the bottom (will be lapped later on) with a milled out pocket to reduce friction on the surface plate, there is also a machined radius (not hand ground) on the nose of the base for rotating to find the high point with the dial indicator, the column has a 3/8 hexagonal hole broached in the upper end for tightening, I have included multiple photos of the machining and grinding processes it took to manufacture this tool.
As always thanks for looking and happy machining.
Doug


 LinkBack URL
 About LinkBacks



 Reply With Quote


Bookmarks