Free 186 More Best Homemade Tools eBook:  
Get tool plans

User Tag List

Page 1 of 2 1 2 LastLast
Results 1 to 10 of 12

Thread: Some garage made art projects/gifts

  1. #1
    Supporting Member jere's Avatar
    Join Date
    Feb 2015
    Posts
    200
    Thanks
    183
    Thanked 117 Times in 69 Posts

    jere's Tools

    Some garage made art projects/gifts


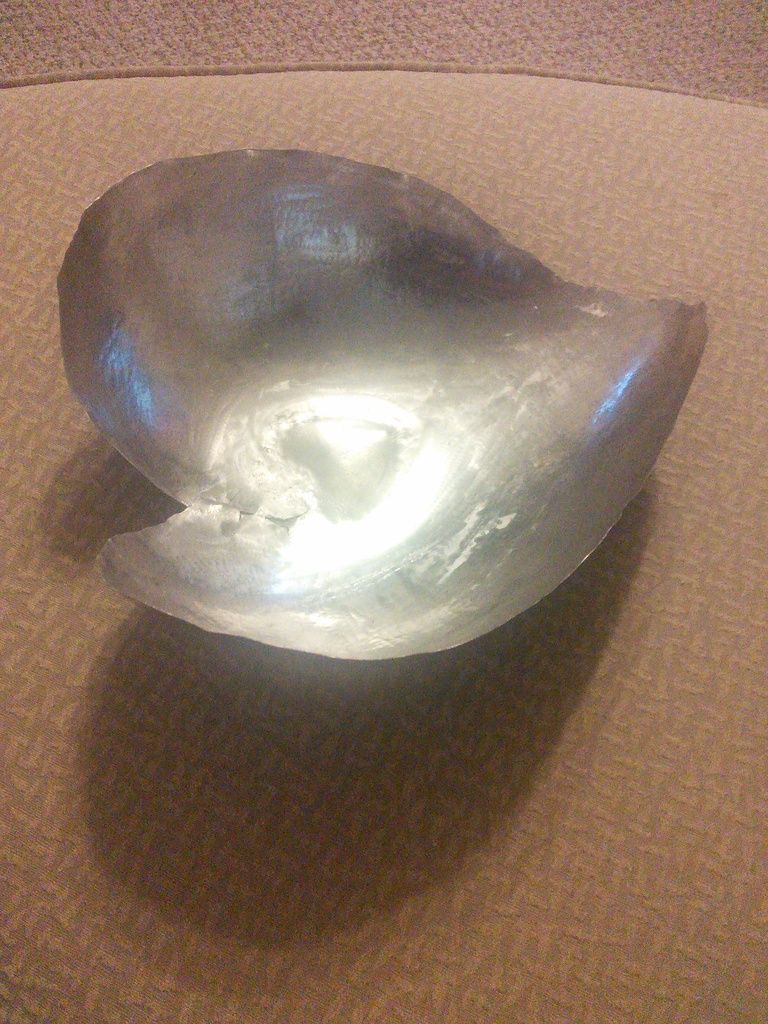
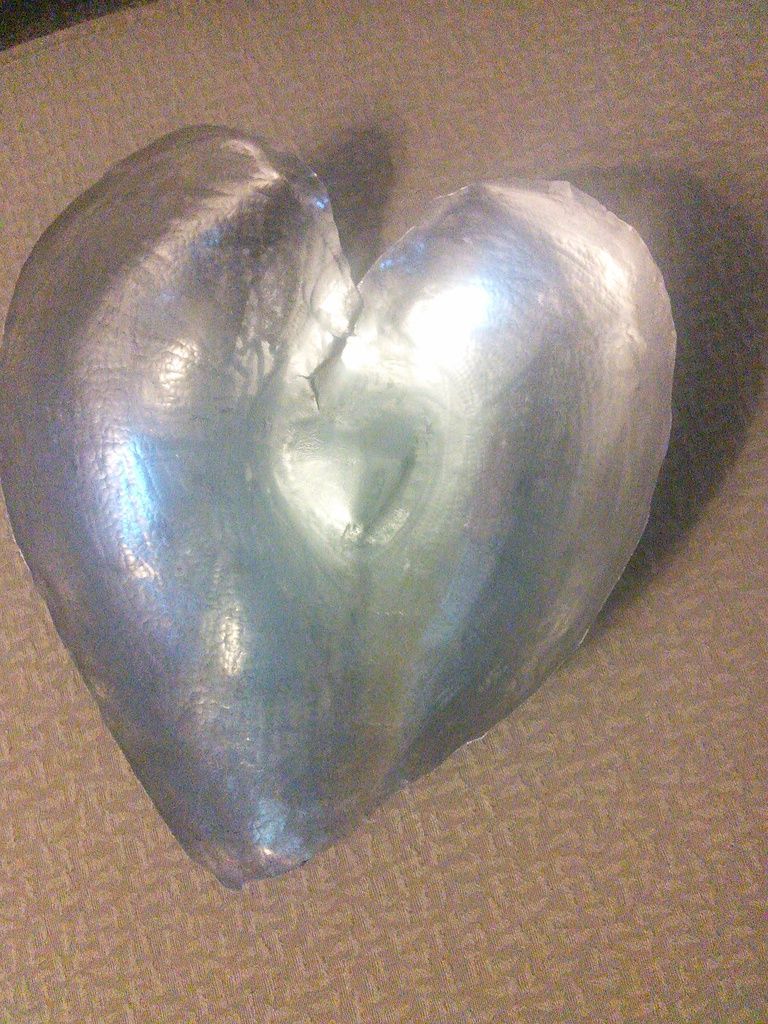
    Valentines bowl for the wife made from an aluminum car wash sign. I over worked the metal to get it to tear for the broken heart and to get all the small hammer blows to show up.. No real meaning just for fun and practice.


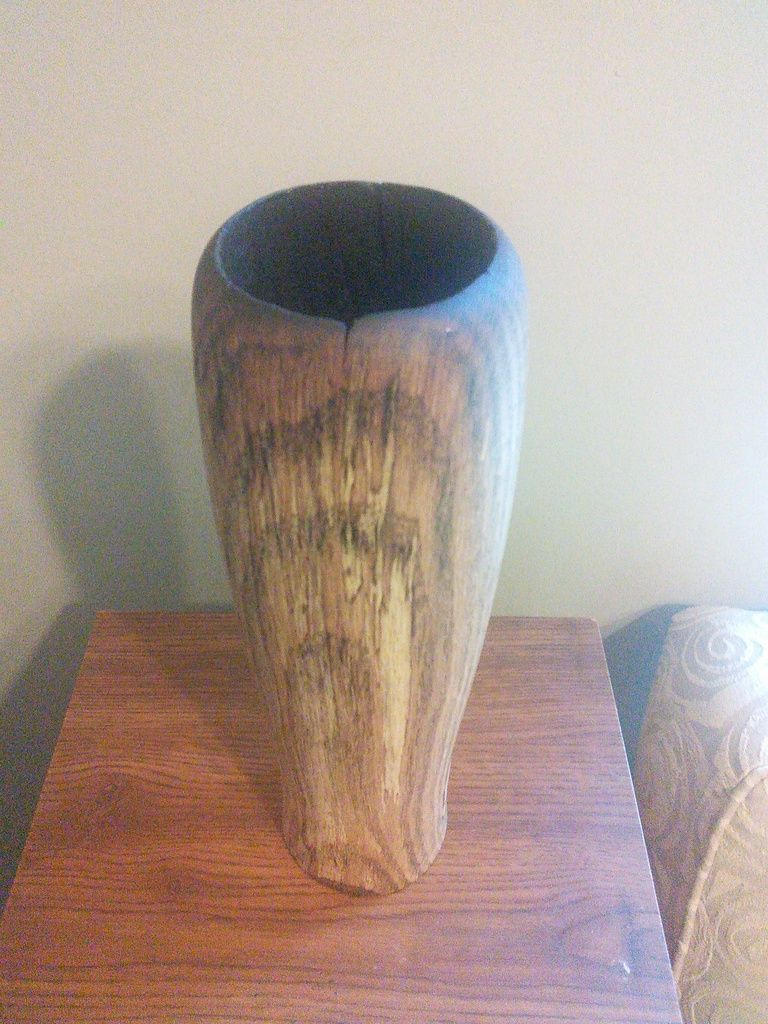
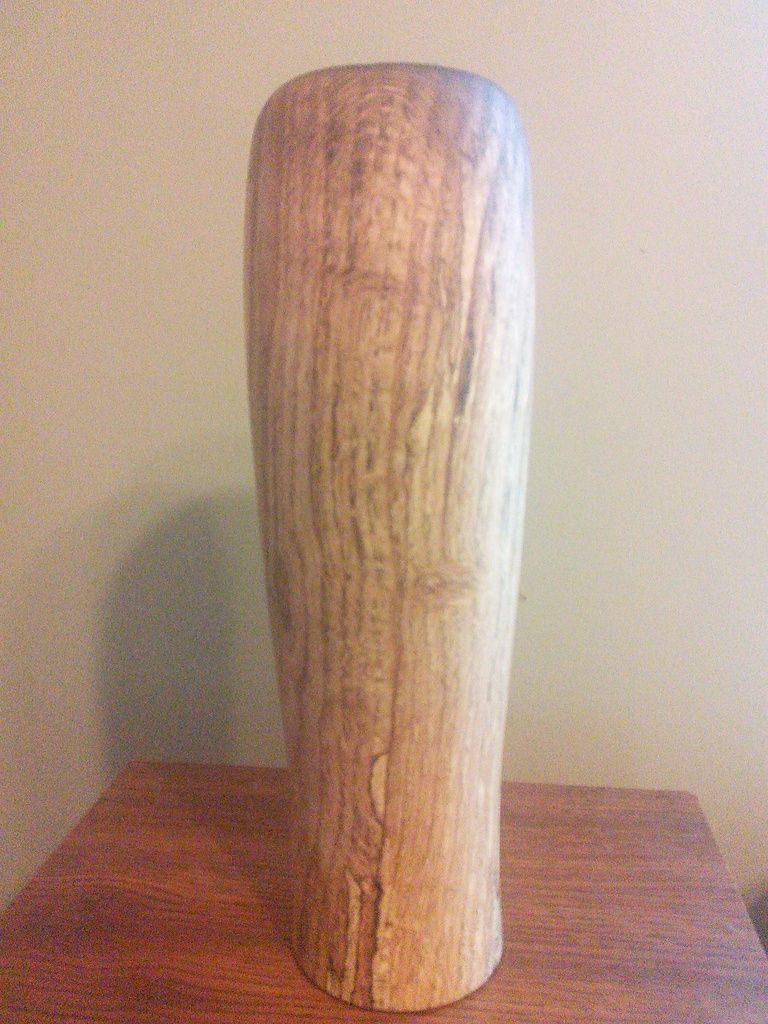
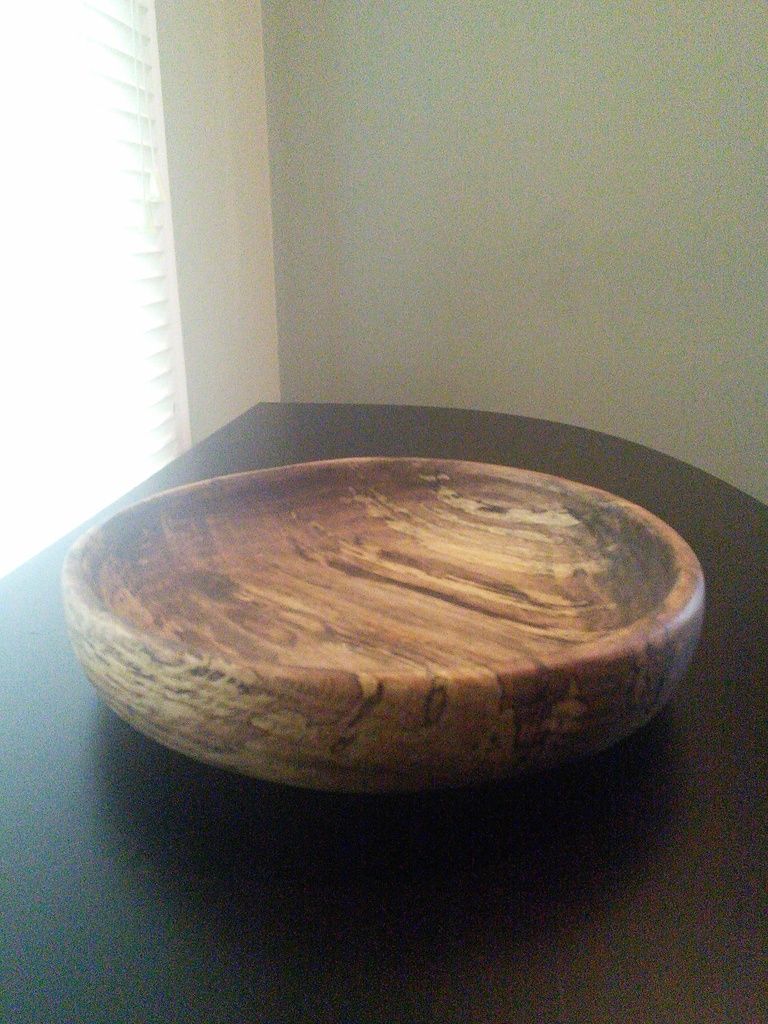
    My friend cut down an oak tree a few months ago in his back yard so I have a few good chucks of that. These are my first few attempts with a wood turning
    from a rotted old bug infested apple tree from my moms yard.

    I burned out the middle to dry out the still green oak and just to give some character to the apple wood. Plus I couldn't bore out the middles as deep I would have liked to. There are a few more but I lost the photos somewhere on the internet.

    186 More Best Homemade Tools eBook

  2. The Following User Says Thank You to jere For This Useful Post:

    Workshopshed (Apr 29, 2015)

  3. #2
    Supporting Member Christophe Mineau's Avatar
    Join Date
    Jul 2014
    Location
    France, Brittany !
    Posts
    913
    Thanks
    832
    Thanked 1,705 Times in 481 Posts

    Christophe Mineau's Tools
    Hi Jere !
    Well done, this is awesome, if it's your first attempt at wood turning, this is really promising !
    Deep hollowing usually is not the first thing to start with
    The apple tree piece is really good looking.
    But, tell me, why this burned aspect on the inside ?

    I love your heart too, very nice !
    Go on, show us other stuff !
    Cheers,
    Christophe

    2,000+ Tool Plans
    Cheers !
    Christophe
    ________________________________________________________________
    Visit my Website : http://www.labellenote.fr/
    Facebook : La Belle Note
    All my personal works, unless explicitly specified, are released under
    Creative Commons BY-NC-SA license.

  4. The Following User Says Thank You to Christophe Mineau For This Useful Post:

    jere (Apr 27, 2015)

  5. #3
    Supporting Member jere's Avatar
    Join Date
    Feb 2015
    Posts
    200
    Thanks
    183
    Thanked 117 Times in 69 Posts

    jere's Tools
    Thanks Christophe!

    Hollowing at all is something of a problem right now. My lathe is a shopsmith, a multipurpose wood working machine not a dedicated lathe. One of its biggest limitations is its lowest speed is much too fast for out of shape pieces and deep hollowing. I made a steady rest tool with roller blade wheels and a jig to rough out and help with hollowing but still there are some limitations. And last my chisels are not for hollowing jobs and a too short to get very deep into pieces. Because of this I have cracked the bowls above before I could get them hollowed as much as I wanted, and could not keep turning them.

    While looking for a way to hollow pieces deeper ( mostly looking at chisel designs that others have made, to make one of my own), I found an old way natives hollowed bowls. This method was with fire, there wasn't very much detail or any examples but I gave it a try. The process helped with the drying of the oak, which was still green/wet. Undried the wood has been splitting even if it isn't cracked while turning. I also liked the way the flames burned with the grain of the wood.

    I don't know any others that are makers or artists of anything let alone lathe workers and am teaching myself as I go.

  6. The Following User Says Thank You to jere For This Useful Post:

    Workshopshed (Apr 29, 2015)

  7. #4
    Supporting Member jere's Avatar
    Join Date
    Feb 2015
    Posts
    200
    Thanks
    183
    Thanked 117 Times in 69 Posts

    jere's Tools
    Here is another bowl, this one broke in two pieces while turning, and flew across the garage. I glued it back together any way.
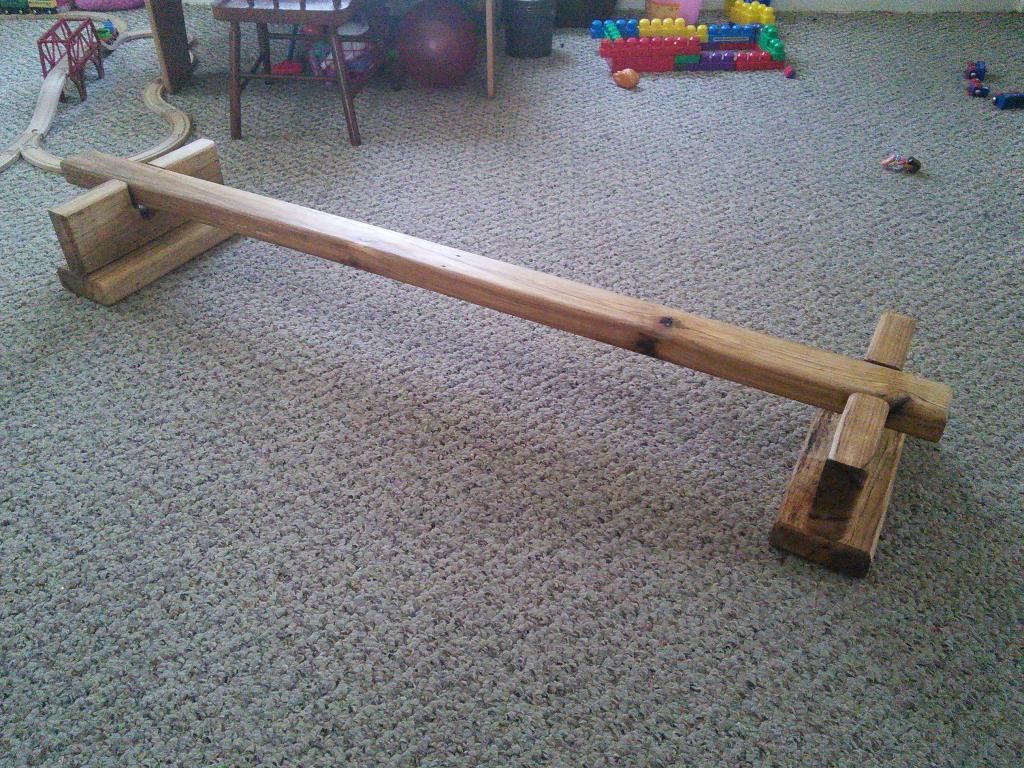
    this is a balance beam I made for my daughter. It is made from some very old oak 2x4s that a previous occupant of the property I live at left behind. The beam is just resting and not glued in, so it is easy to disassemble. The beam can be positioned on its narrow side for more of a challenge when my daughter (now 3 ) gets older.
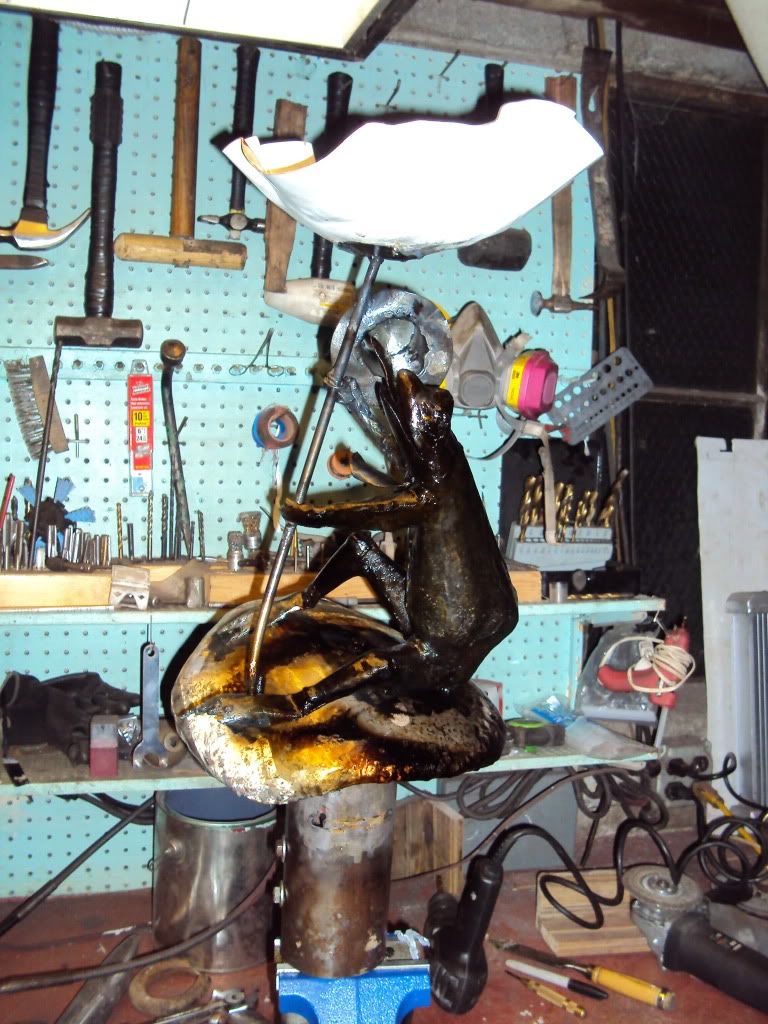
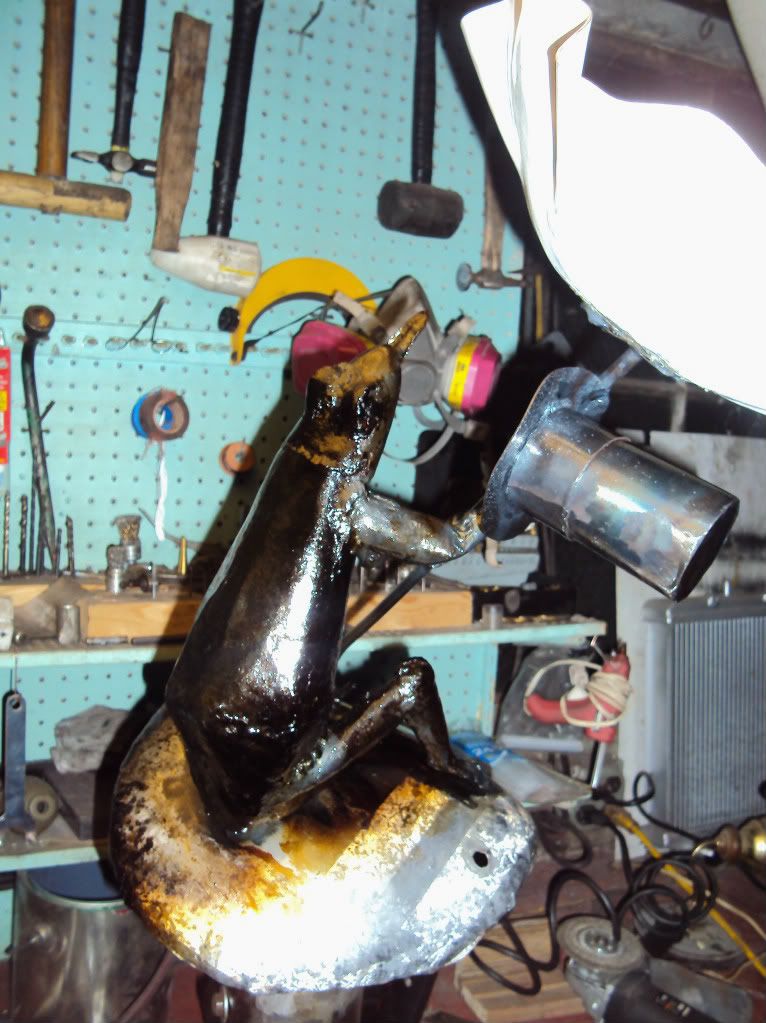
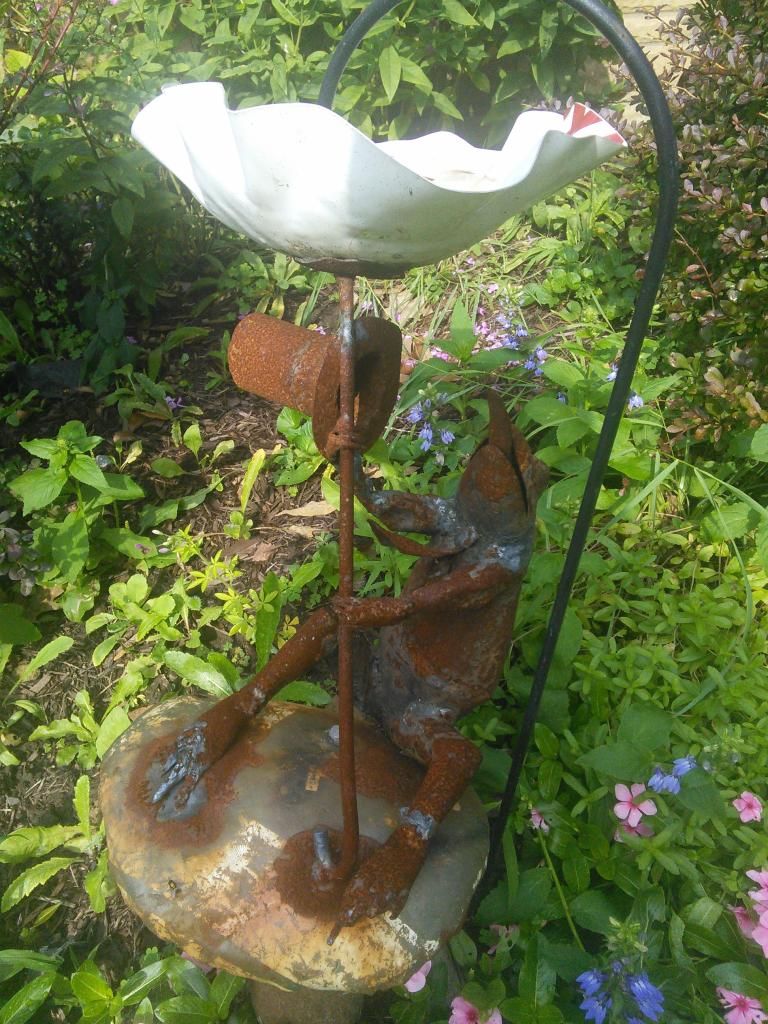

    This is a garden art frog made with signs and hot rolled scrap steel. The frog is on a toadstool/sign that moves when the wind blows. His umbrella, tie, and tounge are being "blown away" as the umbrella catches the wind like a sail. This was a few years ago when I was learning to weld with oxy/acetylene and form sheet metal.
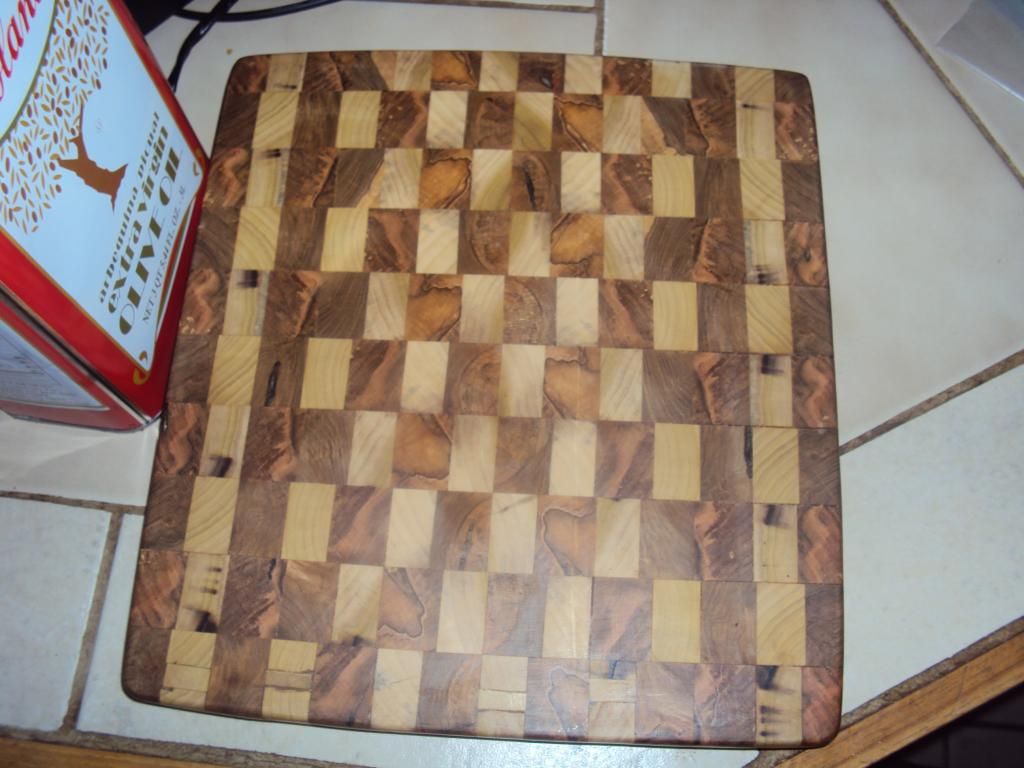
    this is a cutting board i made from some pallet wood.
    I have some more wood bowl photos somewhere but not sure where. I will post them if I can find them

  8. The Following User Says Thank You to jere For This Useful Post:

    Workshopshed (Apr 30, 2015)

  9. #5
    Supporting Member Christophe Mineau's Avatar
    Join Date
    Jul 2014
    Location
    France, Brittany !
    Posts
    913
    Thanks
    832
    Thanked 1,705 Times in 481 Posts

    Christophe Mineau's Tools
    I love all of this !
    You are lucky with your pallet wood, this brownish wood is awesome.
    And your frogs, very nice too !
    thanks for sharing
    Christophe
    Cheers !
    Christophe
    ________________________________________________________________
    Visit my Website : http://www.labellenote.fr/
    Facebook : La Belle Note
    All my personal works, unless explicitly specified, are released under
    Creative Commons BY-NC-SA license.

  10. The Following User Says Thank You to Christophe Mineau For This Useful Post:

    jere (Apr 27, 2015)

  11. #6
    Content Editor
    Supporting Member
    DIYer's Avatar
    Join Date
    Aug 2013
    Posts
    3,055
    Thanks
    793
    Thanked 1,888 Times in 1,683 Posts
    Great job on that hollowing technique using fire, jere. The old ways can be and are still useful. Reminds me of the discovery of a centuries-old formula working on antibiotic-resistant superbugs.

  12. The Following User Says Thank You to DIYer For This Useful Post:

    jere (Apr 28, 2015)

  13. #7
    Supporting Member Workshopshed's Avatar
    Join Date
    Mar 2013
    Location
    Suffolk, UK
    Posts
    210
    Thanks
    129
    Thanked 148 Times in 90 Posts

    Workshopshed's Tools
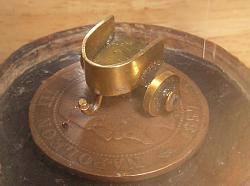
    Most of my things are tools or fixes but here's some of my arty projects

    Some garage made art projects/gifts-p2280634.jpg

    Some garage made art projects/gifts-closeup.jpg

    Some garage made art projects/gifts-finishedclock.jpg
    Andy from Workshopshed
    "Making and repairing things in a shed at the bottom of the garden"
    workshopshed.com

  14. #8
    Supporting Member jere's Avatar
    Join Date
    Feb 2015
    Posts
    200
    Thanks
    183
    Thanked 117 Times in 69 Posts

    jere's Tools
    Quote Originally Posted by Workshopshed View Post
    Most of my things are tools or fixes but here's some of my arty projects

    Click image for larger version. 

Name:	P2280634.jpg 
Views:	357 
Size:	85.6 KB 
ID:	3372

    Click image for larger version. 

Name:	Closeup.JPG 
Views:	396 
Size:	92.2 KB 
ID:	3373

    Click image for larger version. 

Name:	FinishedClock.jpg 
Views:	352 
Size:	94.2 KB 
ID:	3374

    I am the same way I always have something to fix up or modify.

    Quality work, how did you attach the bits for the carriage? Those parts look really small even my smallest tip would melt that metal in an instant.

  15. The Following User Says Thank You to jere For This Useful Post:

    Workshopshed (Apr 29, 2015)

  16. #9
    Supporting Member Workshopshed's Avatar
    Join Date
    Mar 2013
    Location
    Suffolk, UK
    Posts
    210
    Thanks
    129
    Thanked 148 Times in 90 Posts

    Workshopshed's Tools
    The wheels on the flea chariot are 5mm, the hubs just 2mm. I silver soldered the axle to the carriage with a small torch then used soft solder and carefully applied flux to attach those so that the wheels still turn.
    I had the flea shipped in from the USA, the wire was a bit tricky as it snapped easily when making the tight turns. I probably should have annealed it but as the other end was already attached to the flea it was not easy. The coin is about the size of a 2p or US Quarter.
    Andy from Workshopshed
    "Making and repairing things in a shed at the bottom of the garden"
    workshopshed.com

  17. The Following User Says Thank You to Workshopshed For This Useful Post:

    jere (Apr 30, 2015)

  18. #10
    Content Editor
    Supporting Member
    DIYer's Avatar
    Join Date
    Aug 2013
    Posts
    3,055
    Thanks
    793
    Thanked 1,888 Times in 1,683 Posts
    Love that chariot, Andy!

  19. The Following User Says Thank You to DIYer For This Useful Post:

    Workshopshed (Apr 30, 2015)

Thread Information

Users Browsing this Thread

There are currently 1 users browsing this thread. (0 members and 1 guests)

Bookmarks

Posting Permissions

  • You may not post new threads
  • You may not post replies
  • You may not post attachments
  • You may not edit your posts
  •