Hi folks :)
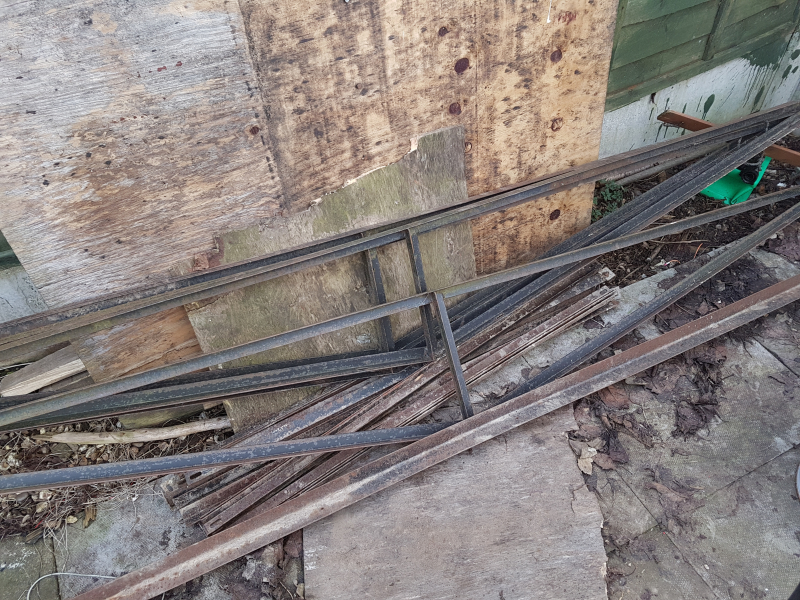
Just as I got into welding, I happened to notice a large but corroded piece of angle iron on the side of the road on my rout to work. I eyed it up for quite awhile before one morning on the way to early shift (about 5:15am), I decided I would do my civic duty and deal with this "fly tipped" rubbish myself.
The intention was to use it to practice welding on before making my press as I didn't have any thick material on hand at the time (other than what I was going to use to make the press with) and the rods I had were too big for the thin strips I'd previously used, which were burning right through. However, I only used a short section of it for that purpose, the rest cleaned up relatively ok, so it was put in with the "seconds" material pile for use later (turned out to be 75x75x4mm) and bought some sack truck wheels in preparation.
After the press build, I got a good condition Cytringan oil cooled machine for next to nothing. It had seen 5yrs service from new before being put into storage when its owner retired and there it lived for the last 20yrs, so it requires a little attention before I can use it. The welder came with a little home made cart, which unfortunately was somewhat worse for wear, so I earmark that large angle iron for use as the chassis to make a new one but didn't have enough materials to make a start.
About a month ago an associate of mine facilitated getting me a DC welder, he does cars up for a hobby, took notice of my fabrication skills and decided to invest in me to help make bespoke tools and contraptions he may need. It's a good unit for what it is and I find I'm welding more often too.
Then last weekend, my sister in law and her boyfriend came over to see if I wanted the steel frame from a big greenhouse they'd taken down in their back garden and to top it off, they had it with them in the van as they were going to take it to the scrap yard if not, so I now have about fifteen meters of 25x25x2mm angle iron to make things with :D
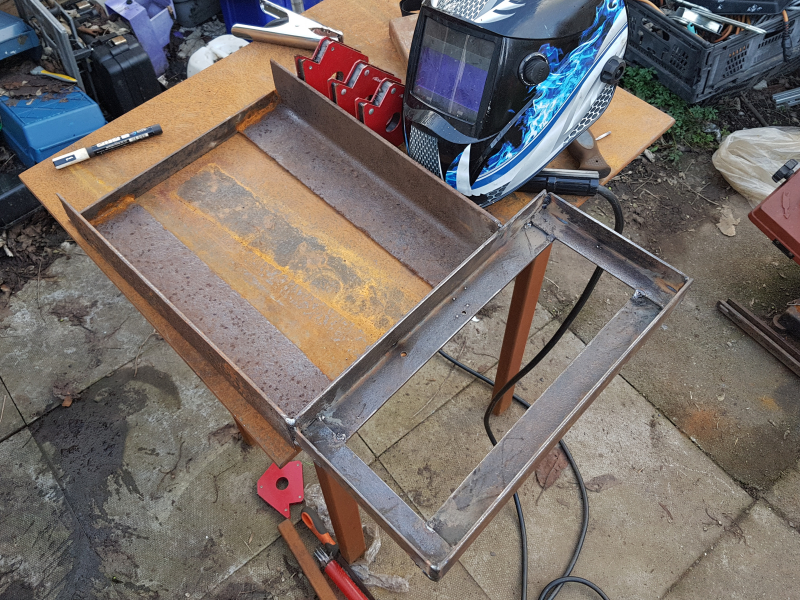
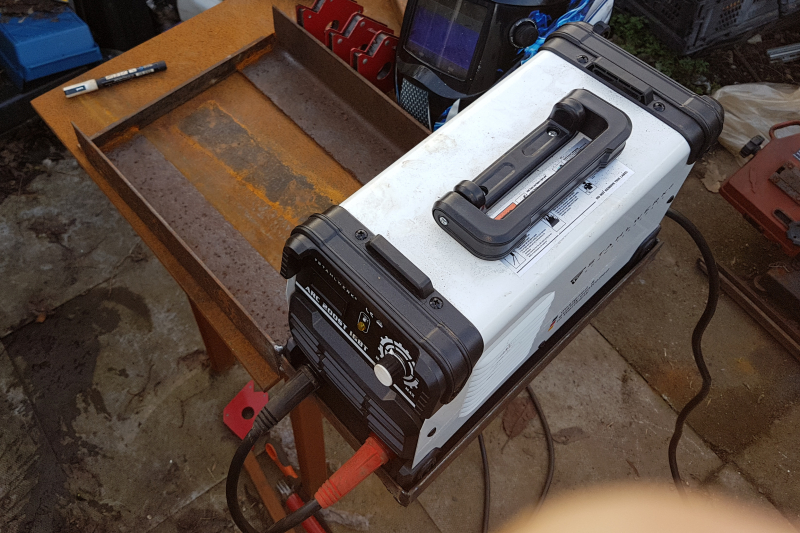
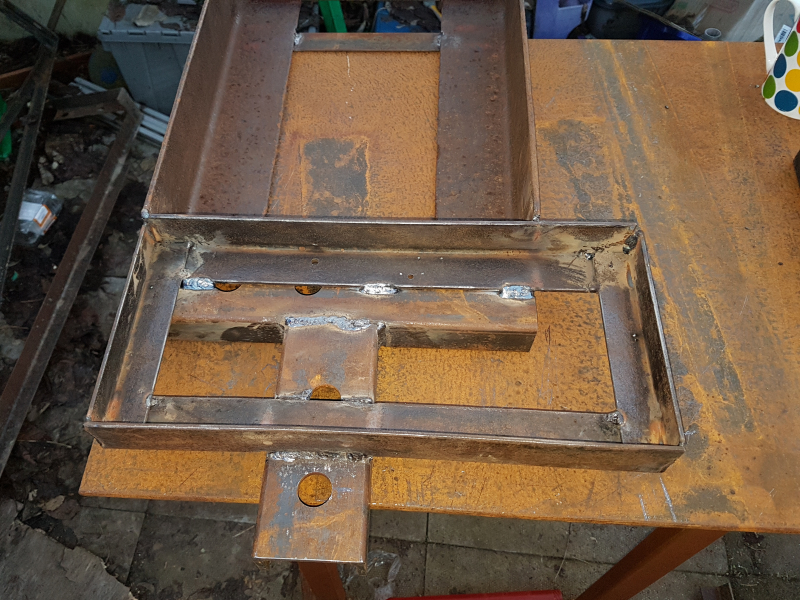
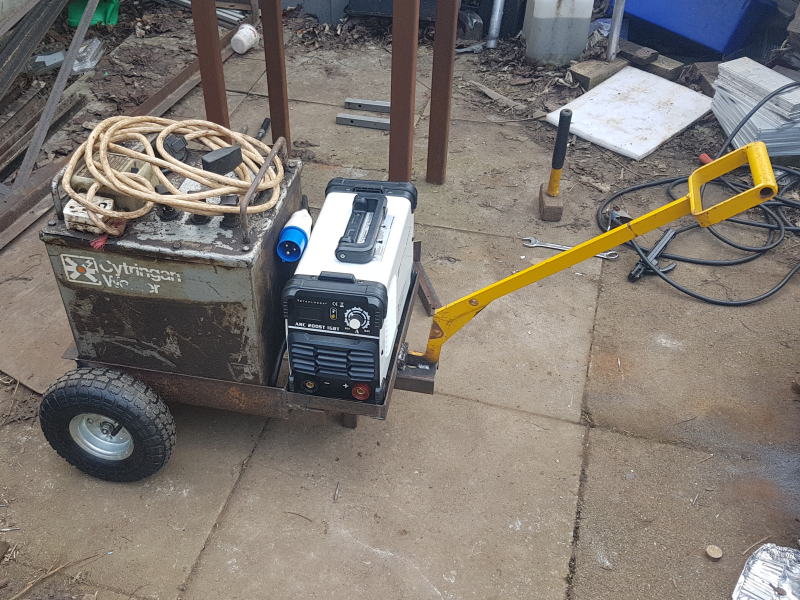
And the first thing I was going to use it for was to make the cart. The inverter welder is so lightweight, I decided to put it up front and was able to mark the pieces around it to get a perfect fit. Unlike the oil filled which had to rely on my measuring, marking and cutting skills alone as there's no way in Hell I was going to lug that thing about to use the same tactic. Once the small frame was put together, I welded it to the main chassis at the top. Unfortunately, I was "in the moment" and forgot to take pics as I went along:
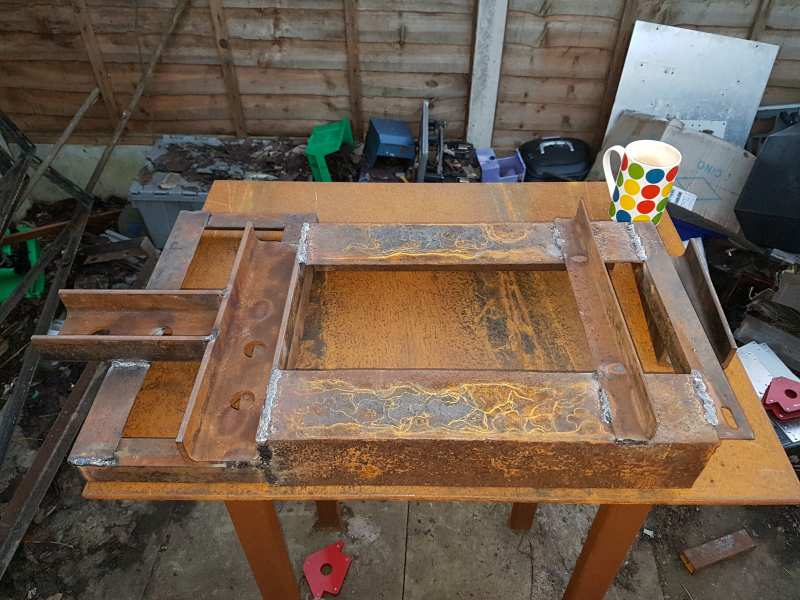
I then used some C channel offcuts left over from my press build to strengthen the front end and to give me somewhere to put a handle:
The outside of the large angle iron had degraded the most, so I welded a length of the small angle iron near the back to help with aligning the axle. I positioned the length about four inches from the back of the chassis, I didn't want it sitting directly below the oil filled centre of gravity as it increases the chances of it tipping backward, putting it inline with the back of the frame would make it harder to lift and pull, so I aimed for somewhere inbetween:
I then turned my attention to the axle and to keep in with the recycling theme I used an old bench press bar that had been donated to my "seconds" pile some time ago. I'd already tested a piece and found it to be the most horrible material I've ever put in my chuck, could not get a nice finish on it with any tool I had so it sat unused for ages.
However, I was in a ballsy mood when I was setting up and it turned out that taking heavy bites using a combination of low speed and high feed using carbide was just the ticket. It still wasn't the best finish, but it was leaps and bounds better than what I was getting before using the reverse recipe.
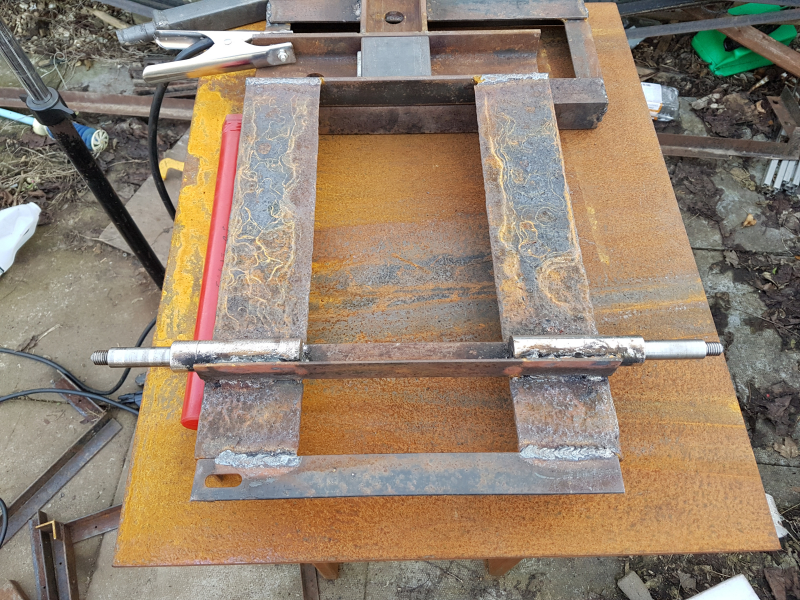
Again, I got carried away amd WIP pics are non existant but I gave about an inch overhang on both sides between frame and wheels to increase the carts stability over more rugged terrain:
After welding the axles in place, I wasn't convinced that some event in the future may cause it the C channel to bend at it's weakest point despite being 5mm thick, so I cut a thick piece of mild flat to use as a web in the middle as a precautionary measure:
I then discovered an offcut of the box section I used to make my welding table with was the perfect length to use as a foot for the cart, so I stuck that on after welding the web in place:
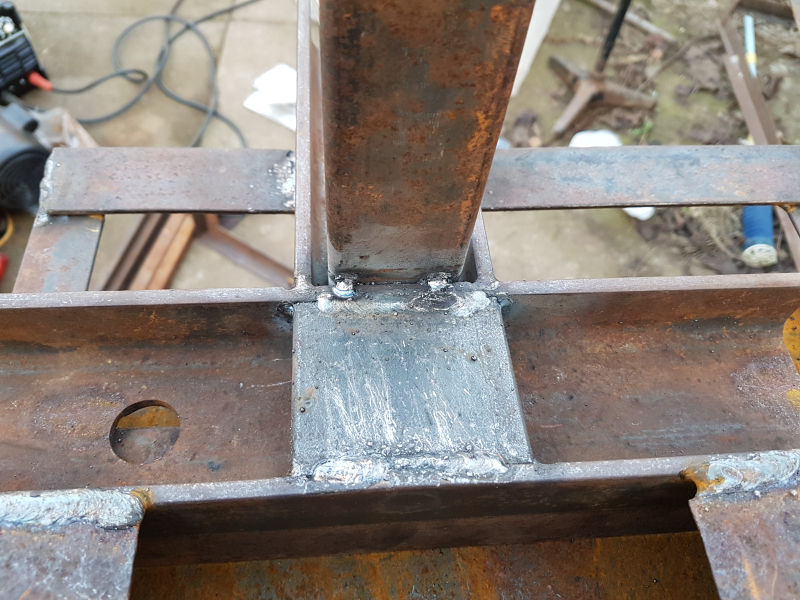
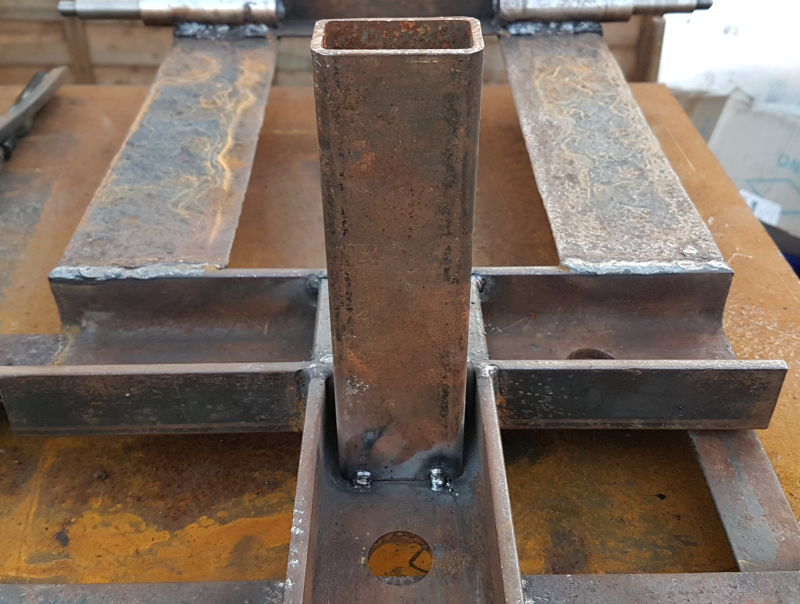
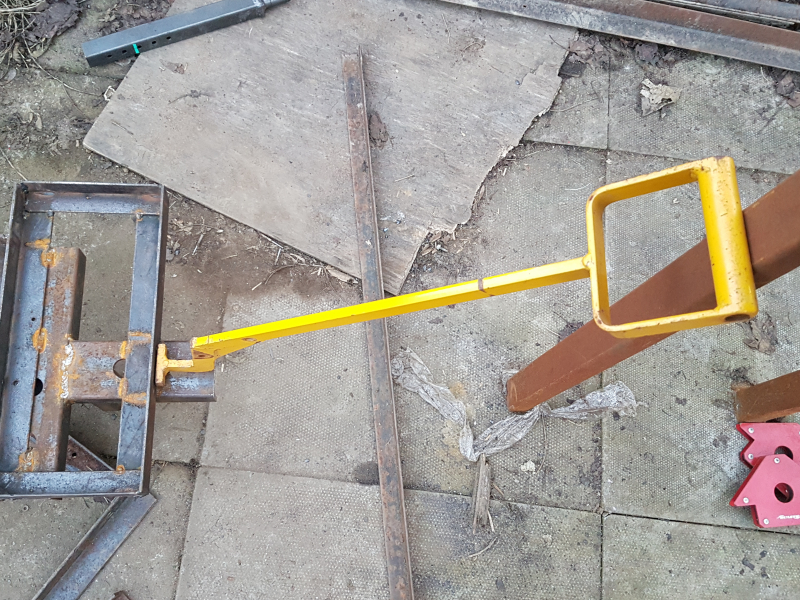
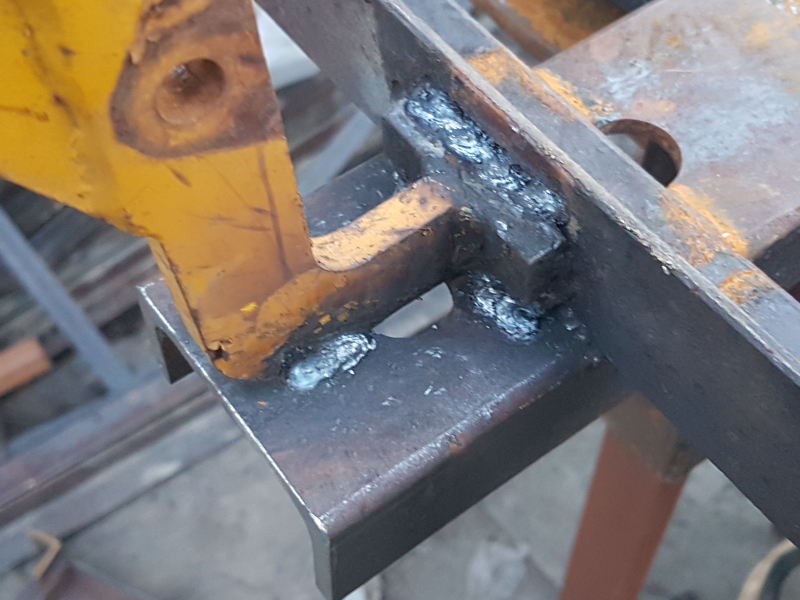
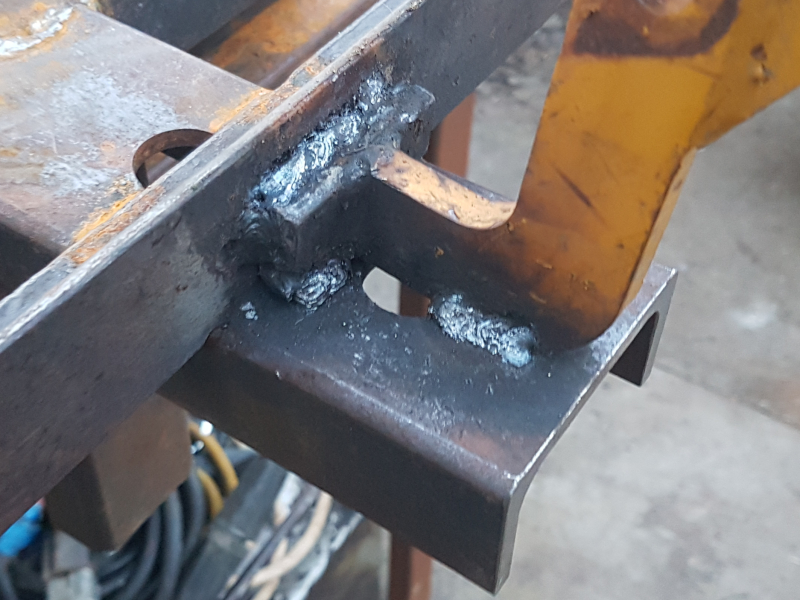
Then, a couple days go by while I decide whether I want articulated, or fixed steering and what to make the handle from. In the end it was decided for me when again, a chance find provided the answer and material. I don't know what it was for but it had a couple things attached to it which I simply removed and then welded it in place using e6011 to cut through the yellow paint as my small grinder if nine plus years finally died mid project:
Still, the cart is starting to shape up, if not a bit heavy on the Mad Max look. At this point I decided to risk my back to see what it looked like with both welders in place and found that the front half of its seat was smaller by about 4mm and the welder wouldn't sit as far down as the other end did. It also decided it didn't want to come back out either for a moment but I eventually got it loose and out again without damaging anything, including myself (whew!).
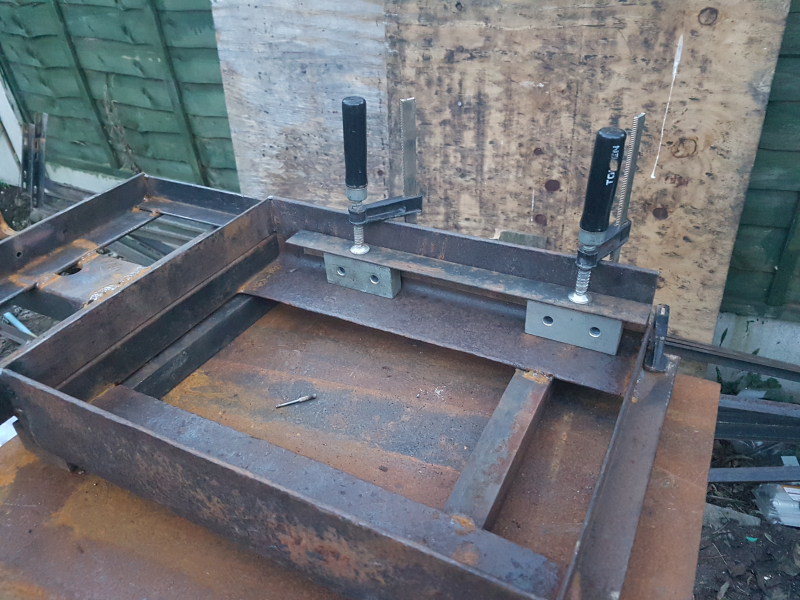
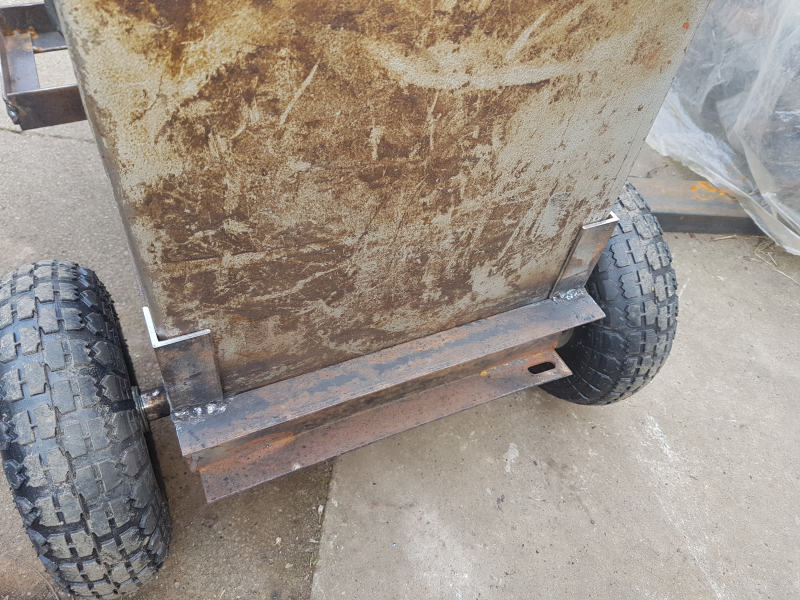
It seems the corrosion on the inside of the angle iron, though not nearly as bad as the outside, had left the walls thicker near the internal radius and I'd measured from the top of the angle iron and hadnt factored that tidbit of info in but figured I could use it to my advantage, so I stripped the wheel off again and started to gently persuade to thing to change shape ever so slightly, with my lump hammer and then welded two length of the small angle iron to the walls as standoffs:
With that done, I limbering up for five minutes and then tried a second test fit with the oil filled. I knew it was going to be a snug fit, which is great as it not likely going to fall off the cart if it ever tips too far in any direction and after giving it a good push downward, it went Home all the way and sat firmly on the Standoffs. I then put the inverter welder on too and gave the cart a good trapes around my uneven back garden, which really tested all the points I was hoping to avoid and it passed them all very well (including deep gravel, steep sideways slopes and lumpy terrain:
Still, safety is everything so I welded a second length at angle iron across the top of the chassis and as an extra touch, also stuck on a couple short lengths vertically in the back corners to cradle the oil filled welder case a little more:
I'm rather pleased with it and wnjoyed that build, though I may end up adding things to it here and there as time goes by, so I will update the thread with pics as and when I do.
I apologise for the missing WIP pics from before, I do tend to get carried away with my builds sometimes but I hope I explained enough to compensate and if not, please feel free to ask questions or request clarification on any point.
Canobi


 LinkBack URL
 About LinkBacks



 Reply With Quote


Bookmarks