For most of the week I have been making tools just to be able to make a couple of parts which will eventually be a critical part of a tool I am re making
I am king of bummed at how long it can take to make a pair of what back when I had my fab and machine shop would have taken a couple of hours if that. But back then I would have burned them out with an optic eye torch using only 2 of the 4 heads following a line drawing on paper it would have taken longer to draw the pattern than cut the parts a quick perfunctory grind to remove any slag then tack welded together and clamped in the horizontal and bored clamping them together against the permanently mounted vertical holding fixture would have taken a few minutes then putting the boring bar and end support back on another few minutes the boring process maybe 5 to 10 minutes then over to the radial drill where my wife would have selected a circular hole pattern template and the appropriate centering plug then with a transfer punch marked the number of holes then she would have laid out the 2 rows of holes using another template we had tens of dozens hanging on the wall near the radial drill. then clamped the blanks to the table on riser blocks then swung the little drill head with a center drill chucked in it we had mounted on a double articulating arm suspended on a vertical post mounted on the back of the radial arm raise the drill table up till the drill head was a couple inches above the parts and center drilled each punch mark move that out of her way chuck a bit in the #5 MT quill raised or lowered the table until the quill was fully extended or stopped by the quill stop when the tip of the bit was at least 1/2 an inch above the table. locked it in place release the arm and drill head position over one of the locations lock both head and arm in place set the speed and feed switched on the drill and go check on the band saw then come back and move the drill head doing this as many times as there were holes once the holes were drilled. Blow off the chips move the drill head out of the way grab the small drill head chuck a chamfer bit raise or lower the table for height position then chamfer each of the holes. Then she would have put the 1" gear reduction auto reversing tap head in the quill chucked a tap checked the table height, set the quill stop lock out the down feed so the quill was free to move up and down select the RPM switch on start the tap and just watch as it tapped through the hole once it reached the quill stop the tap head would reverse and back out doing this for as many holes as needed to be taped. Parts done her total time would have been 45 minutes on the outside and the parts would be ready to be separated finish ground on a 6" belt 12 inch disk sander combo ready to be painted, installed or what ever.
That was then this is now
http://www.homemadetools.net/forum/b...ving-bar-62901
http://www.homemadetools.net/forum/d...ing-head-62925
http://www.homemadetools.net/forum/1...ring-bar-62986
http://www.homemadetools.net/forum/set-up-block-63032
http://www.homemadetools.net/forum/t...s-marker-63049
http://www.homemadetools.net/forum/a...5-x30%B0-63005
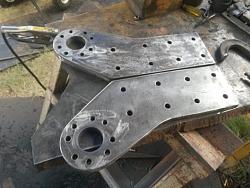
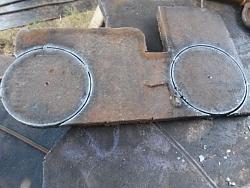
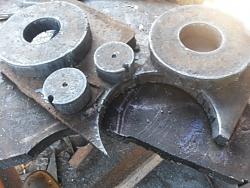
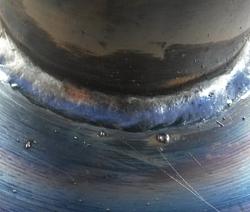
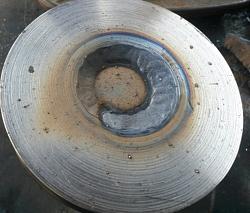
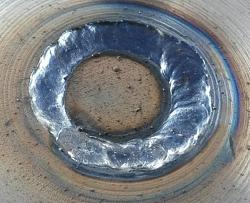
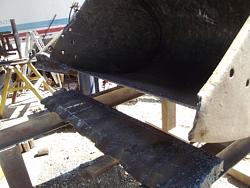
just to make these 2 parts of a machine I am building
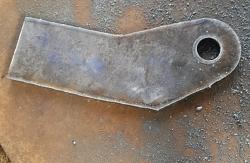
Hand cut
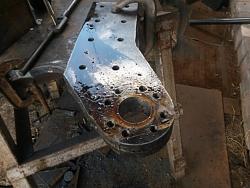
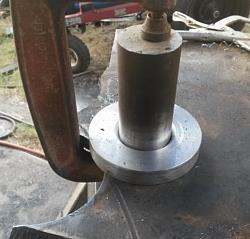
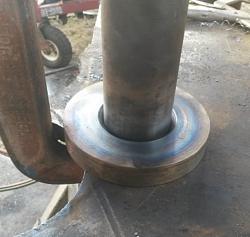
tacked together drilled on a 1 1/2 Hp 4" post floor drill press the plates had to be re set for each hole
then hand tapped
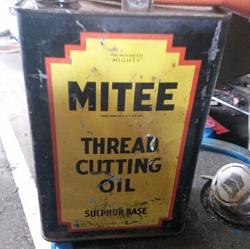
It is nice to have a sister who is a hoarder she had this nearly full gallon of thread cutting oil that I had before I went into the Army in 71
Once I get a few more parts and probably more tools made then I can rebuild the machine and I will start posting on the thread
http://www.homemadetools.net/forum/7...0277#post57046


 LinkBack URL
 About LinkBacks



 Reply With Quote


Bookmarks