Free 186 More Best Homemade Tools eBook:  
Get 2,500+ tool plans, full site access, and more.

User Tag List

Page 3 of 4 FirstFirst 1 2 3 4 LastLast
Results 21 to 30 of 35

Thread: From Nils to Skills Uber Challenge - Compact Workshop Press

  1. #21
    Supporting Member Canobi's Avatar
    Join Date
    Mar 2016
    Location
    Shrewsbury, Shropshire (UK)
    Posts
    181
    Thanks
    92
    Thanked 364 Times in 98 Posts

    Canobi's Tools
    Hi folks

    I nanaged to get a half day this week so spent some time after I finished to make use of works mag drill.

    Of course, I should have realised things wouldn't be so straightforward and the first little spanner I came across was that the quill on works mag drill is totally opposite to mine and terminates in a stub, not a bore.

    There was an arbor for anular cutters that came with it but it's 6" long, so it doesn't leave much daylight underneath and total travel is only 50mm.

    Given the limitations, I did the receiver platform holes first but will have to start over as ironically, the holes for the pins (which are critical) wandered off centre and the bolt holes ended up being dead nuts, which is entirely the opposite scenario I was going for.

    The second spanner showed up when trying to put the holes in the hight blocks. Mounting it directly to the frame didn't work as there wasn't enough travel to cut the hole all the way through. I couldn't mount it to the same surface that the frame was sitting on either as the cutter wouldn't lift high enough to clear the blocks, so I threw the towel in, put stuff away and did some hard thinking all day at work.

    Well, the only thing I could think of at the time was to cut a length of 4"x1/2" plate and tack weld it between the blocks so the mag drill had a surface it could attach to at the correct hight but that has a set of problems all it's own that took a great deal of figuring out how to do and involved a lot of side projects.

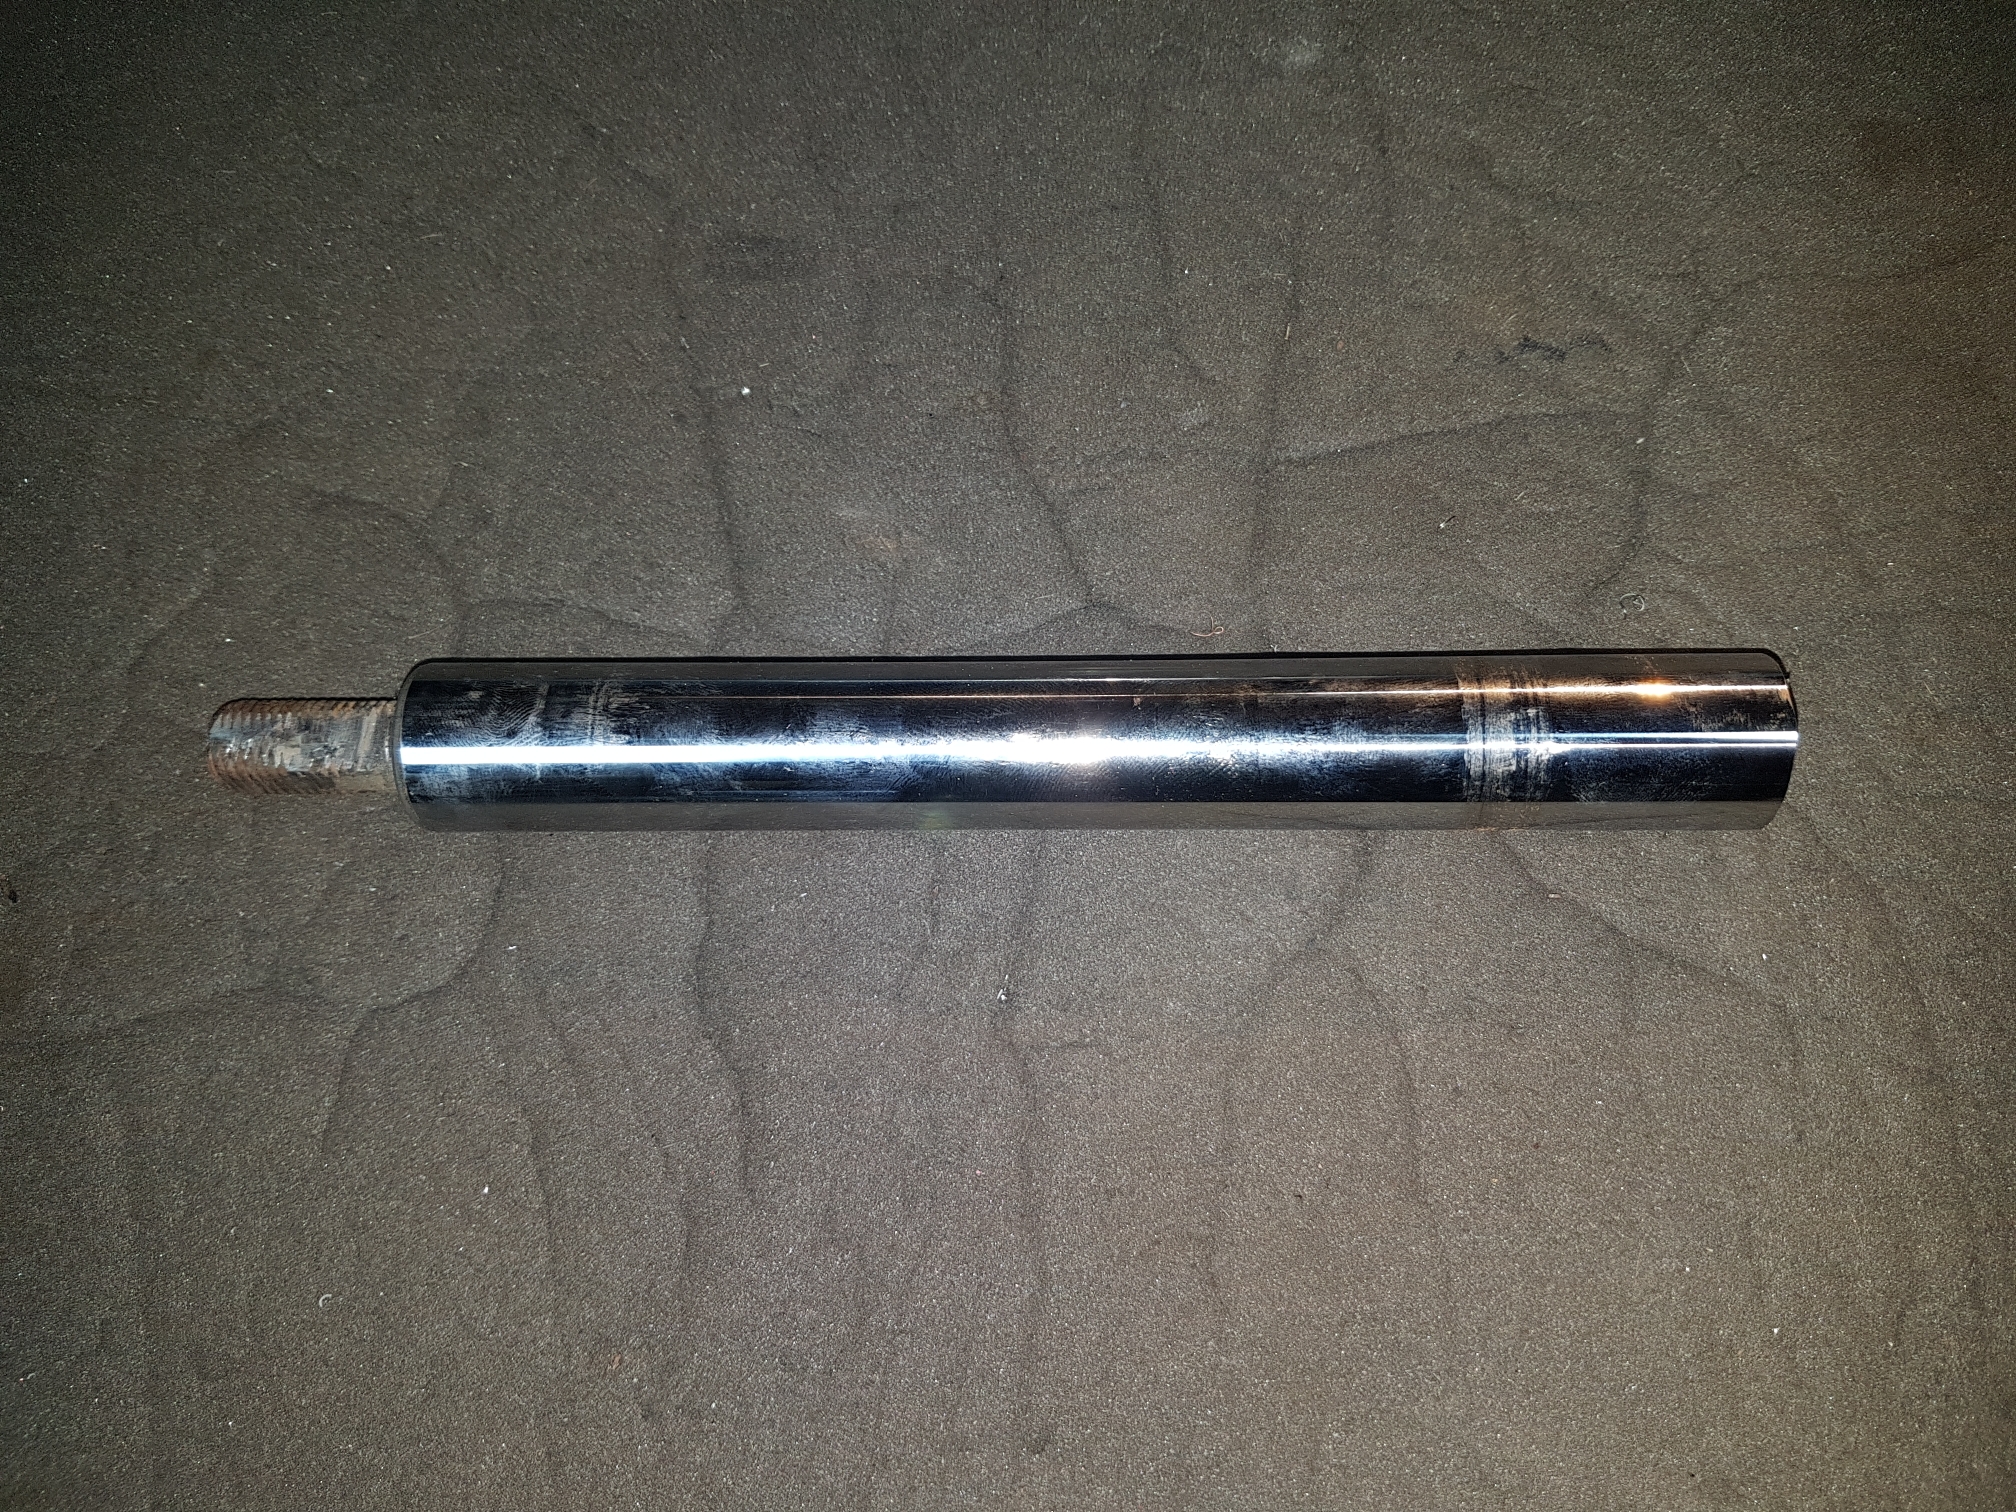
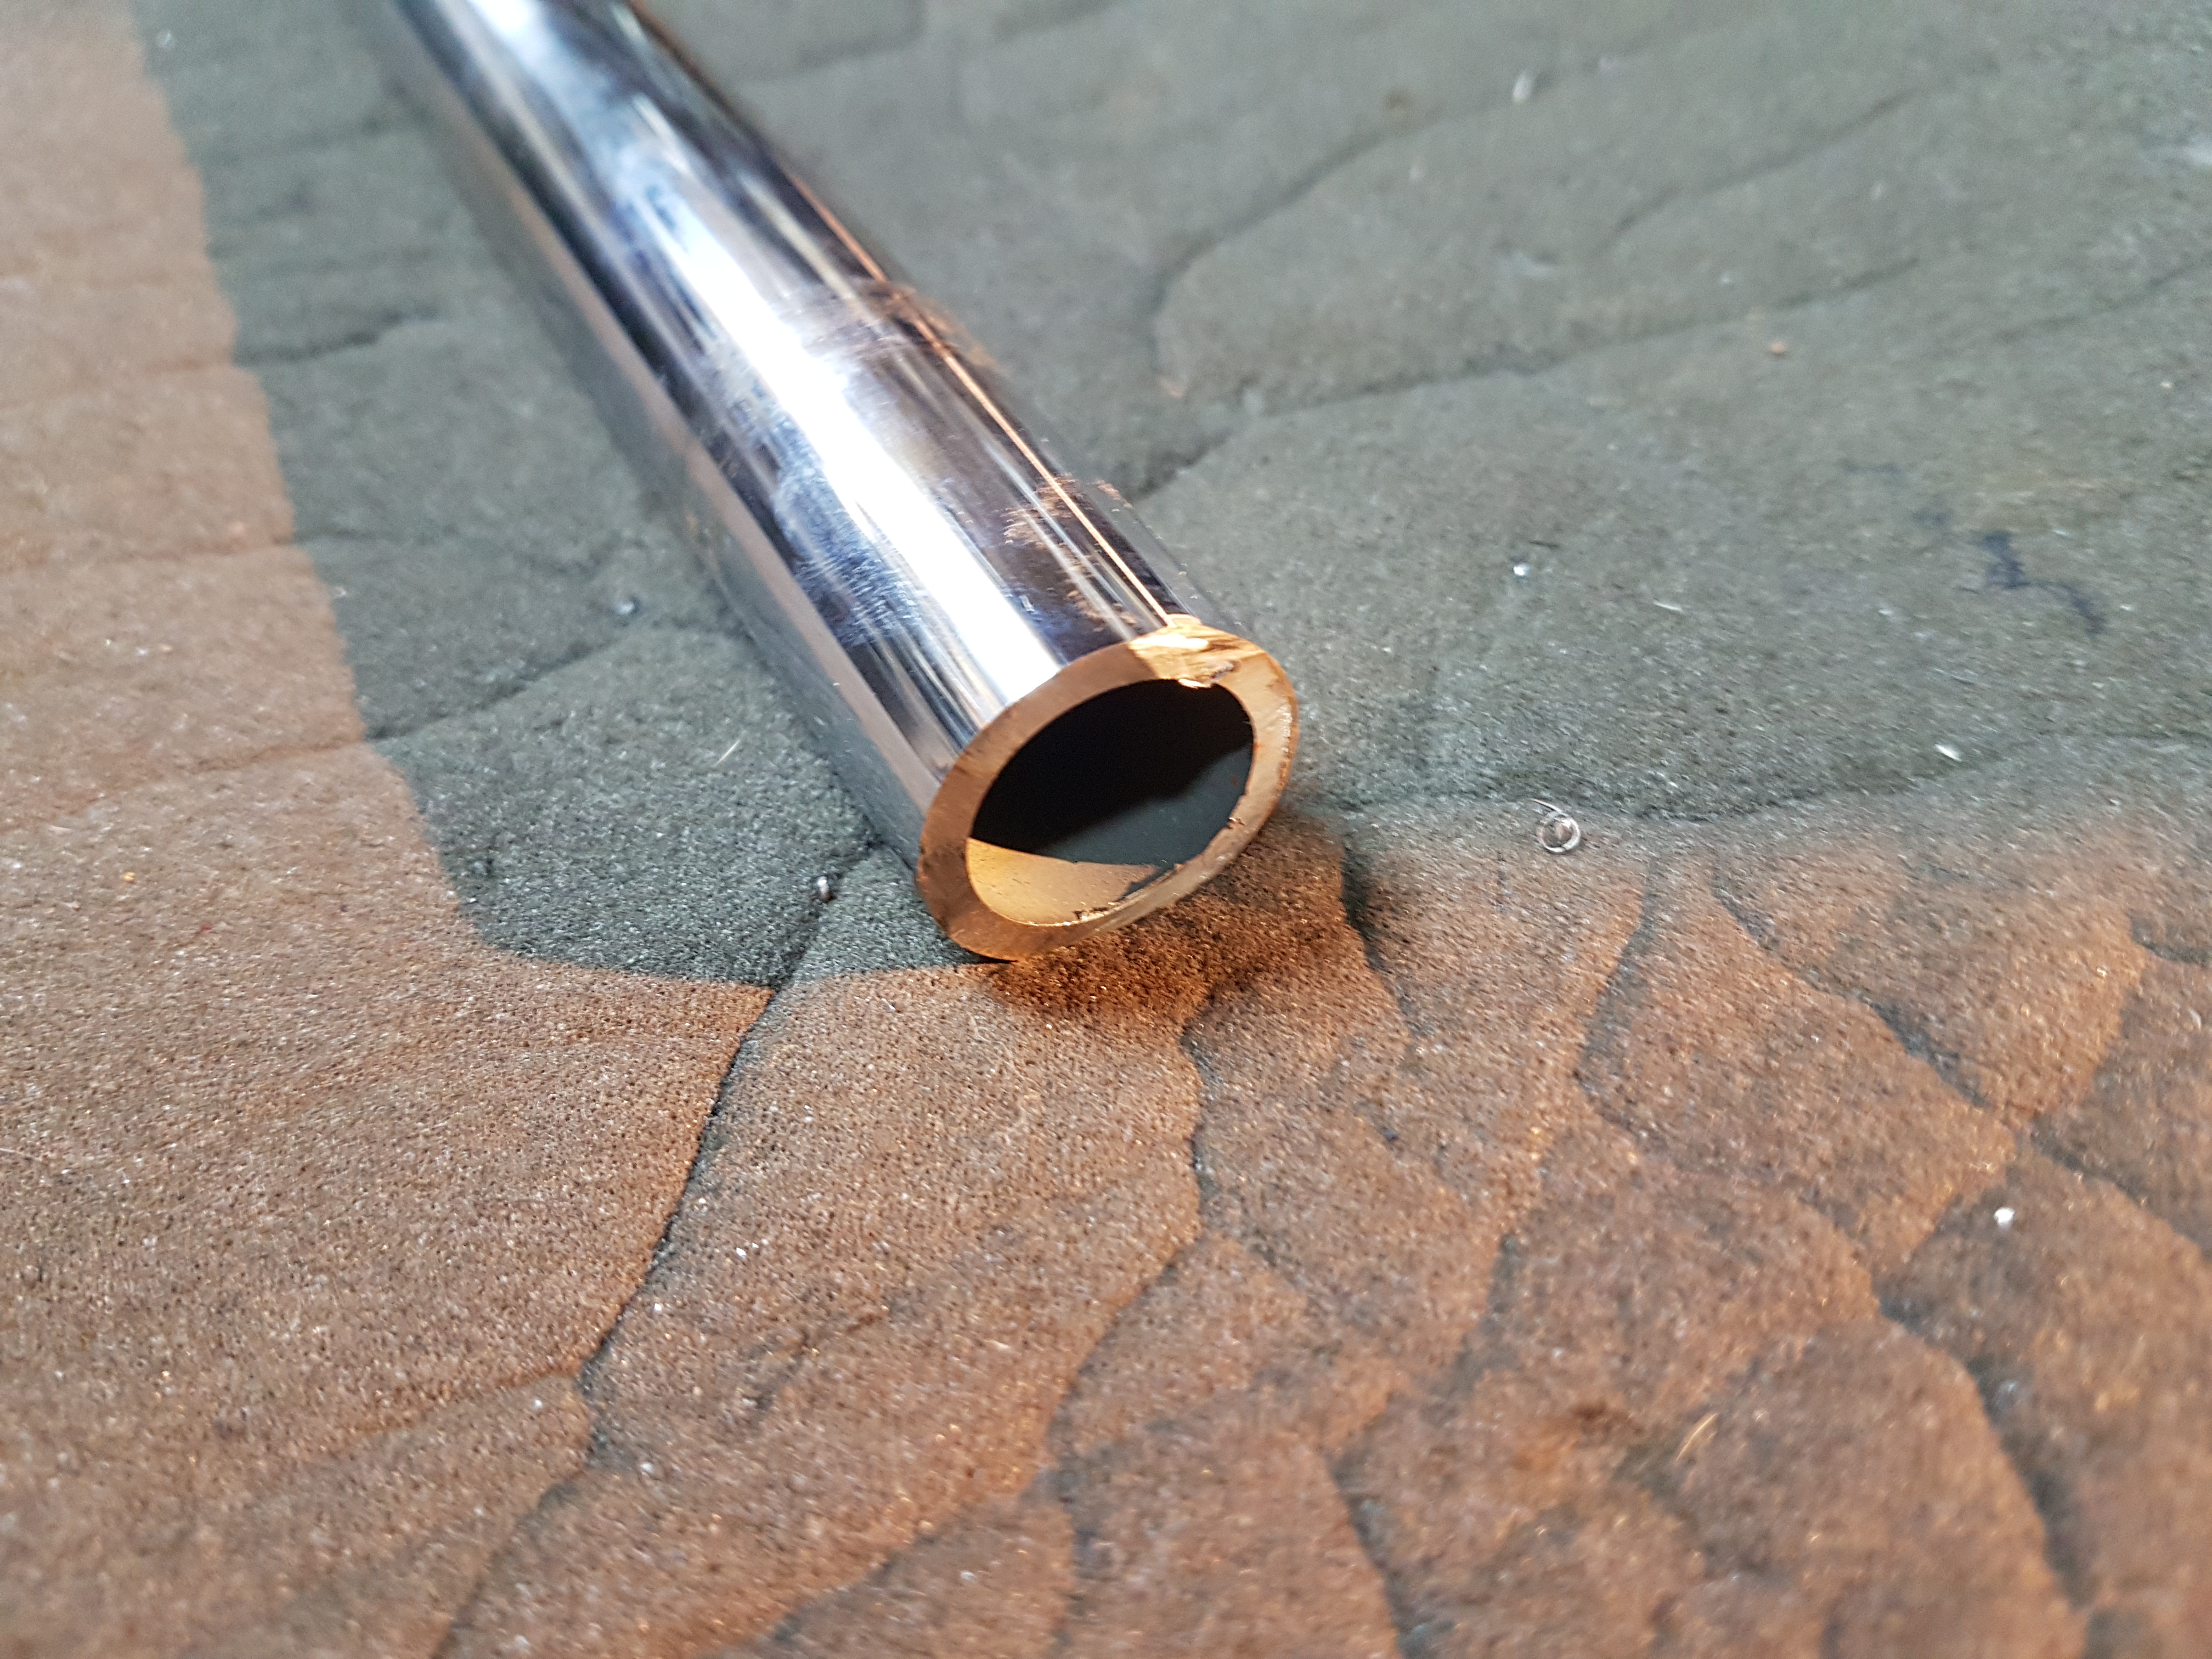
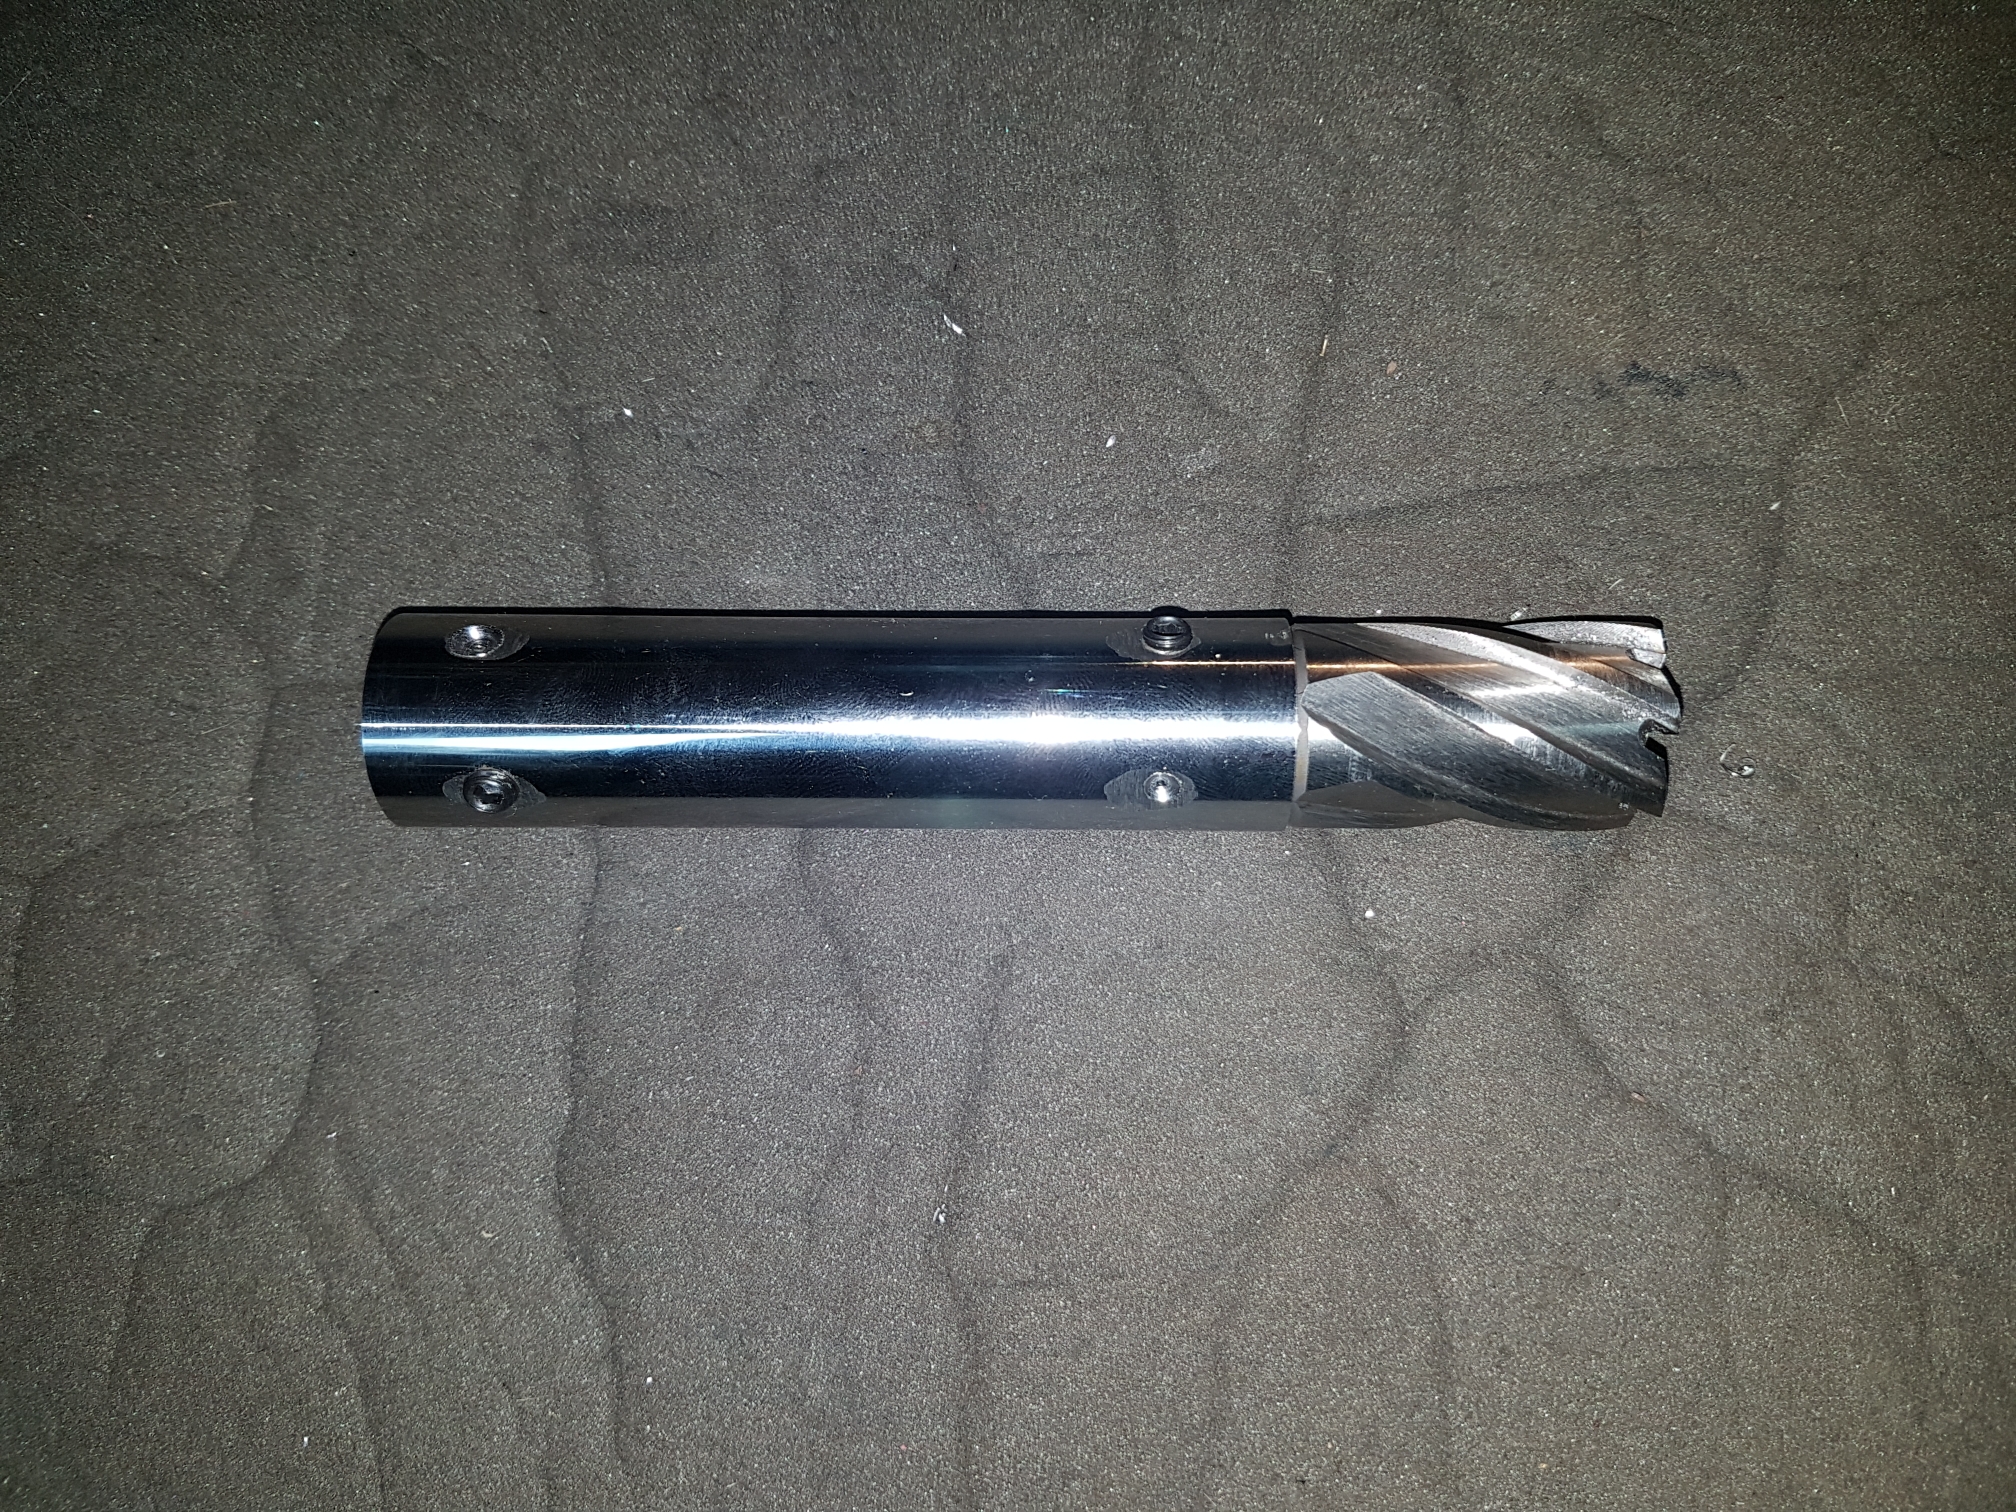
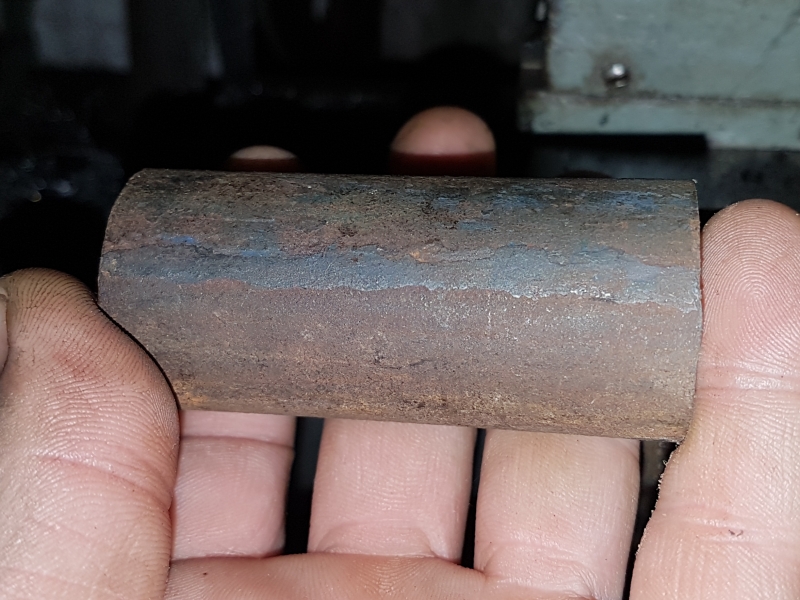
    It wasn't until I was sitting down in my workshop contemplating the problem, cup of tea in hand, that a much less complicated solution presented itself when my eyes reston on a couple lengths of shock absorber shaft my friend had dropped off a few days ago. Unlike most shocks I'm used to seeing, these are thick walled hollow tubing and the first thing I noticed is that the bore looked to be just right size for the shank of my anular cutter:


    After tidying up the roughly cut end with my grinder, I tested my theory and found it to be a perfect fit with just .025mm of wiggle room so I decided it would be simpler to just make the shock into a shorter adaptor for the mag drill.

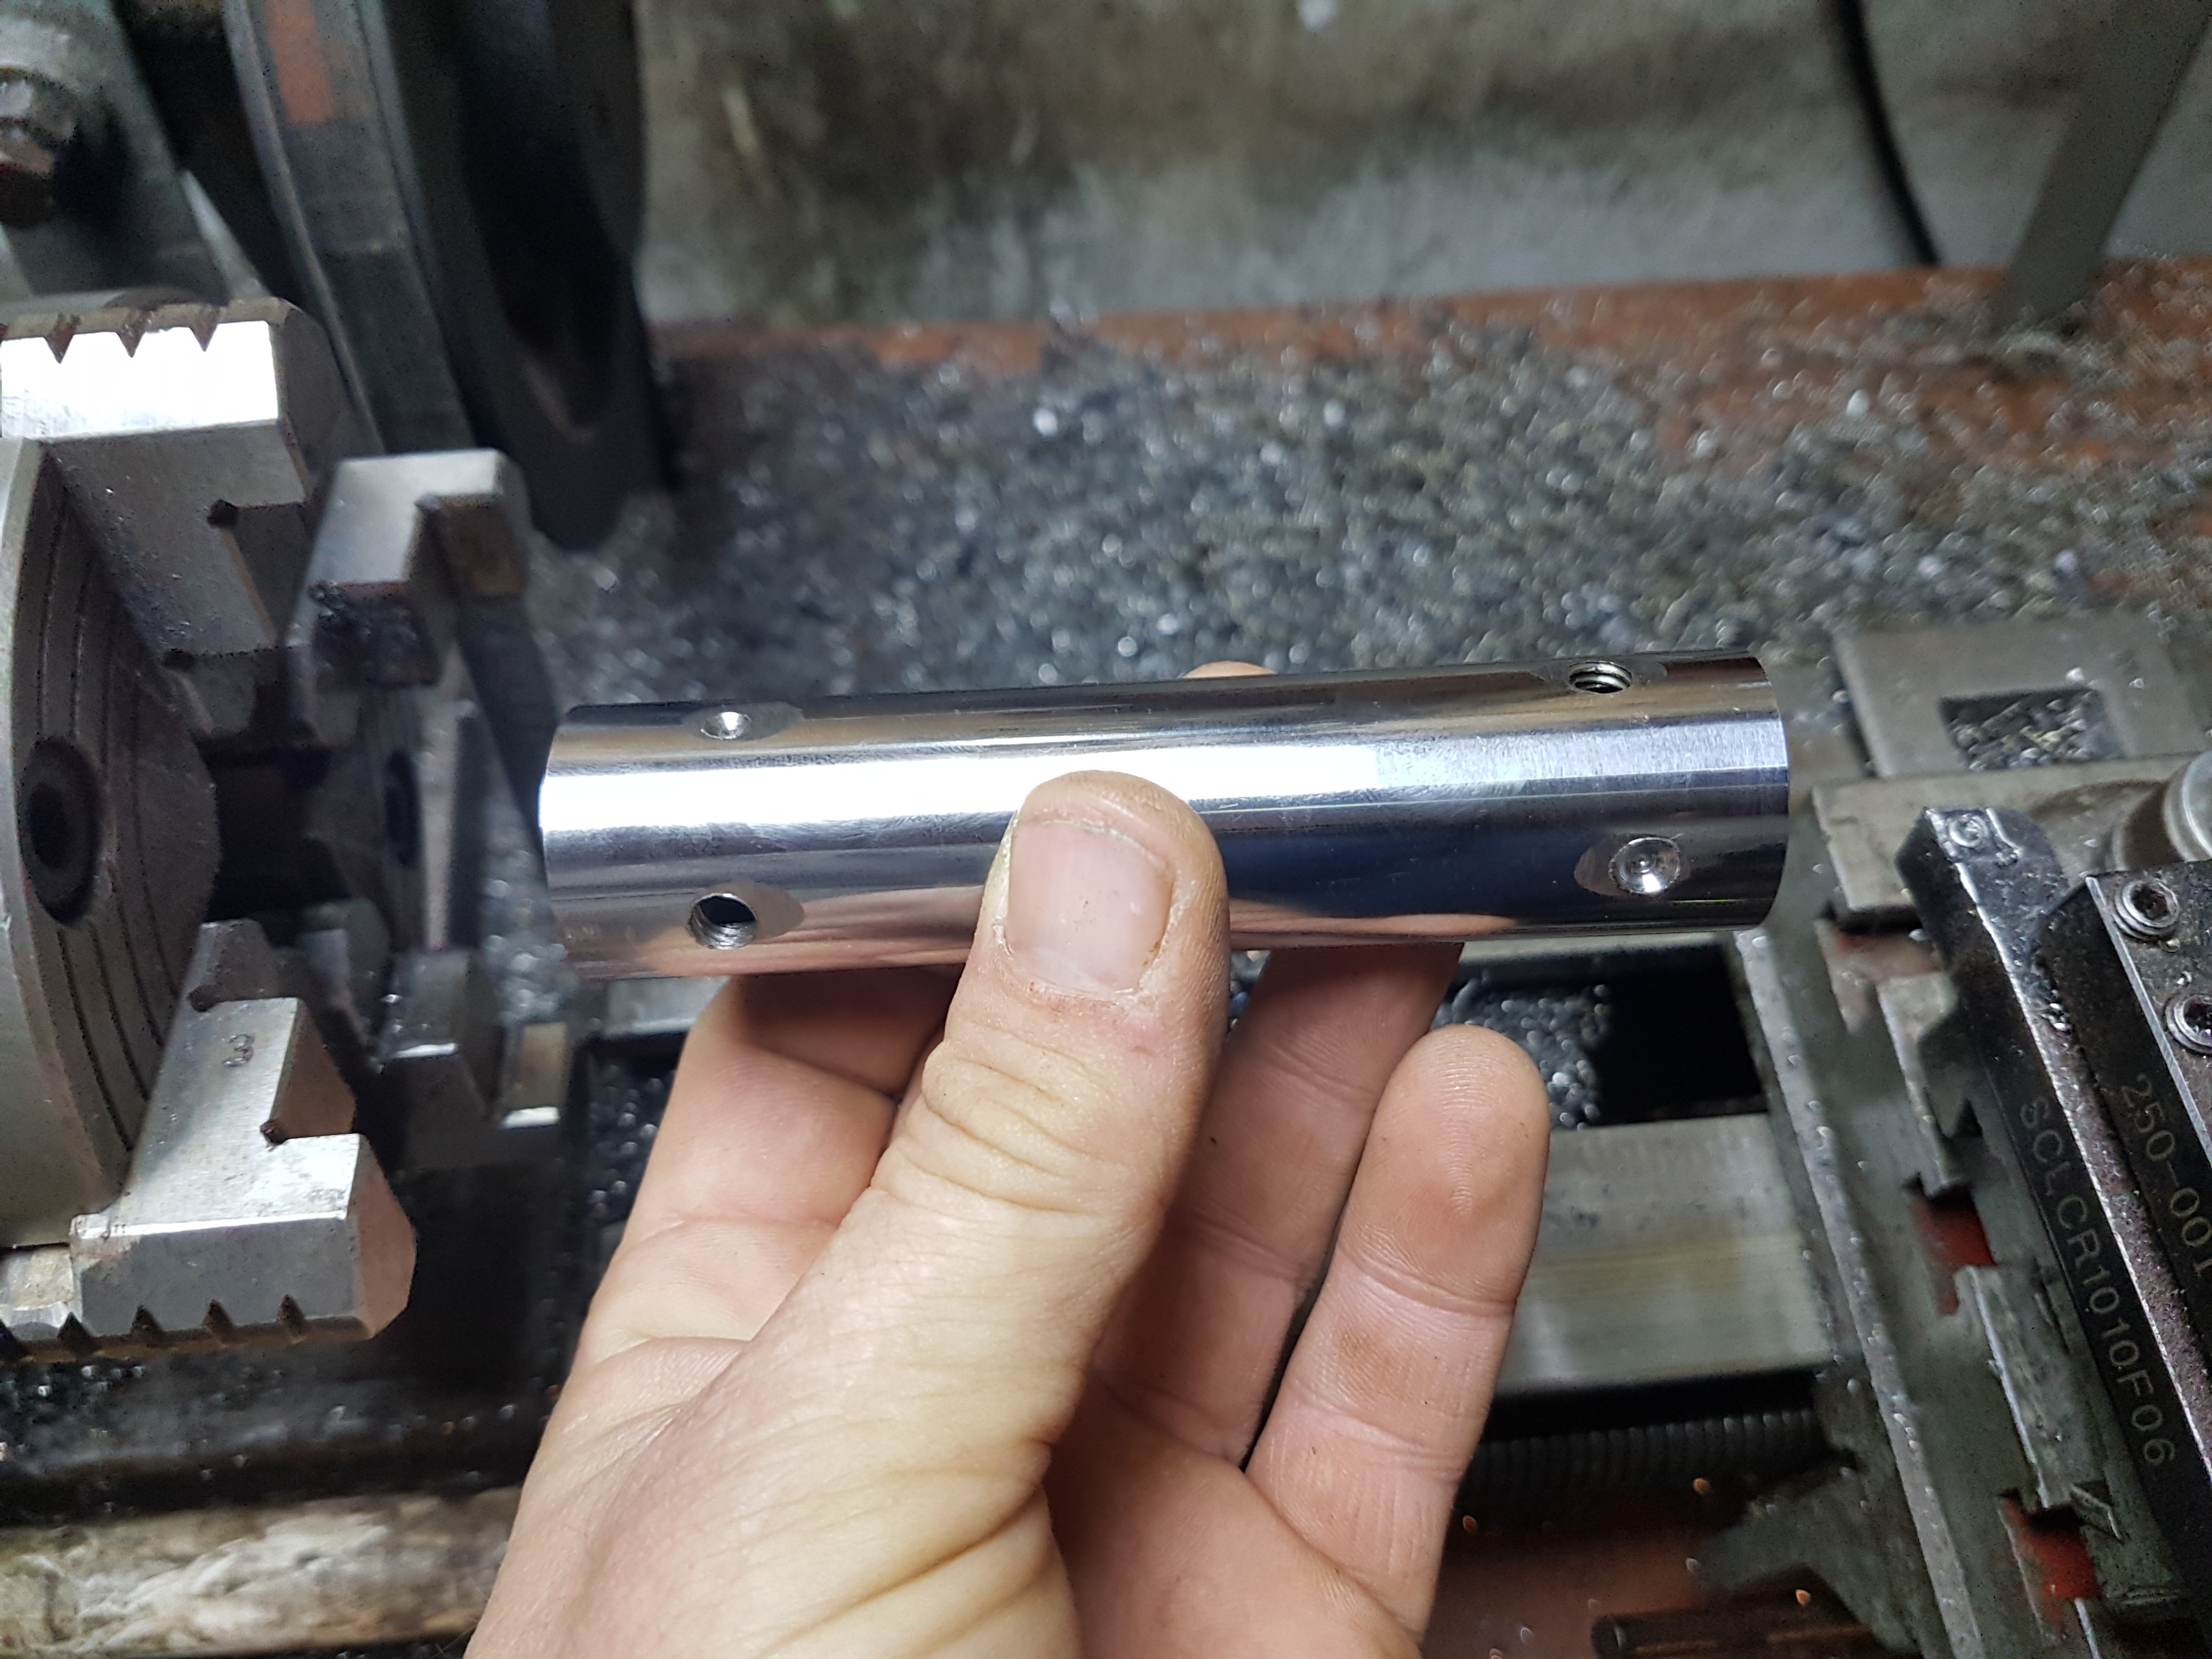
    After grinding some flats for drilling at 90° to each other at both ends, I took the piece with me to work and I used their drill press to make some holes for locking grub screws.

    It was here I found out just how hard this stuff is to work with and if the bit stopped cutting enough to rub, it was game over, even for brand new factory ground bits.

    I hadn't realised how blunt the bit had got after the first hole, so that resulted in the first divet, attempting to cut the first divet with new bit only succeeded in bunting it.

    I then reground the first wrecked bit as that one was mine and proceeded to cut the second hole, which almost went all the way through, so I reground it again and was able to finish it but not without a small struggle.

    Figuring in the fresh grind, I started the first hole on the other side, but even that small amount of cutting meant the bit was blunt on the outer flanks of the cutting edge and once again it was game over after just starting it, thus producing the second divet.

    Given it's behaviour so far I fretted a little over tapping this stuff but it turned out to be much more amicable toward that job and happily there were no dramas. Despite only having one locking screw, the anular cutter is very tightly held and definitely not going anywhere and with at least one hole made at each end, it wasn't a totally lost cause, so I went and got the mag drill from R&D.

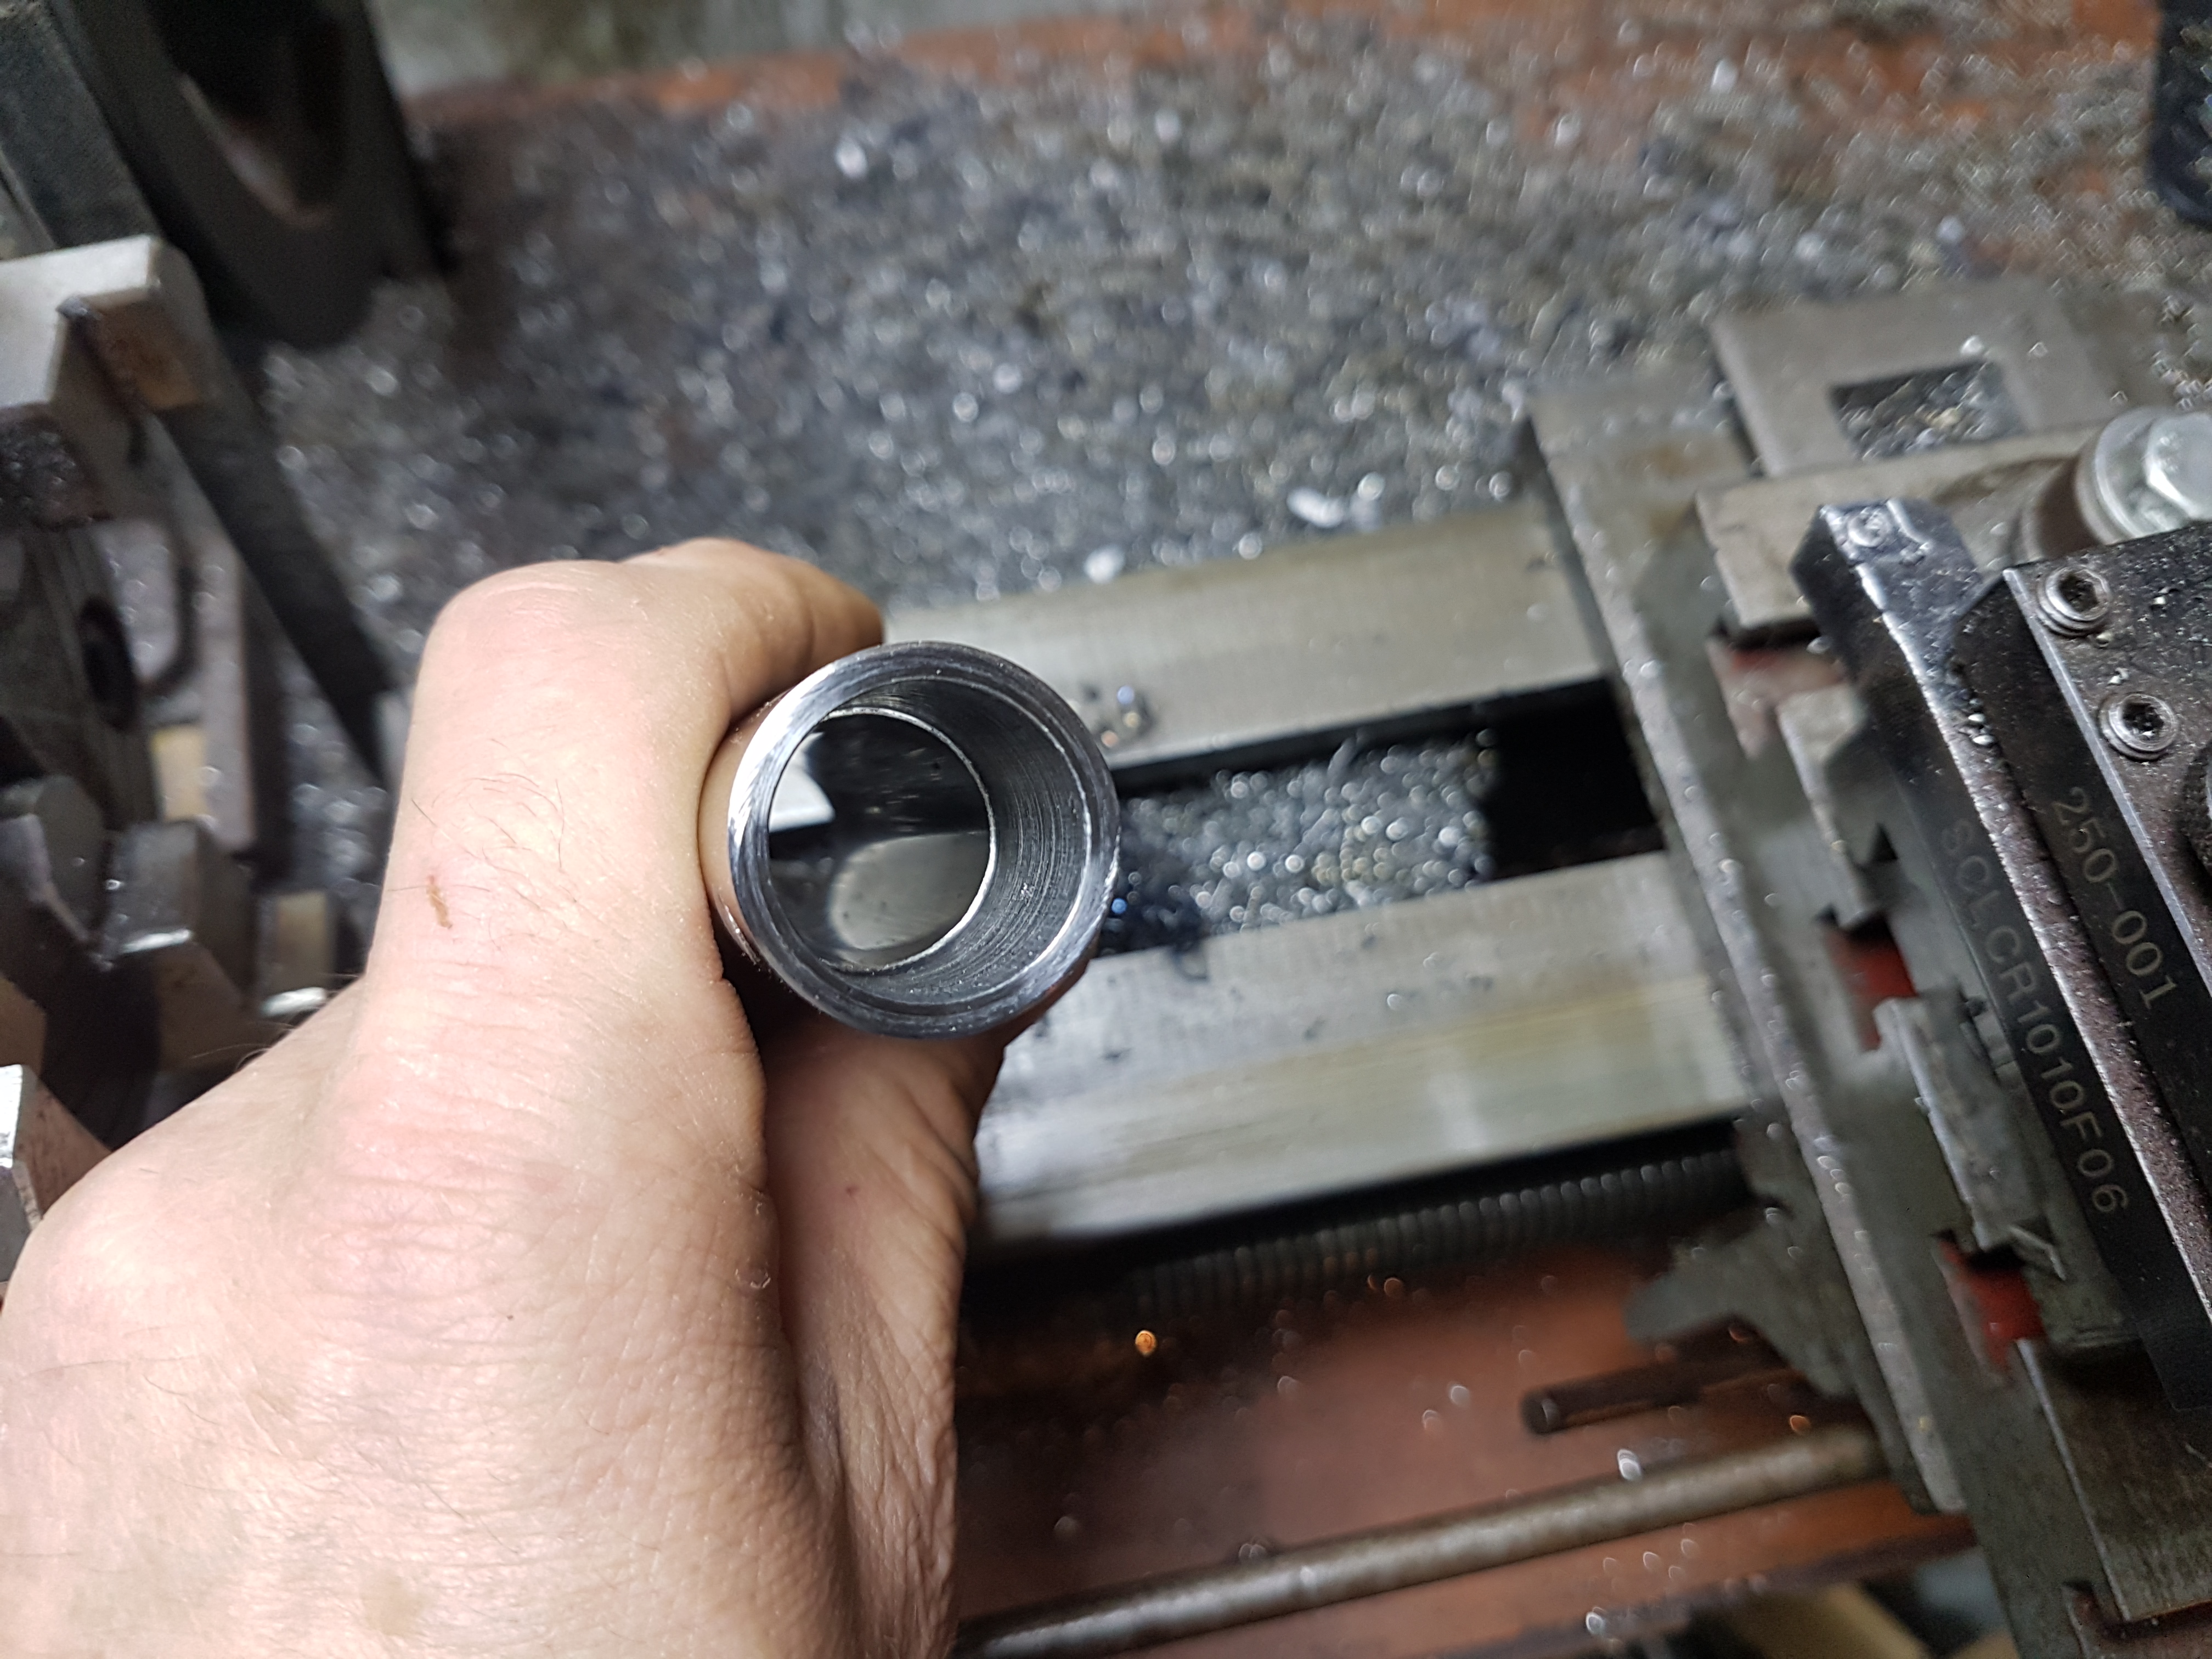
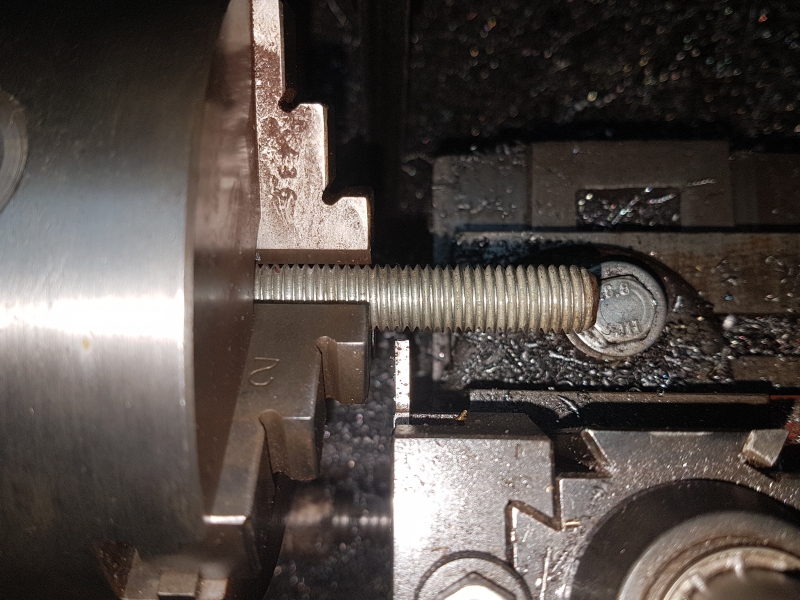
    It was at this point I found spanner number three as the quill stub was too large for the bore by 1mm. After getting home I chucked it up in my four jaw and managed to get it to within .00025" of centre and bored it at low speed using carbide tooling:


    It fits the mag drill stub with just the tiniest amount of interference, which is exactly what I was aiming for, my biggest worry was overshooting and ending up with play, so I was very happy with the results.

    I haven't had a chance to try it out yet, I'll have to wait till Monday for that but hopefully I'll be able to finish the holes so I can finally progress with the build.

    Until then, have a good weekend and I'll catch you all round

    186 More Best Homemade Tools eBook
    It's not the destination but the journey you take to get there that matters.

  2. The Following 3 Users Say Thank You to Canobi For This Useful Post:

    PJs (Oct 14, 2018), that_other_guy (Nov 24, 2018), Toolmaker51 (Oct 12, 2018)

  3. #22
    Supporting Member
    Join Date
    Aug 2016
    Posts
    635
    Thanks
    1
    Thanked 188 Times in 166 Posts

    wizard69's Tools
    Really nice work with the write up and pictures. That probably doubles your work effort but we do enjoy your posts.

    2,500+ Tool Plans

  4. The Following User Says Thank You to wizard69 For This Useful Post:

    PJs (Oct 14, 2018)

  5. #23
    Supporting Member Canobi's Avatar
    Join Date
    Mar 2016
    Location
    Shrewsbury, Shropshire (UK)
    Posts
    181
    Thanks
    92
    Thanked 364 Times in 98 Posts

    Canobi's Tools
    Thank you wizard69

    I'm not very articulate verbally, so tend to let my actions do most of the talking when I'm filming for my YouTube channel. Write ups for forums are a different ballgame and while it does add to the workload, I feel it is an essential part of the process. Not least as it gives a bit of background and context as to why procedures, decisions and operations were chosen but also as it gives me a chance to inject just a little entertainment value for those reading them.
    It's not the destination but the journey you take to get there that matters.

  6. The Following User Says Thank You to Canobi For This Useful Post:

    Toolmaker51 (Oct 13, 2018)

  7. #24
    Supporting Member Toolmaker51's Avatar
    Join Date
    Feb 2016
    Location
    Midwest USA
    Posts
    5,338
    Thanks
    7,048
    Thanked 3,021 Times in 1,905 Posts

    Toolmaker51's Tools
    Quote Originally Posted by Canobi View Post
    Thank you wizard69 ........forums are a different ballgame and while it does add to the workload, I feel it is an essential part of the process. Not least as it gives a bit of background and context as to why procedures, decisions and operations were chosen but also as it gives me a chance to inject just a little entertainment value for those reading them.
    100% motivation to post as we do here, is preservation and distribution of ideas and technique. I'm positive Canobi's thoughts relate with a huge percentage of readers - whether those who post as well, or those cruising by [don't want to label them as lurkers].
    Sincerely,
    Toolmaker51
    ...we'll learn more by wandering than searching...

  8. The Following 2 Users Say Thank You to Toolmaker51 For This Useful Post:

    PJs (Oct 14, 2018), that_other_guy (Nov 24, 2018)

  9. #25
    Supporting Member Canobi's Avatar
    Join Date
    Mar 2016
    Location
    Shrewsbury, Shropshire (UK)
    Posts
    181
    Thanks
    92
    Thanked 364 Times in 98 Posts

    Canobi's Tools
    Hi folks

    Well, I've finally managed to put holes in the hight blocks and thankfully, they came out on centre but it wasn't without it's trials and tribulations, as can be seen by the score marks made by the mag drill coming loose:


    Unfortunately one of the grub screws in my arbor got well and truely jammed so I had to hacksaw through both to get it off

    I blame myself for not choosing the correct size or type of grub screw, should have been bigger and with a flat on the end, not pointed but at least it worked as intended.

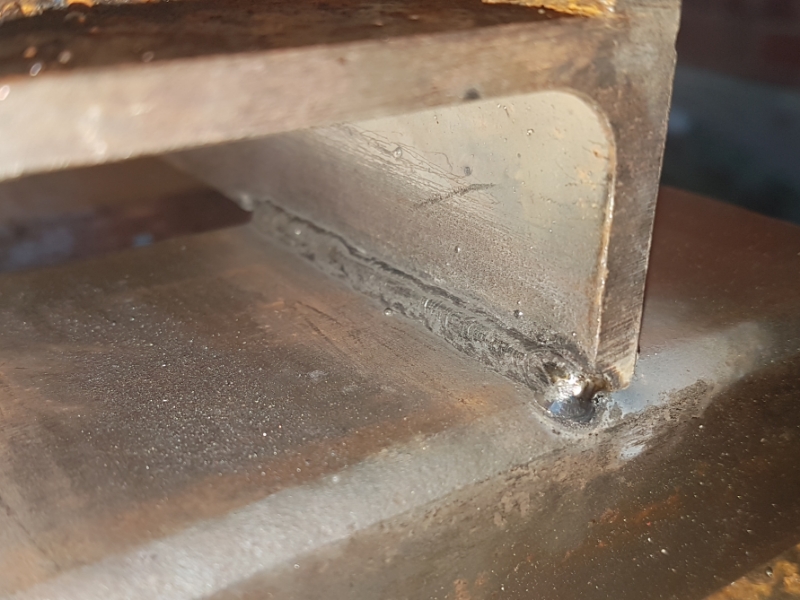
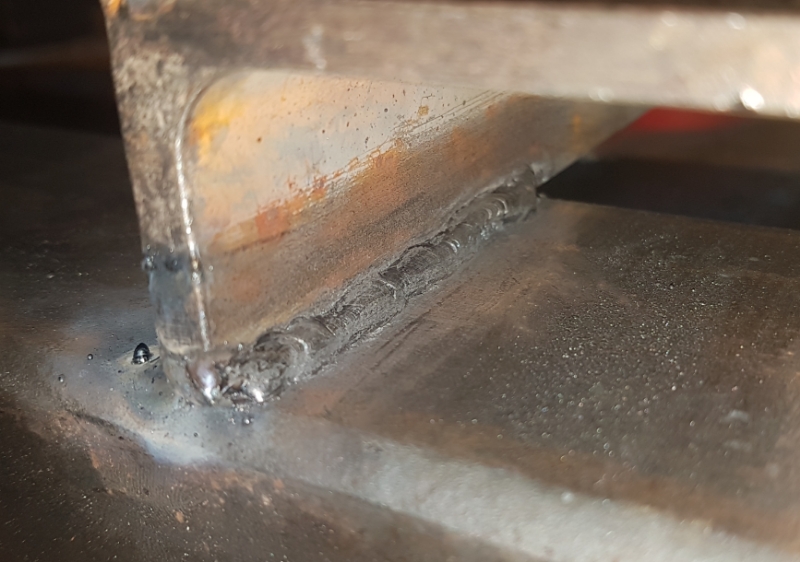
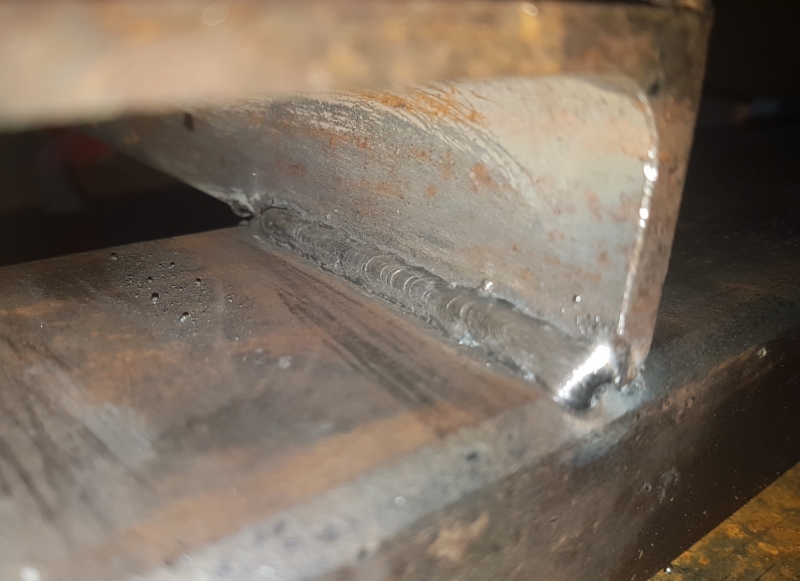
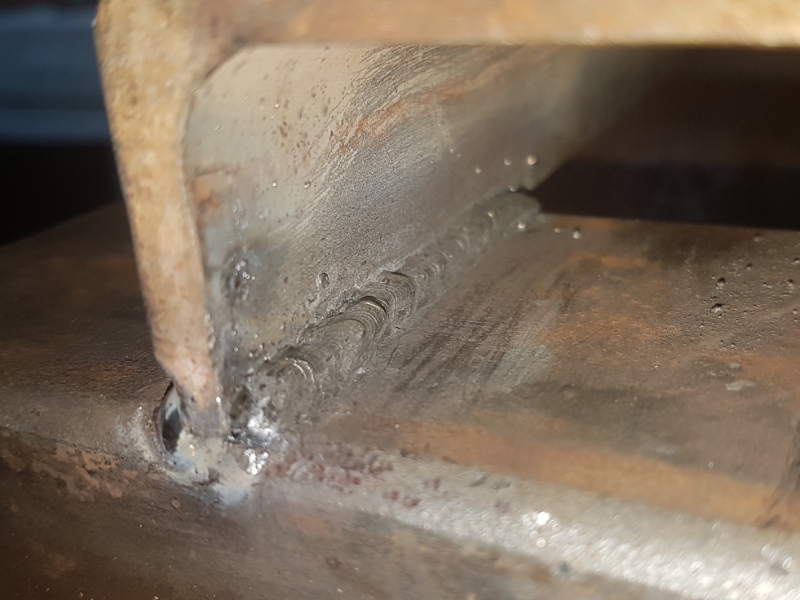
    Whe weather was very nice yesterday so I welded on the feet using the last of the 2.5mm 6013 but here I deviated from my plans again.

    Given that the jack will be upside down, the greatest forces will be applied on the upward stroke. So to counter the possibility of toppling the press over backward, I made them much longer and biased the frame's position forward to about 3" from the front.

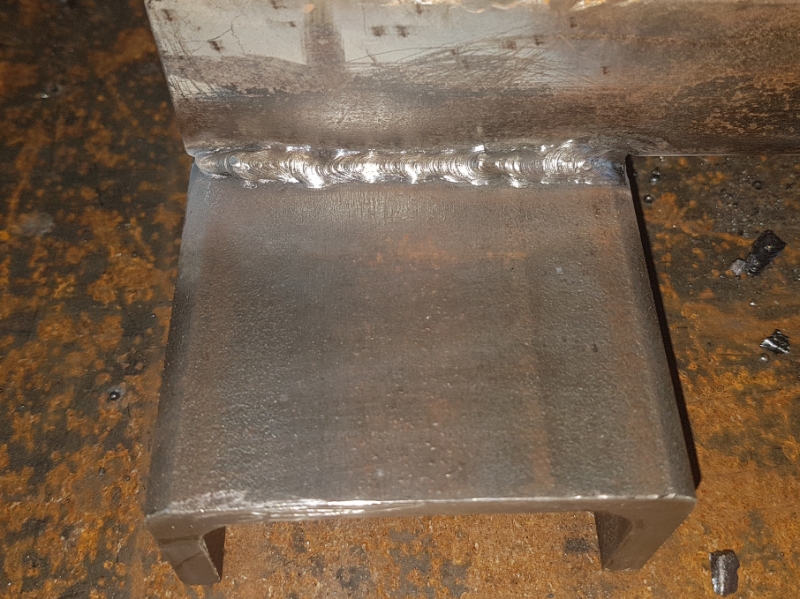
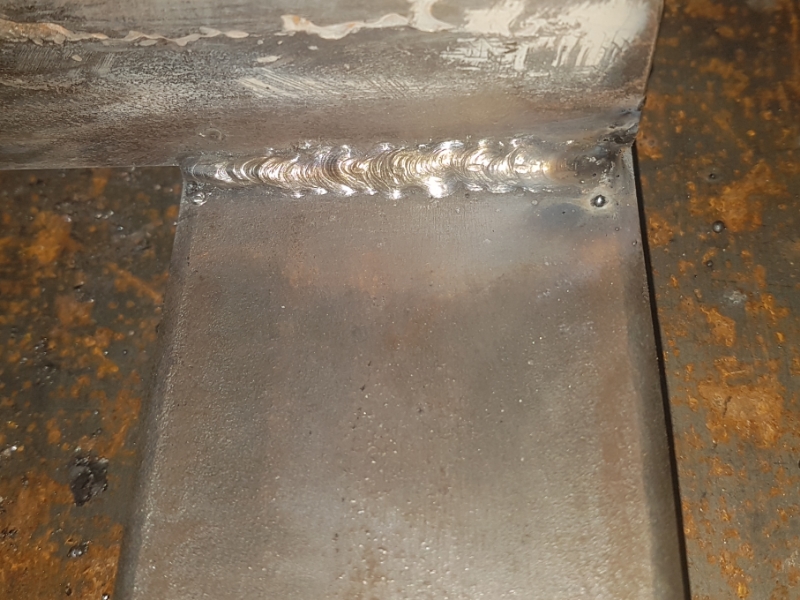
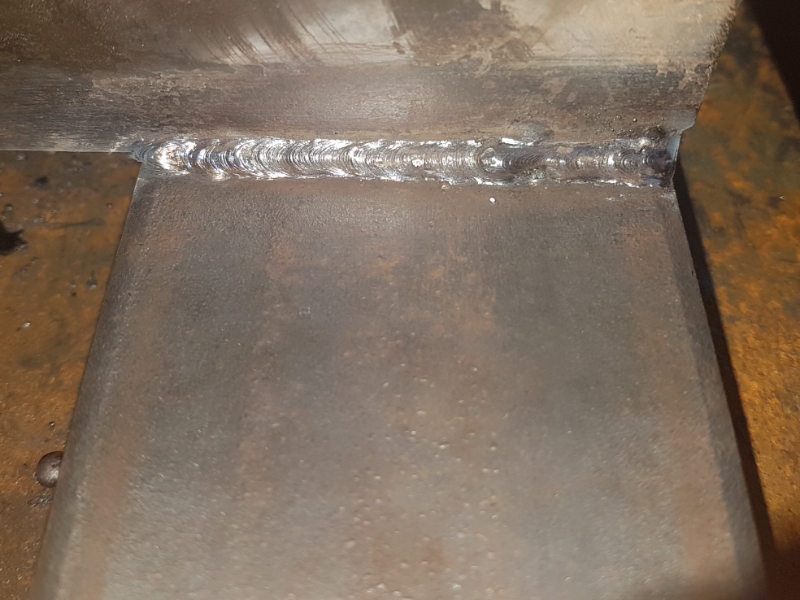
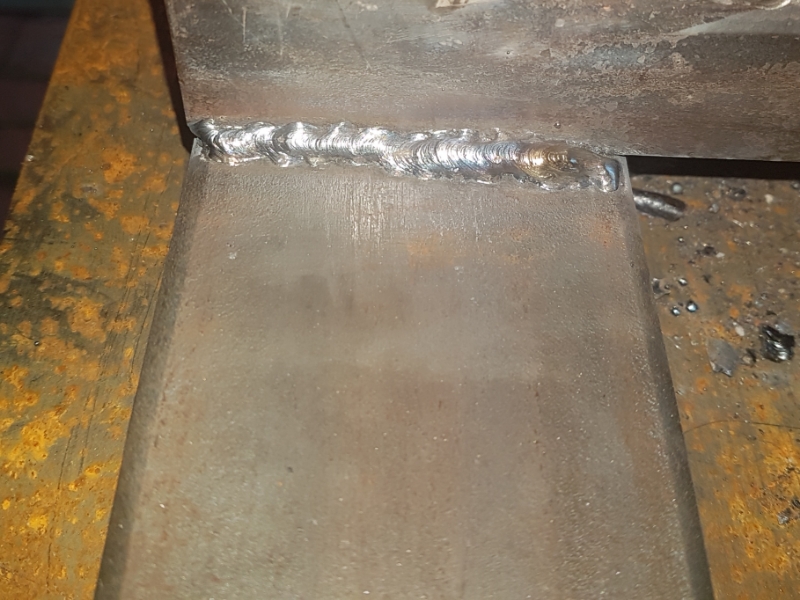
    I had two and a half rods left, so just for kicks and giggles, I also welded the inside seams and was very surprised at how well they came out, I'm guessing the heat build up probably helped there:


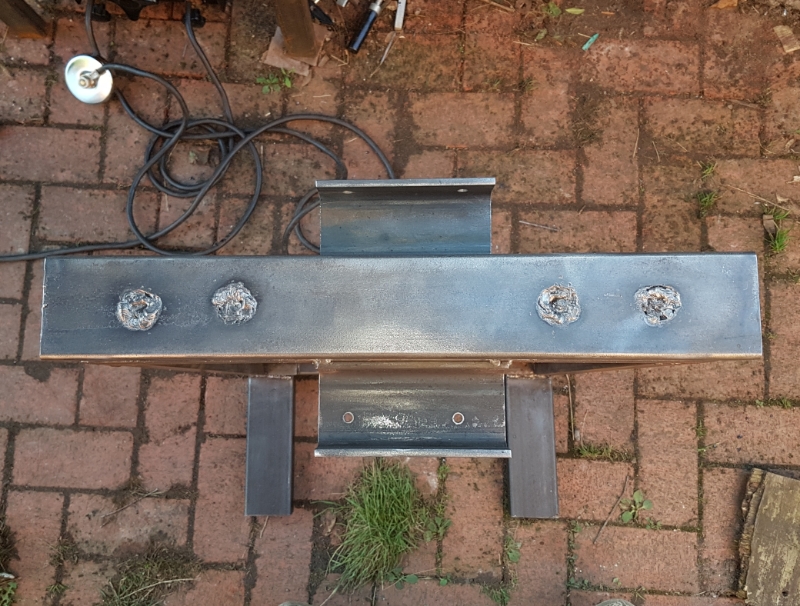
    I also decided to take one half of the botched receiver and add it to the top as extra bracing, always better to be safe than sorry in my opinion.

    The four holes made good weld points and I filled them in with a combination of 6011, then topped those with 7016 and used the last of 7016 rods to weld both ends to the box section. Afterwhich I stitch welded down both sides with 6011 as I still have a ruck of those:


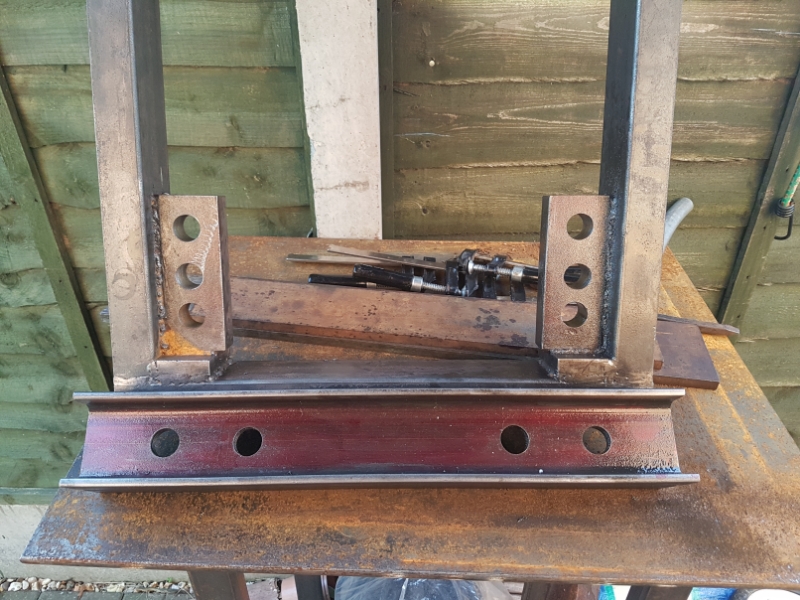
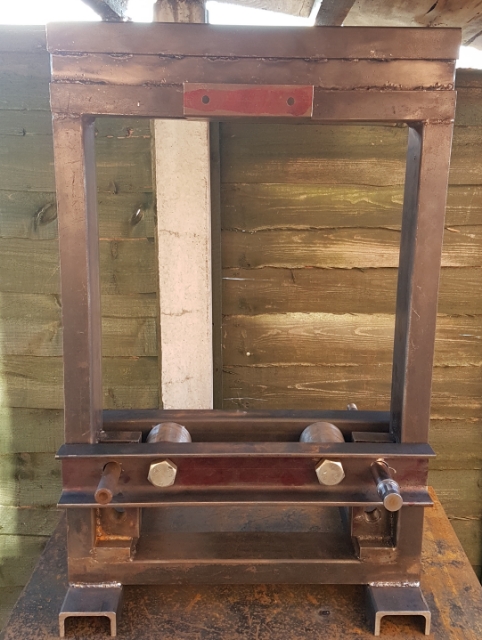
    And finally, here is the press with the receiver in place:


    Unfortunately, Mr bozo showed up when I was measuring and cutting to make the new receiver and I forgot to measure it's actual length when I got it and it turned out to be 2mm oversize. The error occured when I measured my centres from each end which resulted in the holes being slightly out of alignment by 1mm each side.

    Luckily the holes I put in are 24mm dia and I had a short length of 22mm bar which was able to fit between the offset holes snugly and after taking a measurement from the top of the receiver to the underside of the top beam on both sides, the results showed it to be parallel, so I was mighty relieved.

    More soon....
    It's not the destination but the journey you take to get there that matters.

  10. The Following 5 Users Say Thank You to Canobi For This Useful Post:

    high-side (Oct 26, 2018), JoeH (Oct 23, 2018), PJs (Oct 22, 2018), that_other_guy (Nov 24, 2018), Toolmaker51 (Oct 22, 2018)

  11. #26
    JoeH's Avatar
    Join Date
    Mar 2018
    Posts
    57
    Thanks
    37
    Thanked 25 Times in 21 Posts
    I look forward to pics with the thing in use. Cool.

  12. The Following User Says Thank You to JoeH For This Useful Post:

    Canobi (Oct 30, 2018)

  13. #27
    Supporting Member Canobi's Avatar
    Join Date
    Mar 2016
    Location
    Shrewsbury, Shropshire (UK)
    Posts
    181
    Thanks
    92
    Thanked 364 Times in 98 Posts

    Canobi's Tools
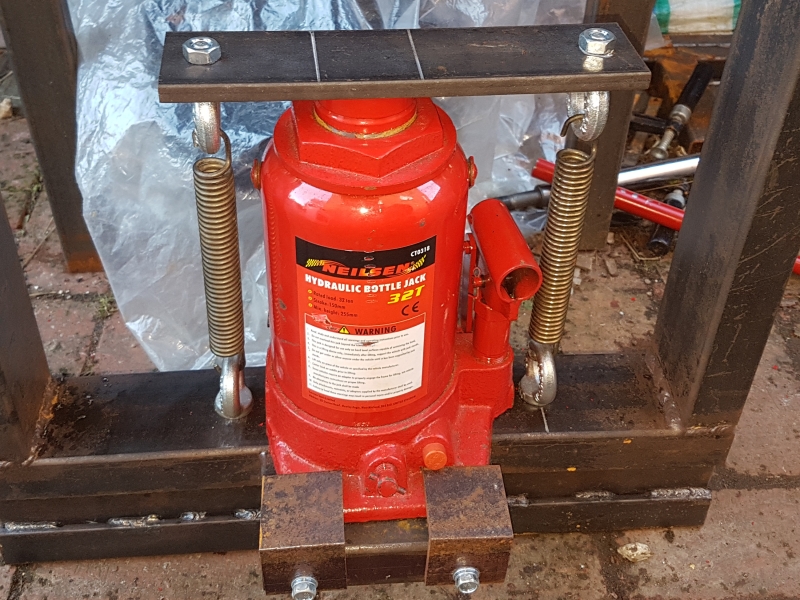
    A friend of mine brought his cordless drill around to mine this afternoon, so I was able to add the springs used to return the ram. The springs came from a recycled 8' trampoline and luckily saved some of them. The flat bar is offset due to the hand pump but that doesn't effect it's performance, though I wish I had a longer one as it's of preferred a more pleasing symmetry but I can live with that little detail.

    There's more to be fone to it yet though, my plan for tomorrow is to turn a ring and weld it on the ram side of the flat bar so there's no chance of the bar slipping off the ram and on the receiver side, I'm going to weld on a pressing tool alignment stub (most likely made from a shock absorber shaft), apon which I can attach various pressing tools of my own making later.
    It's not the destination but the journey you take to get there that matters.

  14. The Following User Says Thank You to Canobi For This Useful Post:

    PJs (Oct 29, 2018)

  15. #28
    Supporting Member Canobi's Avatar
    Join Date
    Mar 2016
    Location
    Shrewsbury, Shropshire (UK)
    Posts
    181
    Thanks
    92
    Thanked 364 Times in 98 Posts

    Canobi's Tools
    Hi folks

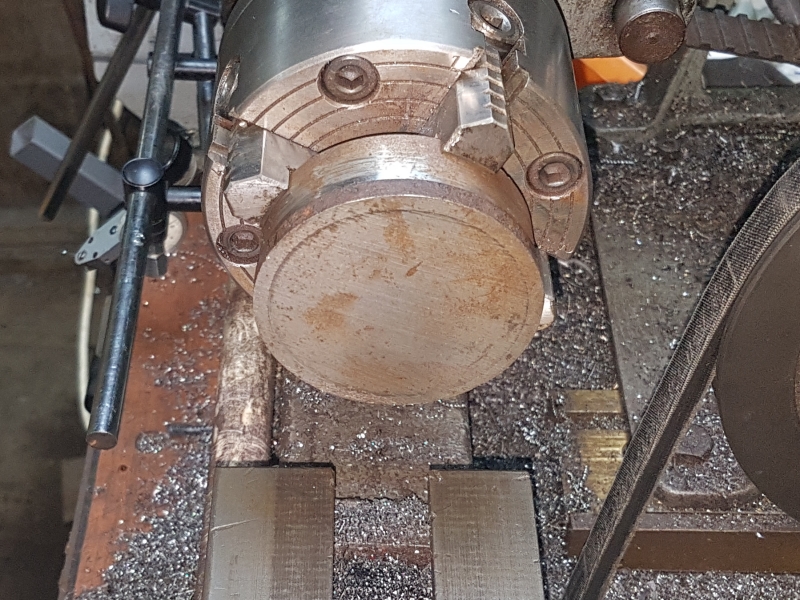
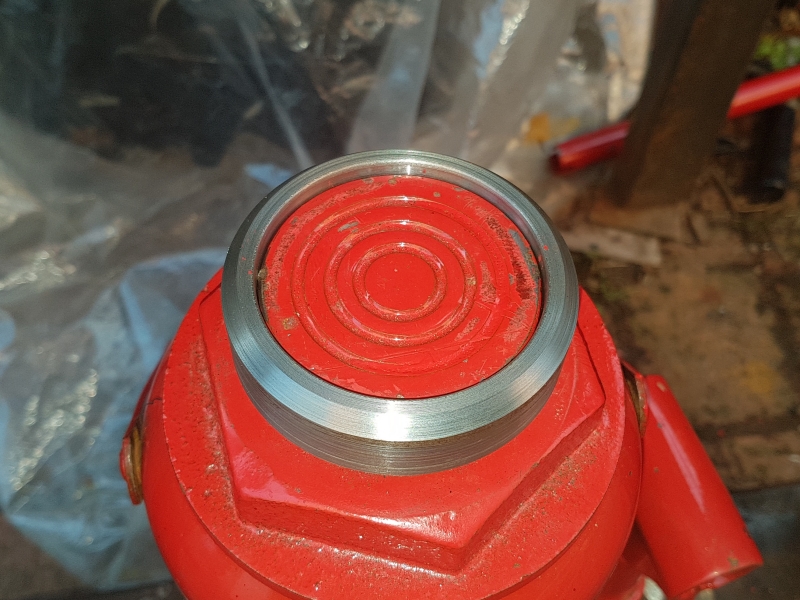
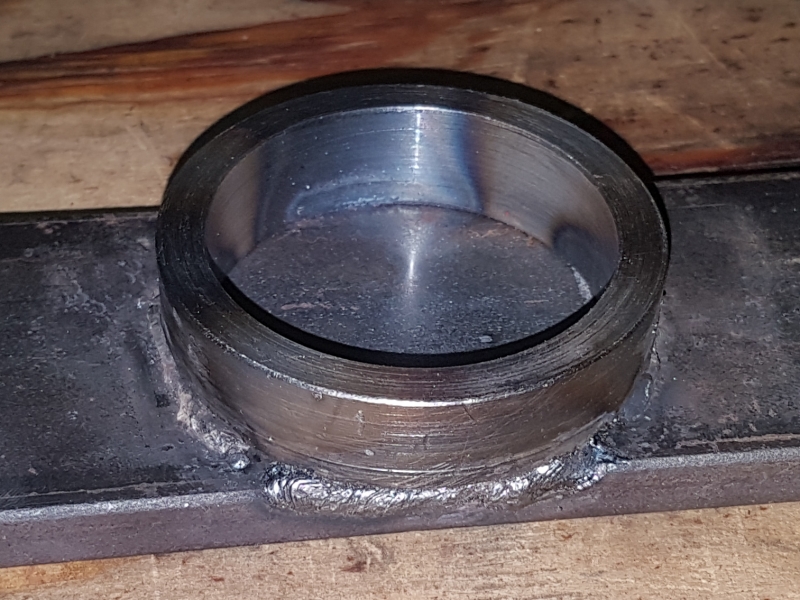
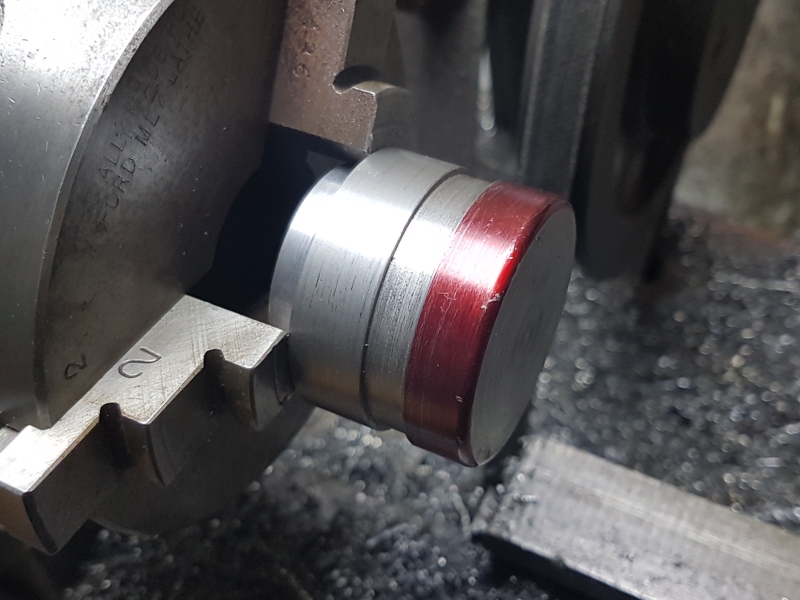
    I got started on the retention ring for the ram yesterday evening, for that I used the offcut left over from the stock I used to make the spacers:


    The ring was still a shade undersize when I reluctantly had to call it quits and drag myself to bed (early shift this week):


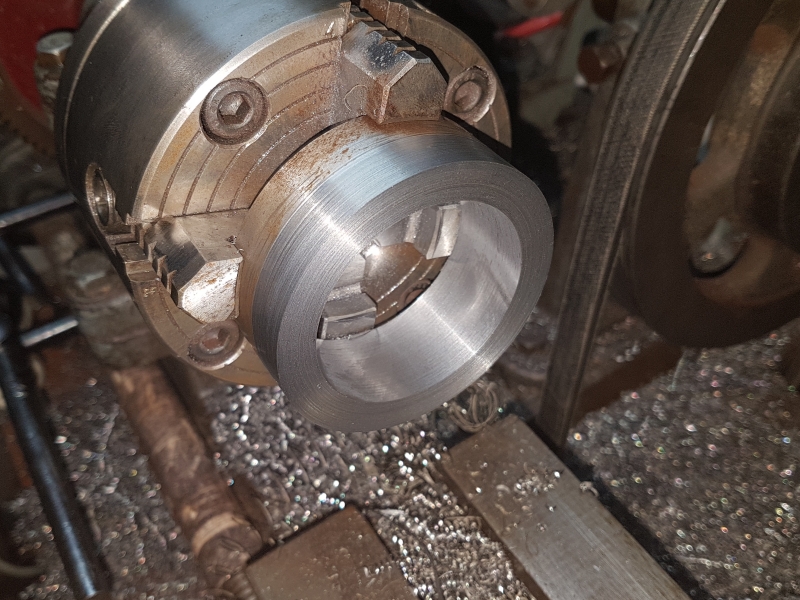
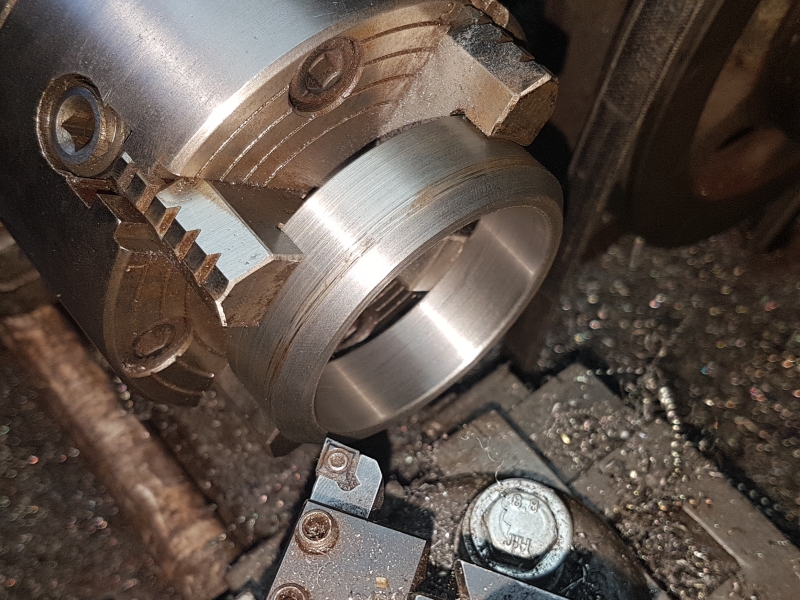
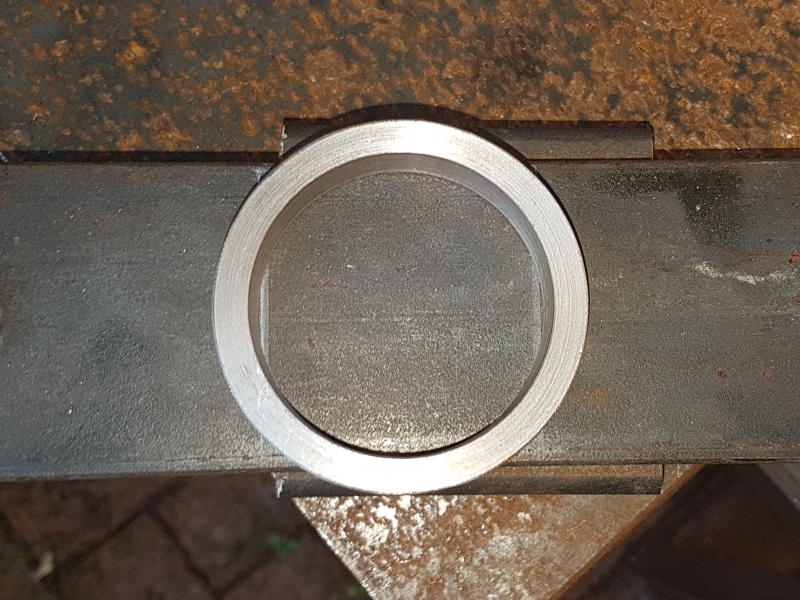
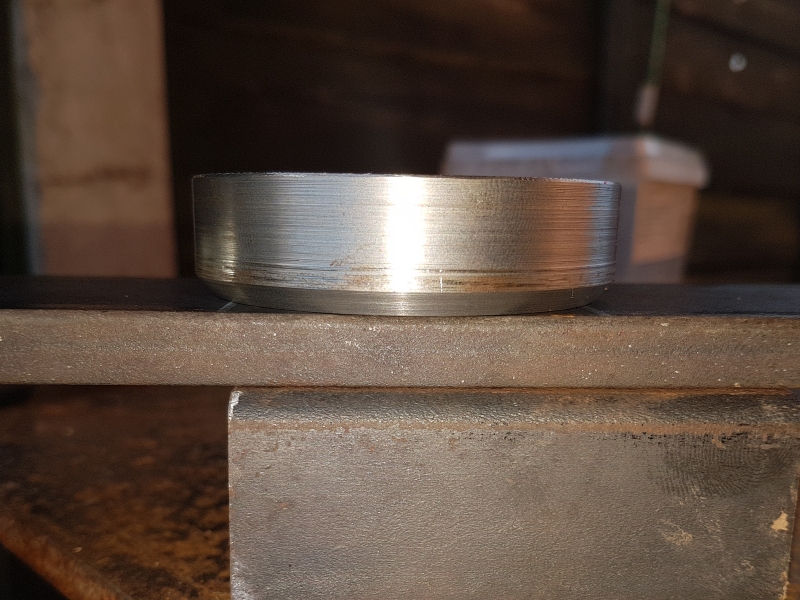
    After work next day, I finished boring it to size and cut a bevel on one side for welding:


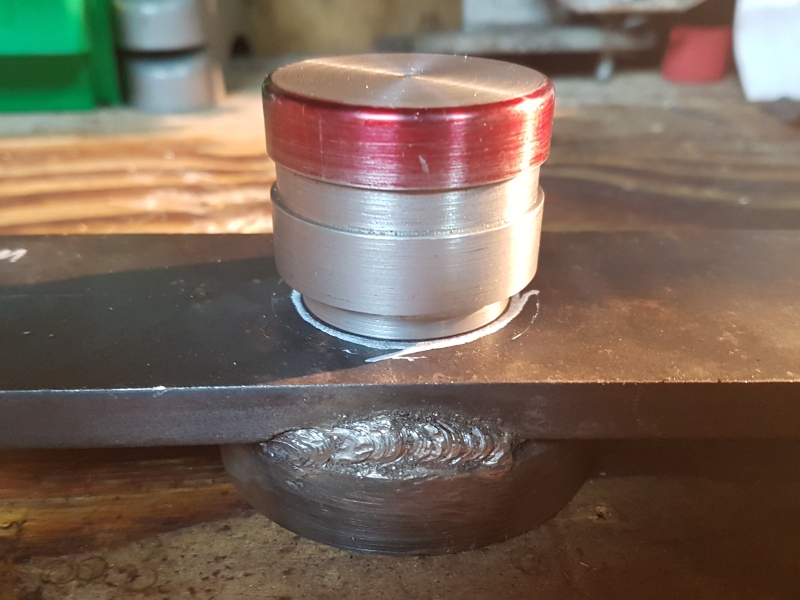
    Once all the machining had been done, I checked it for fit, which turned out to be dead nuts as it rotates freely but there's no side play at all:


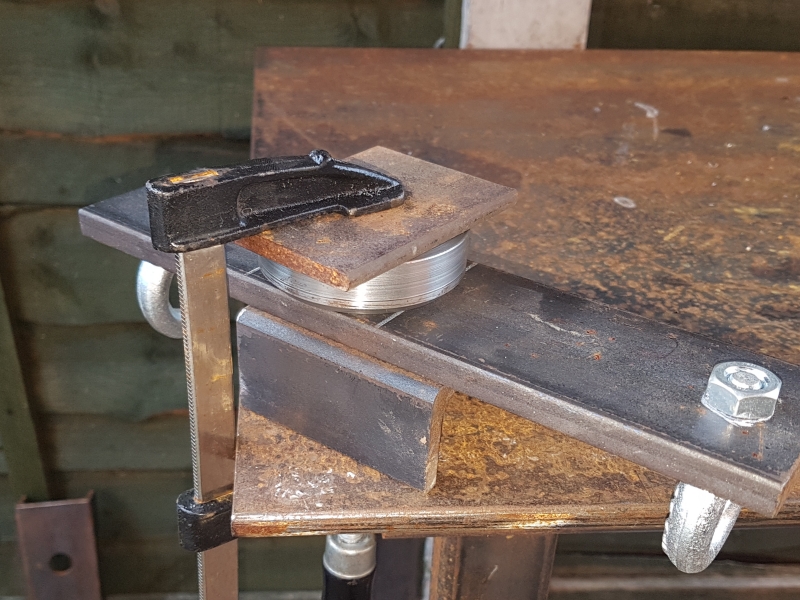
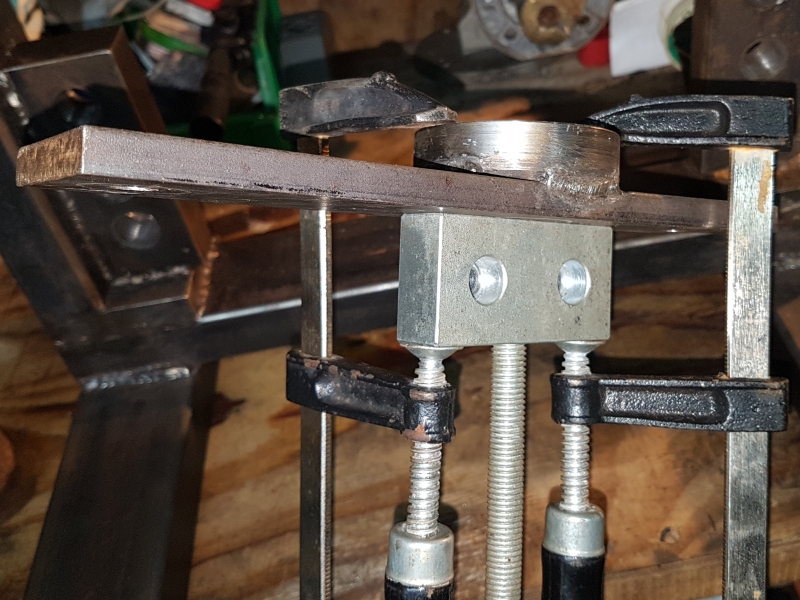
    With the ring finished and not much daylight left, I got busy setting thing up for welding. I was simply going to tack it in place as realistically that's all it would need but it's any excuse for practice with me and welding still, so I ran four short beads using E6011, which I still have in ready supply:


    Earlier on in the day I had attempted to cut a short length from one of the shock absorber shafts I have but that proved to be more difficult than I had time for and I also didn't want to risk blunting my saw blade. So with the welding done, I took a second and more leisurely look to see what materials I had that I could use for the tool mounting peg.

    After some thought though, I figured it wouldn't have to be made of anything special as it won't see any of the forces the press will produce, so I settled for a short piece of mystery metal I had removed from a bar for sample turning awhile ago.

    After giving it a quick clean up, I cut a recess for locking screws 10mm back from the front face using my parting tool, having turned a heavy undercut on the other end beforehand as a way to help keep the weld beads from interfering with the tooling:


    I centred it up over the ring underneath and marked it's position but it was dark by the time I finished so I will have to wait till tomorrow before I can weld it on:
    It's not the destination but the journey you take to get there that matters.

  16. The Following User Says Thank You to Canobi For This Useful Post:

    PJs (Oct 31, 2018)

  17. #29
    Supporting Member Canobi's Avatar
    Join Date
    Mar 2016
    Location
    Shrewsbury, Shropshire (UK)
    Posts
    181
    Thanks
    92
    Thanked 364 Times in 98 Posts

    Canobi's Tools
    Hi folks

    I didn't have much time for tinkering after work today, being Halloween but did make some progress. I gave the peg a rethinking and decided to change tack as my original plan would mean turning quite large stock to make the tooling, something my small lathe is really not too keen on.

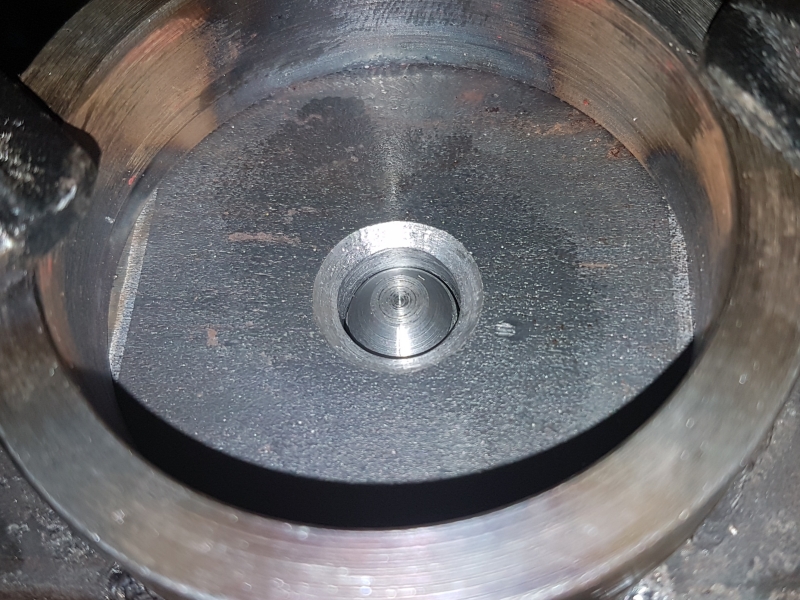
    Instead, I opted to drill a 12mm hole in the centre of the retention ring with the intention of welding a 30mm length of M12 threaded bar in the hole, which allows more flexibilty in regards to the size of the tooling I will be able to attach.

    Of course, it wasn't until after I'd drilled the hole to size that I realised I could have made things easier for myself if I'd threaded the hole for M12, thereby negating the need to find and rig up something that will keep the threaded stub aligned during the weld process:


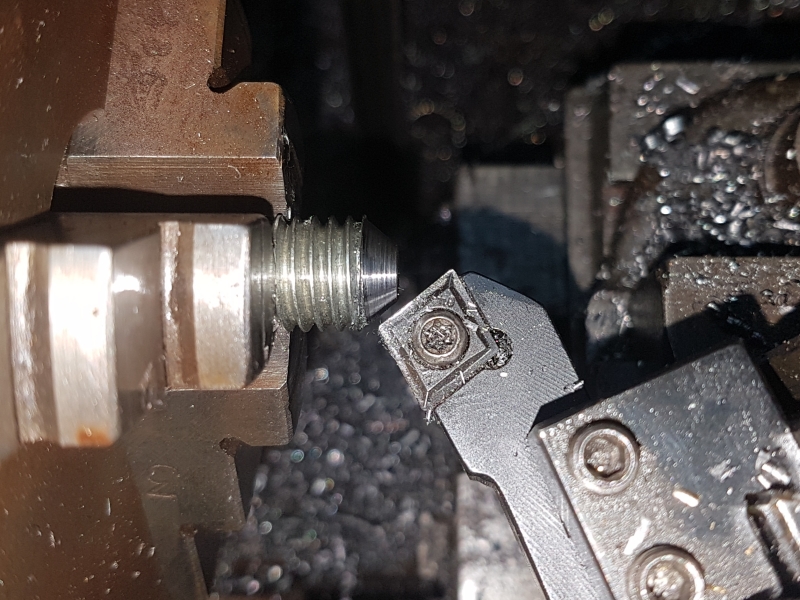
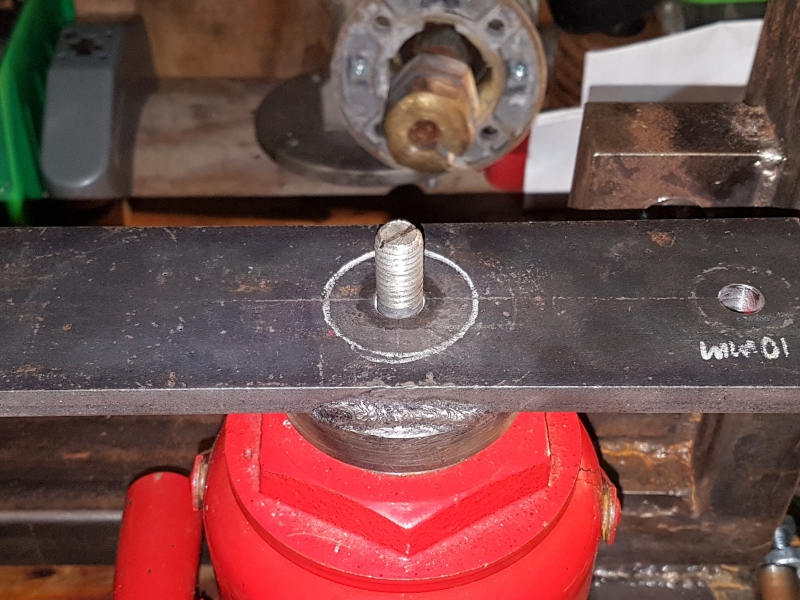
    Later this evening with the trick or treating out of the way and the kids put to bed, I set about making the threaded stub:


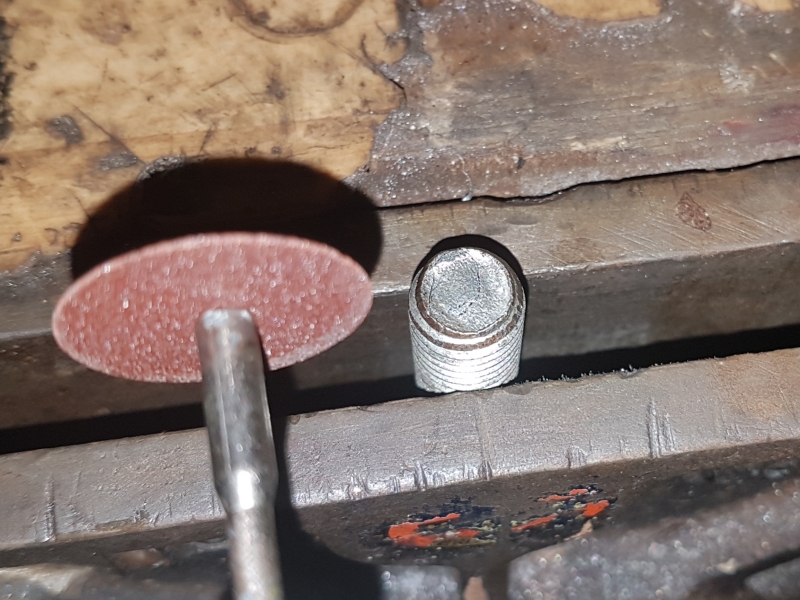
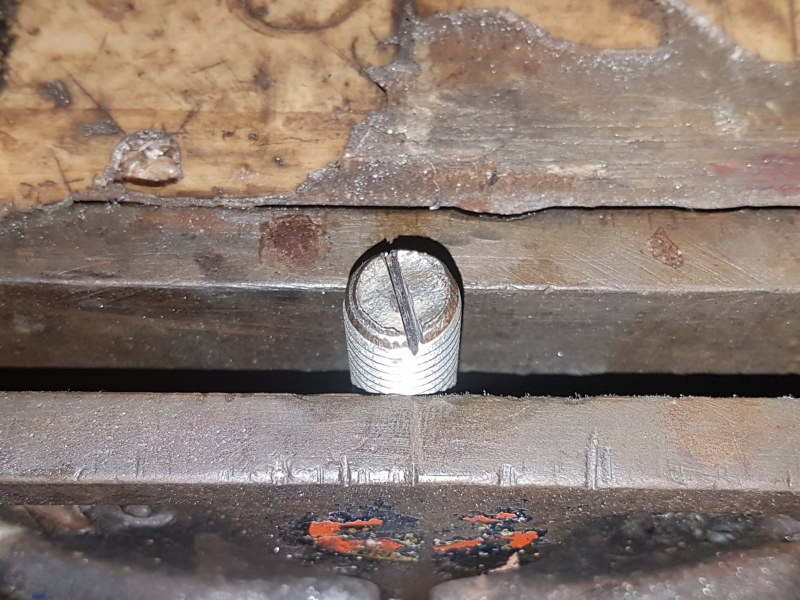
    After the turning the end, I stuck the stub in the vice and cut a slot for a screwdriver using my dremel tool and a cutoff wheel:


    Just need to weld it in place now, with luck I'll be able to do that tomorrow:
    It's not the destination but the journey you take to get there that matters.

  18. The Following User Says Thank You to Canobi For This Useful Post:

    PJs (Nov 1, 2018)

  19. #30
    Supporting Member Canobi's Avatar
    Join Date
    Mar 2016
    Location
    Shrewsbury, Shropshire (UK)
    Posts
    181
    Thanks
    92
    Thanked 364 Times in 98 Posts

    Canobi's Tools
    Hi again folks

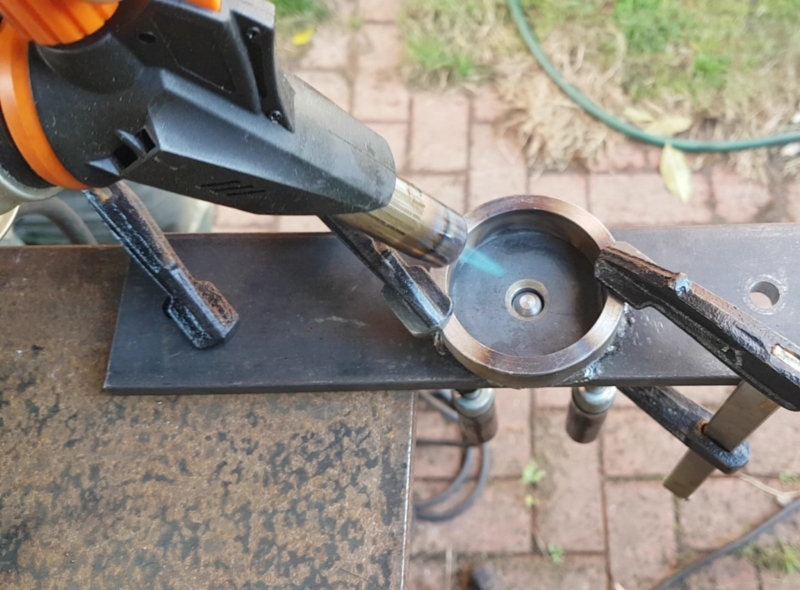
    I was blessed with good weather today so I welded the threaded stud in place. This time however, I opted to do a pre heat as I've noticed that after heat has built up in whatever I've been welding, the puddle penetrates much better and leaves a more uniform and flatter bead.

    With only a couple mm clearance between the face of the ram and the return bar, a flat bead is exactly what is called in this situation as it will negate the need to grind it down after, which would be a pain in the rear end at best with the ring surround it and it being of a much smaller diameter than any of my angle grinder discs:


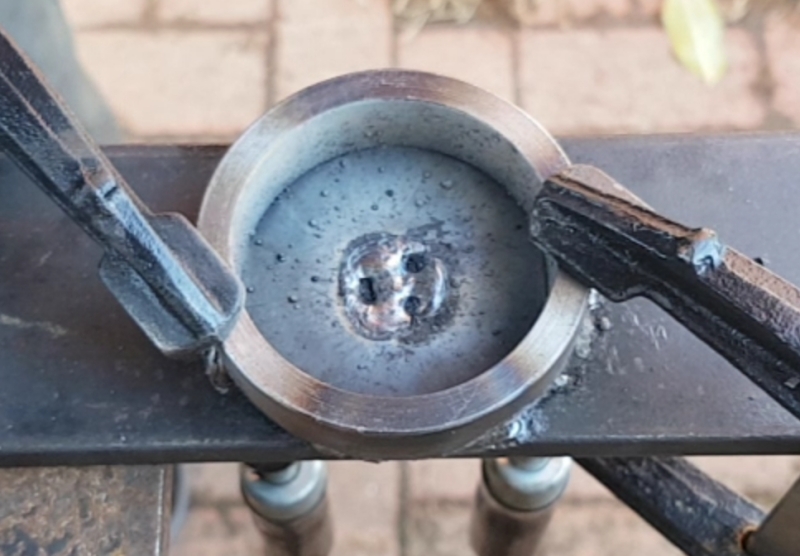
    The weld puddle didn't behave quite as expected with the protruding stud and this time I got inclusions in three places but by shear chance, they ended up quite evenly spaced and of similar size, making the weld look a bit like a three spoked wheel:


    However, I made an error showing what a welding novice I really am and I forgot to protect the bore of the ring (as can be clearly seen) and it ended up getting covered with bead shot, which was a paim to clean up but once they were all removed, it fit like a glove again:


    Later this evening I plan on turning something I can put on the stud. To that end I'm using a chuck of some mystery steel (I get it inexpensively by the kilo now and again) that may have been heat treated in some way.

    The key factors being that there looks to be some kind of scale on them that's a bit thicker than the mill scale I'm used to seeing. I also have to use carbide as HSS lasts only seconds and despite this one only being 1.1/4" dia, my lathe has struggled to cut it in the past due to its gummy like nature, which produce long lethal birdnest like chips and the occational spark:
    It's not the destination but the journey you take to get there that matters.

  20. The Following User Says Thank You to Canobi For This Useful Post:

    PJs (Nov 2, 2018)

Thread Information

Users Browsing this Thread

There are currently 1 users browsing this thread. (0 members and 1 guests)

Bookmarks

Posting Permissions

  • You may not post new threads
  • You may not post replies
  • You may not post attachments
  • You may not edit your posts
  •