I got into making my own custom PCBs and was in need of a small drill press. The tungsten carbide bits I use start at .1mm and anything from .5mm down are near impossible to use free hand without them snapping and they aren't cheap.
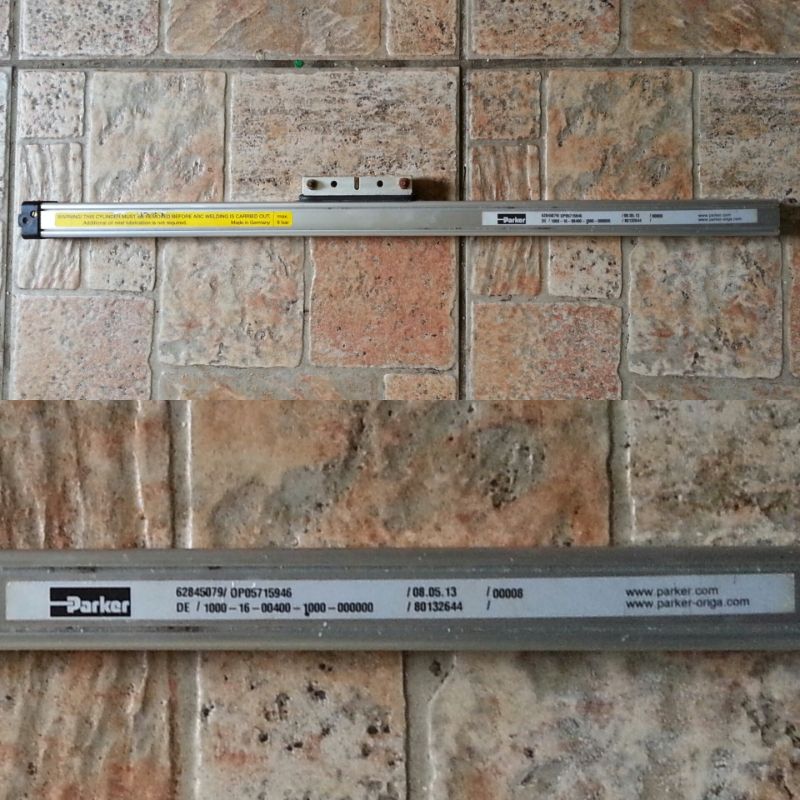
The chance to make one came about when I spotted a pneumatic essembly in the scrap bin at work that had come from a solder wave bath. It had been scrapped as there was an internal blockage that was stopping the carriage from travelling all the way to one end but was otherwise in good condition:
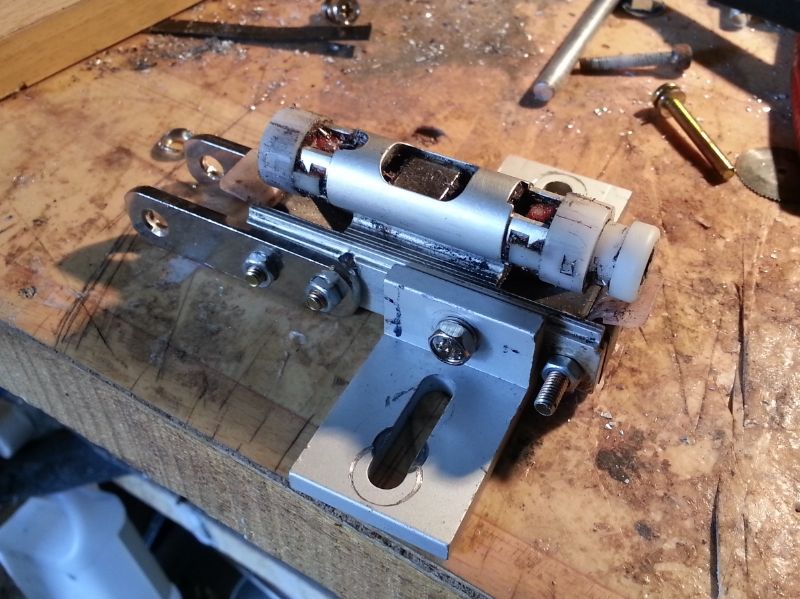
The press was going to need a lever (in this case a re purposed high volt bus bar), so I cut a slit at one end which I offset to one side in order to account for the width of the crank shaft. I also added a couple of short straight brackets for attaching the shaft to the carriage:
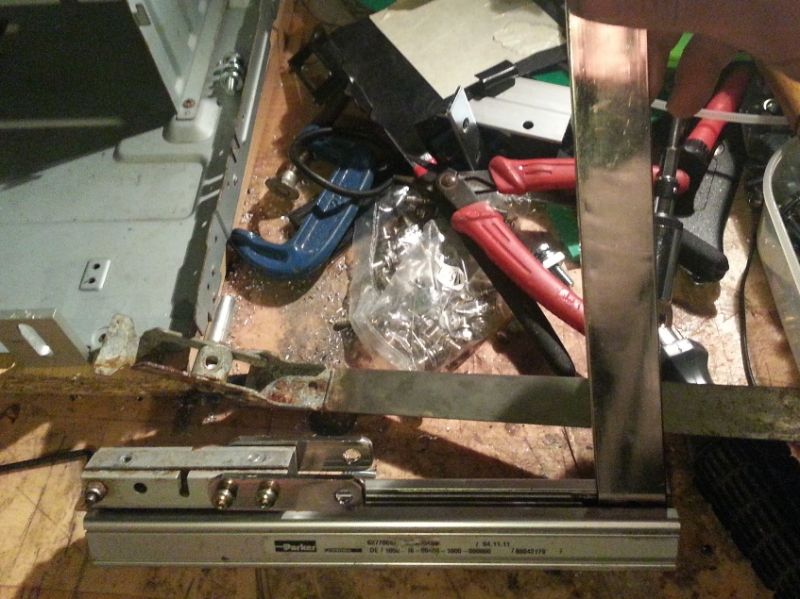
The carriage was removed and some brackets for the motor mount were added (I used a known flat surface to align the brackets and secured them in place)
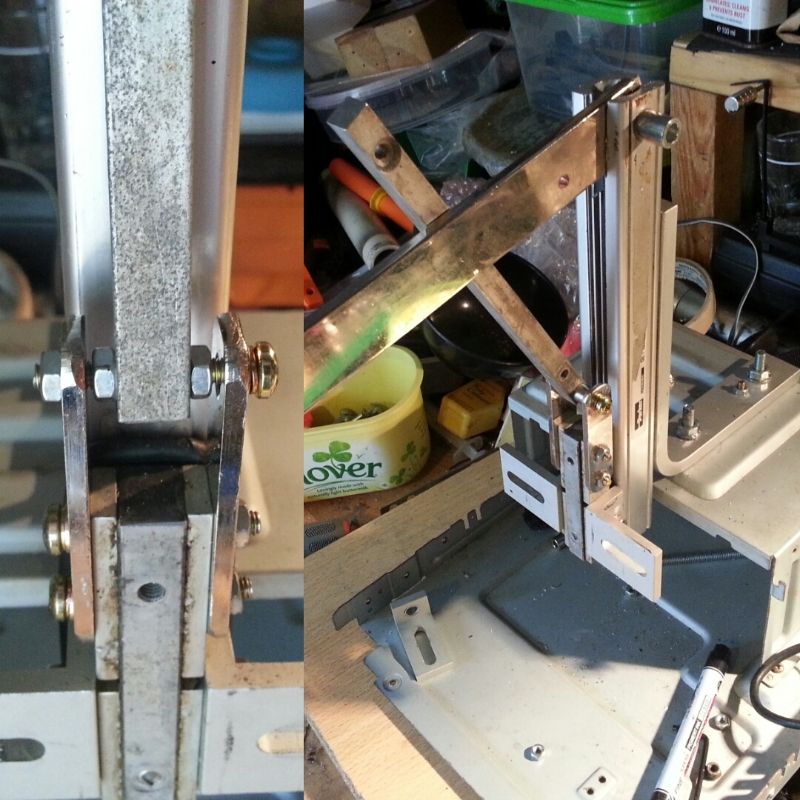
I then attached an alu bracket to the housing, the crank shaft to the carriage and measured up the shaft to set the travel distance:
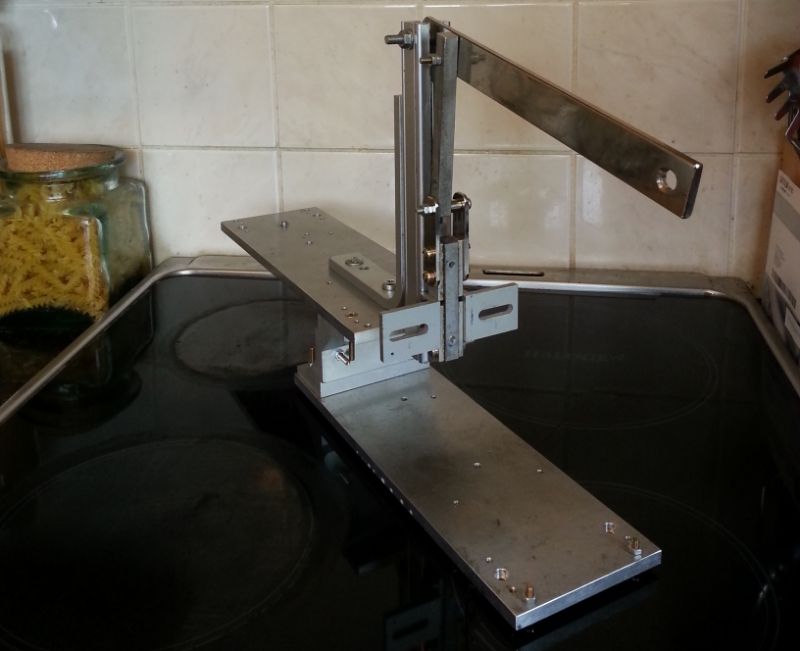
The flimsy base in the pic above was just a stand in, a suitable replacement was had by way of the scrap metal bins again, this time they provided me with an assortment of alu heatinks and heatsink mounts with which to make one:
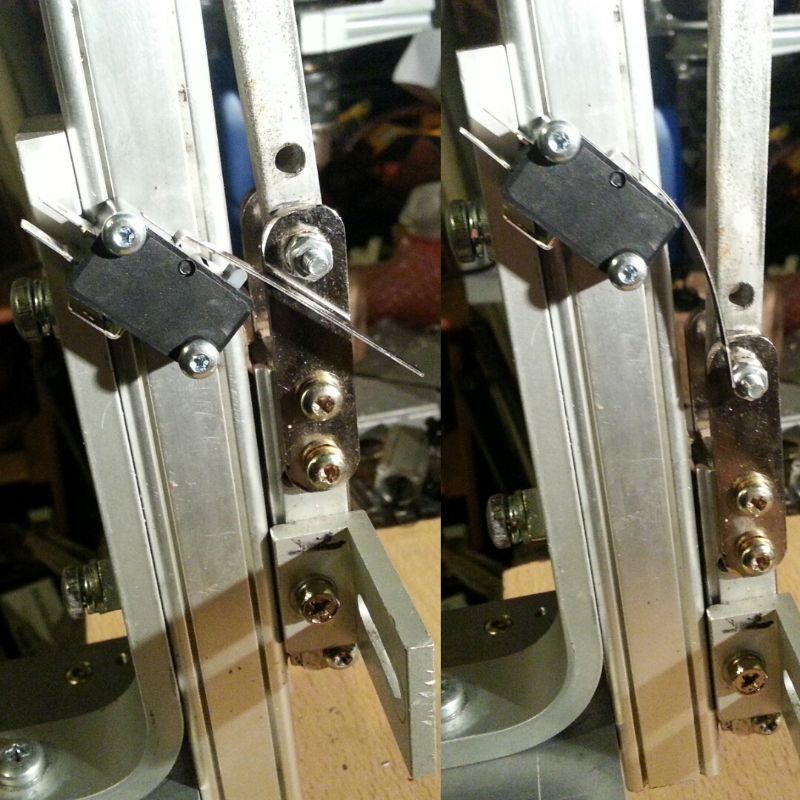
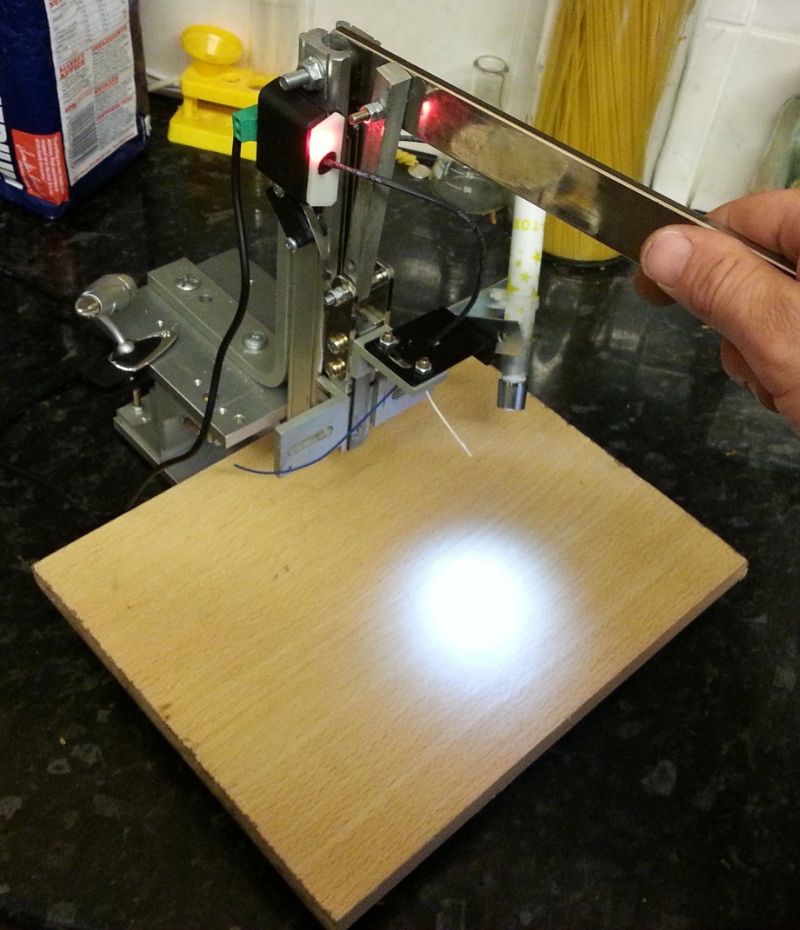
I then added a long lever micro switch as an auto start for the motor:
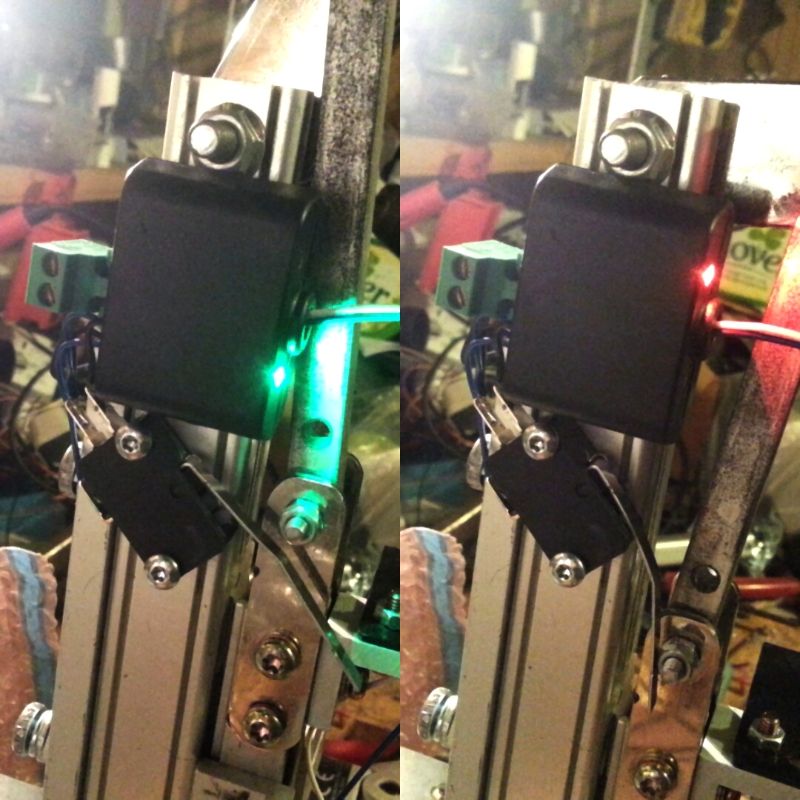
and then gave it red and green LED indicators for unsafe and safe conditions respectively:
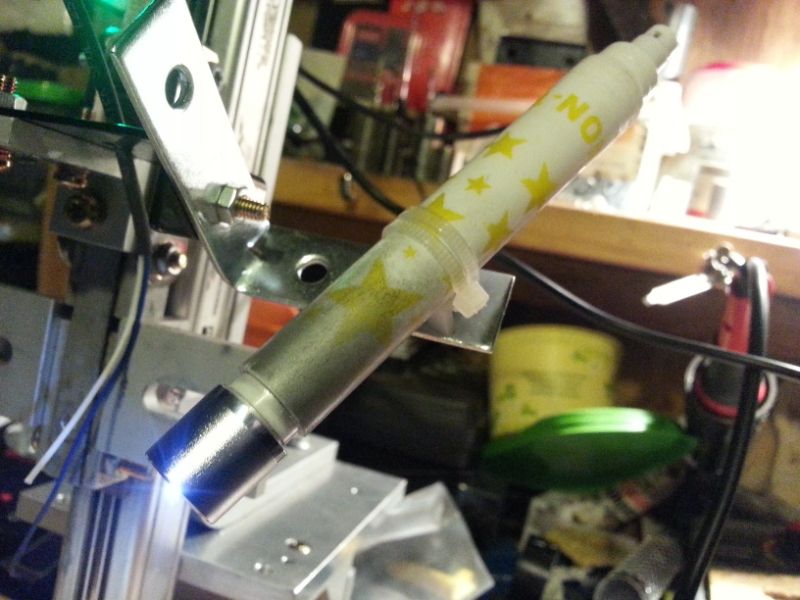
I then knocked up an adjustable drilling light from a discarded felt pen, a volume knob from a hi fi (same one the stand in base came from) and bright white LED:
A table was then added to the base:
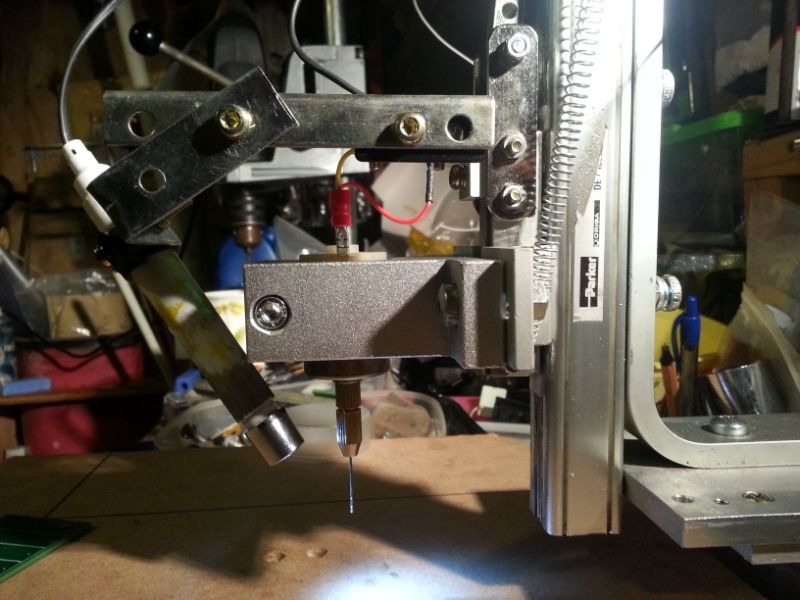
and finally I fitted the drill motor and motor mount which was a re purposed linear rail guide (both found cheaply on ebay):
Auto switch test vid:
Here she is in action:


 LinkBack URL
 About LinkBacks


 Reply With Quote


Bookmarks