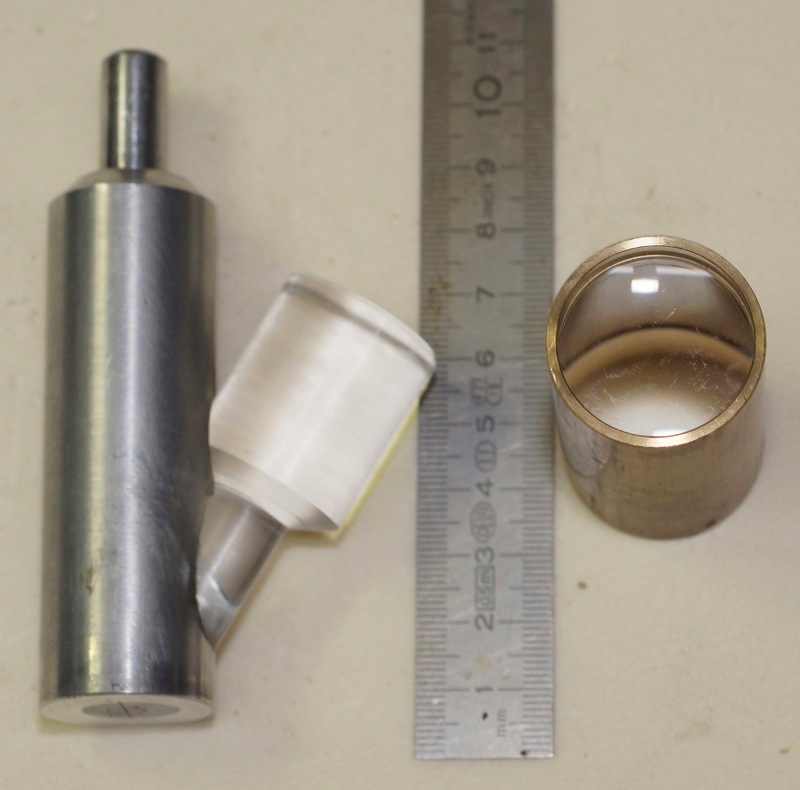
I think it's not really a new technique, but if you've not equipped to center and fix large pieces of metal for precise hole centering, the tool itself is just a 8mm. hard steel rod, on more than half of the length, it's reduced at about 6mm. then 4mm. with a +/- 60° well finished end, not made with the file but precisely with a tool.
The technique is based on the capacity of your eye to appreciate a 1/10mm. difference on small distances, and the capacity of our eye to appreciate the centering in the same value when you can't let the table at the same height with the difference between drill lengths after first centering.
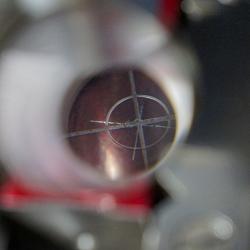
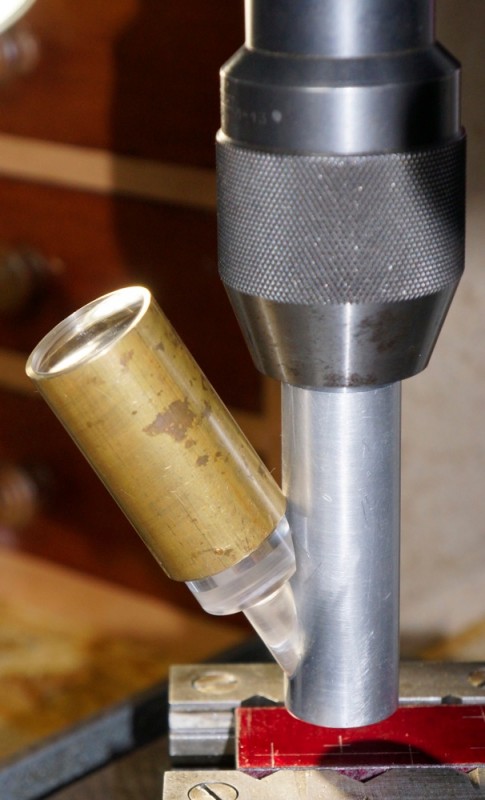
Here, my problem is very simple, as I need to make precise holes in M8 on a 250X180mm. flat steel plate (for mounting a motor), which I can't fix on my drill without clamps, then there is no real reference lines usable, first I make "centering holes" with a 3mm carbide drill, using my diy optical accessory(don't forget to put protections for the drill table).
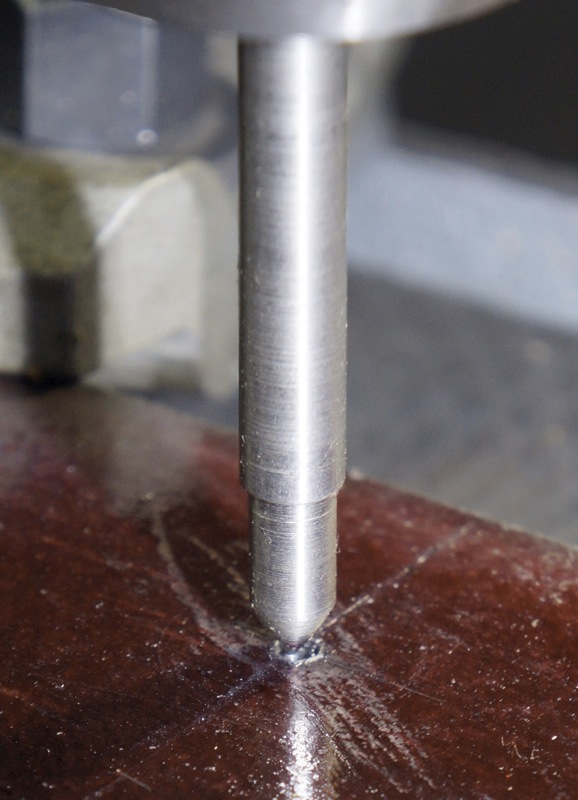
Now when the centering holes are made, using my little rod, just going slowly on the centering hole, and as you can see on the next picture, since at 2-3mm. over the plate you can since appreciate the out-of-center value.
When approaching the plate, you can clearly see the out-of-center, too much
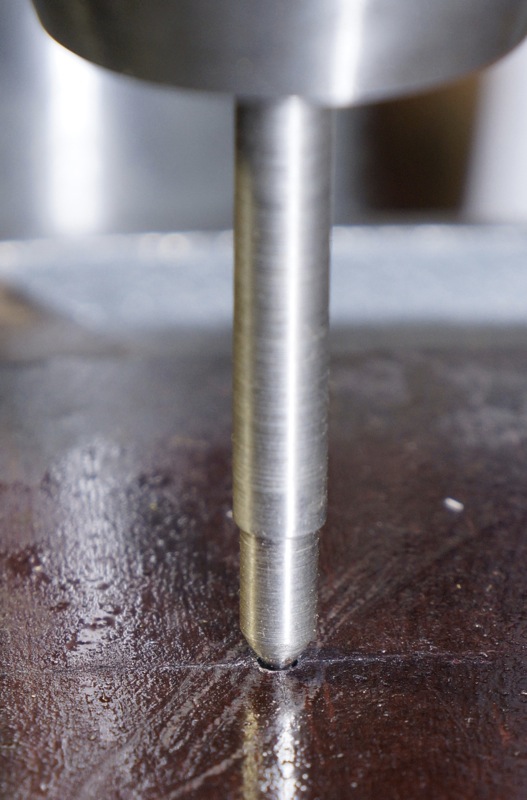
Touching the surface, the error value you can estimate here is about 2/10mm., the diameter of the hole giving the scale.
Now after the final adjustment using a small plastic hammer, you can definitely fix your plate with your three or four clamps,this is very important first for your security, and after for the precision, then the best way for me is to make the final operation, threading before going to another hole using progressive in diameter drills, when I make a crossed measure for holes on a 100X140mm. rectangle is less than 3/10mm with that technique.
I hope my english is enough understandable, this is a help technique if you can't use your vise or another normal fixture system and made more for newbies than for pro users.


 LinkBack URL
 About LinkBacks




 Reply With Quote


Bookmarks