Hi folks
I was starting to cut materials to size for a project I've wanted to get on for ages but noticed my saw wasn't cutting square and about halfway through truing it up, the blade broke
It's a bit of a rickety saw and it was getting swamped by rusting chip buildup, so I figured I would give it a proper clean. After seeing parts of it for the first time (I bought it second hand) it became apparent that it was going to need a little TLC and one or two upgrades/modifications.
The first of which was to replace the stupid little micro adjustment screw on the side of the machine base. Its function is for fine adjustment of the moving platform for squaring the blade with the vice. However, the one on mine was bent, being only a single nut tack welded in place, this was hardly surprising and a couple hits with my short handled hammer was all it took to remove it.
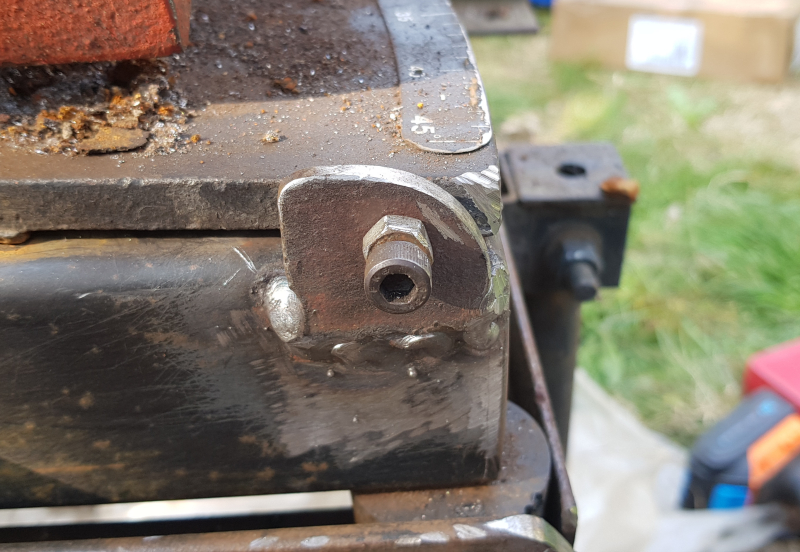
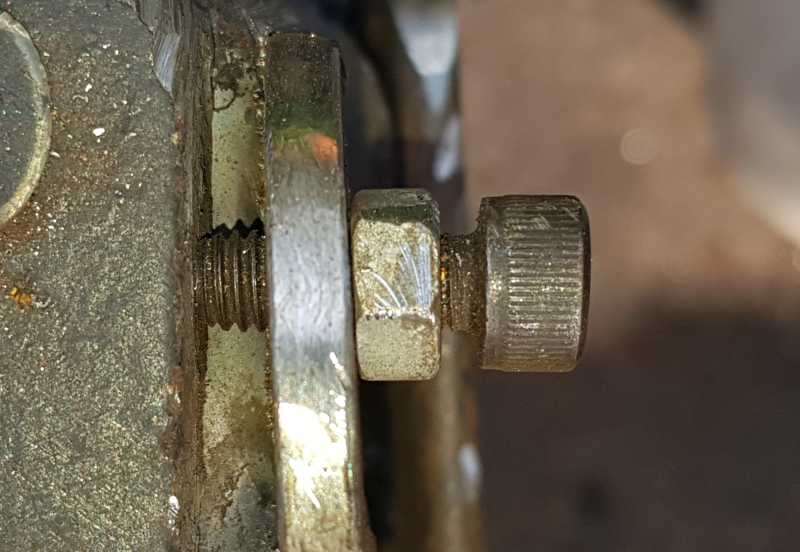
In it's stead, I opted to weld a small piece of 4mm flat mild onto the saw base and tapped it for M5. I then rolled around in my fixings tubs for a suitably sized cap head bolt and nut for locking it in position.
I then checked for clearance and chopped away and shaped any excess parts of the mobile bench and adjustment screw mount that were getting in the way (it came with the saw and had a few trailing ends sticking out here and there that needed to go):
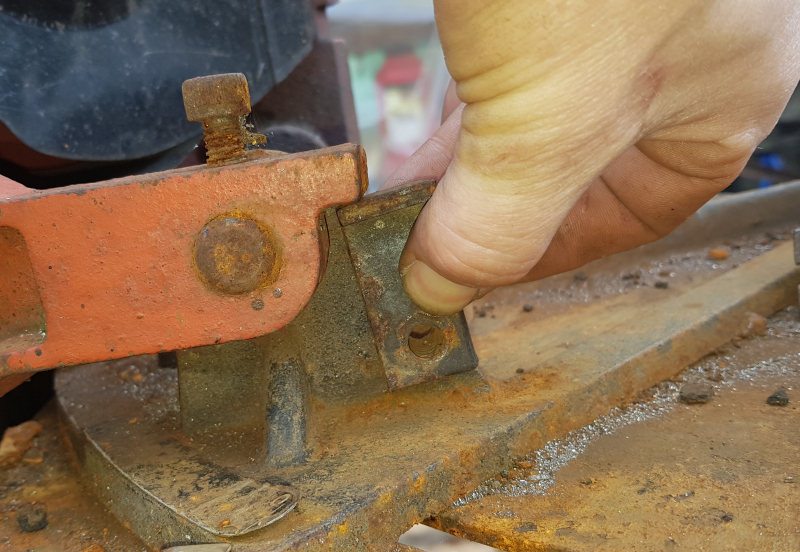
The next part of the saw that was subject to my mad max style modding madness was the saw's vertical position lock, which was as useful as a chocolate fire guard, this likely extends to before it was bent to crap and rusted together, I've not seen such a pathetic attempt at a safety feature, well maybe once or twice but not on equipment that could easily chop your arm off if the safety feature failed:
As mentioned, the bolt and nut were rusted together but did unscrew ok as one unit, though this was due to the fact that the threads in the hole had been torn out and no longer held it properly.
Being a little close to the edge as the hole was, resizing for a bigger bolt would have made a weak point in the casting, so I decided to come up with my own system and make another hole further in to retain structural integrity.
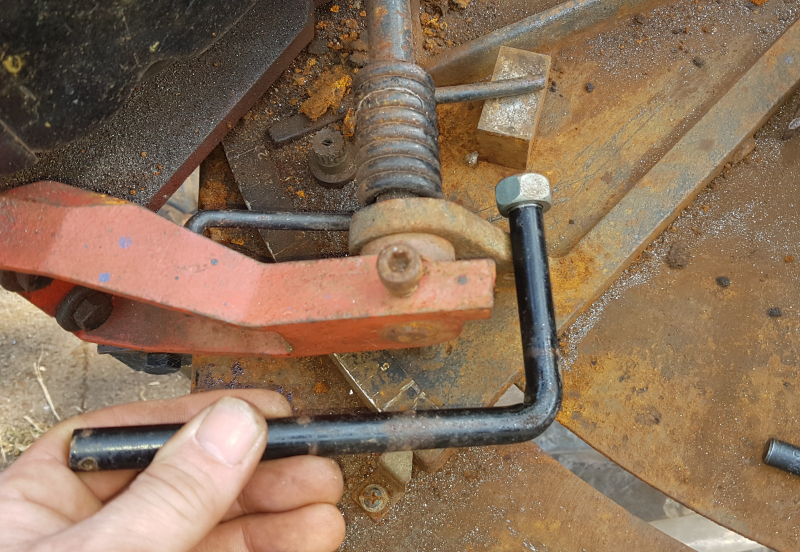
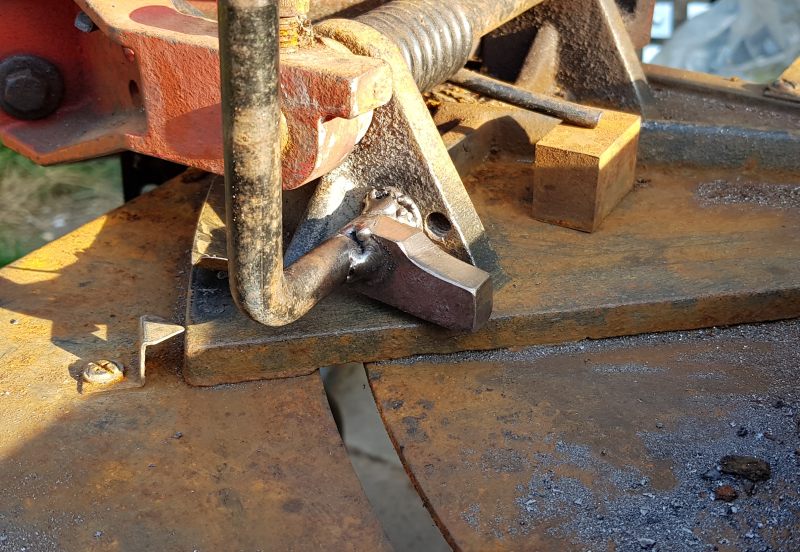
As it happened, I had been given a random selection of 12mm bar and a short piece with a right angle bent at one end was perfect for what I had in mind and threaded the short end about 12mm deep for M12, just long enough for a single nut to screw on flush with the threaded portion of the bar and then farted about for a few minutes with it working out the finer details of the plan:
A handy piece of round with a 12mm hole became my drill guide, though not pictured, I used a couple of clamps to keep it square to the side I was drilling:
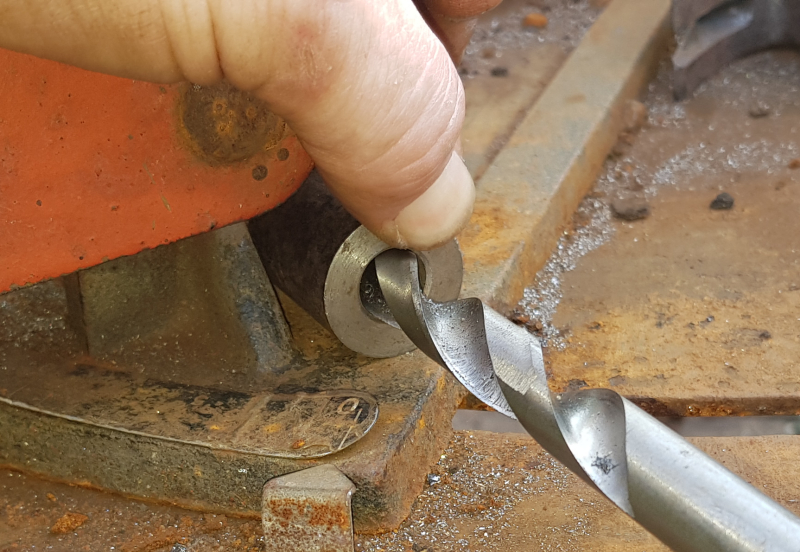
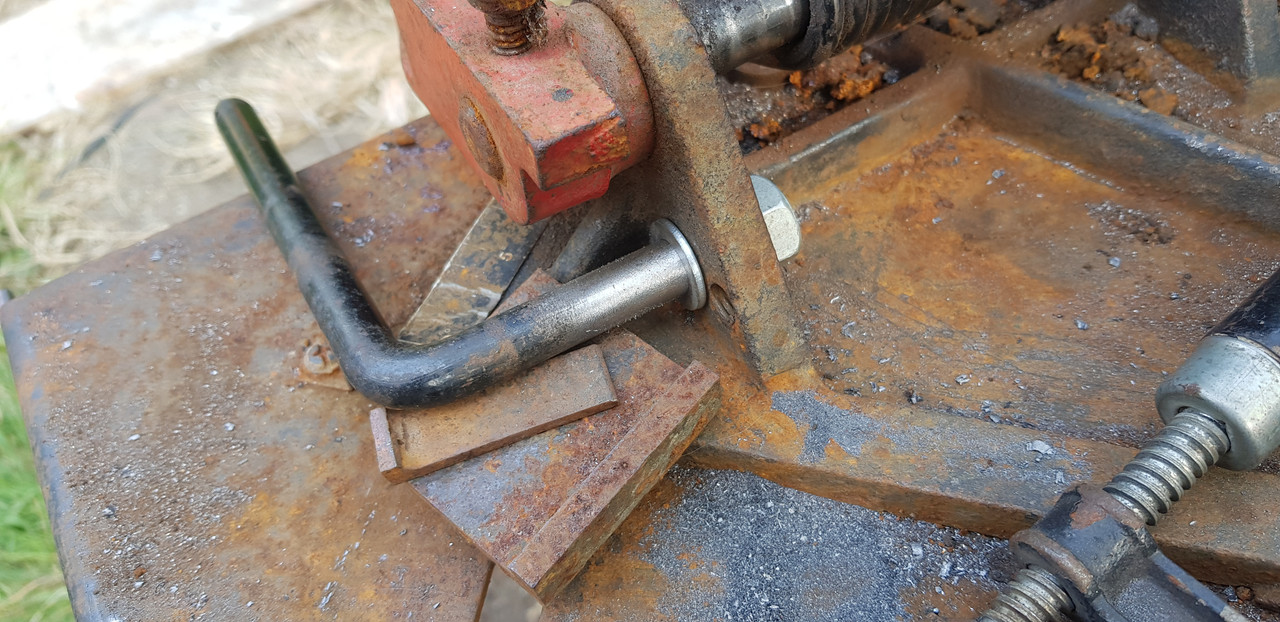
After making the hole, I found a suitable sized washer and drilled out the centre to 12mm and put the "lever" in position with support underneath to keep it lined up:
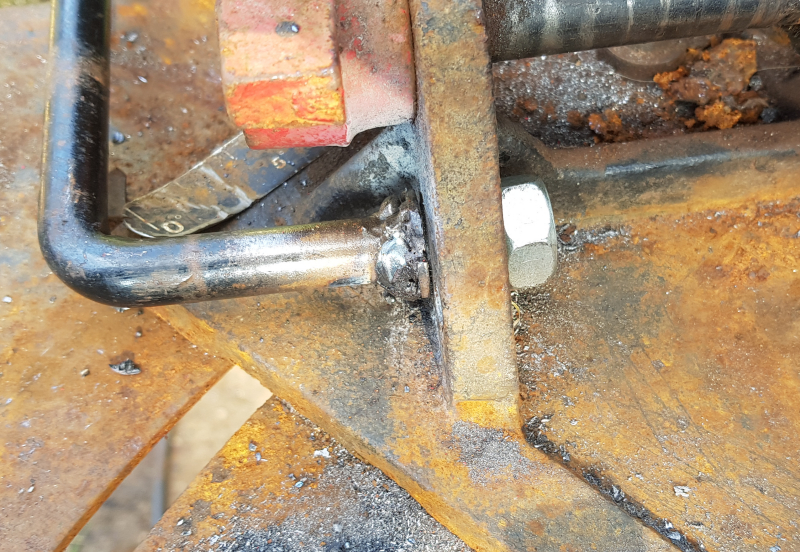
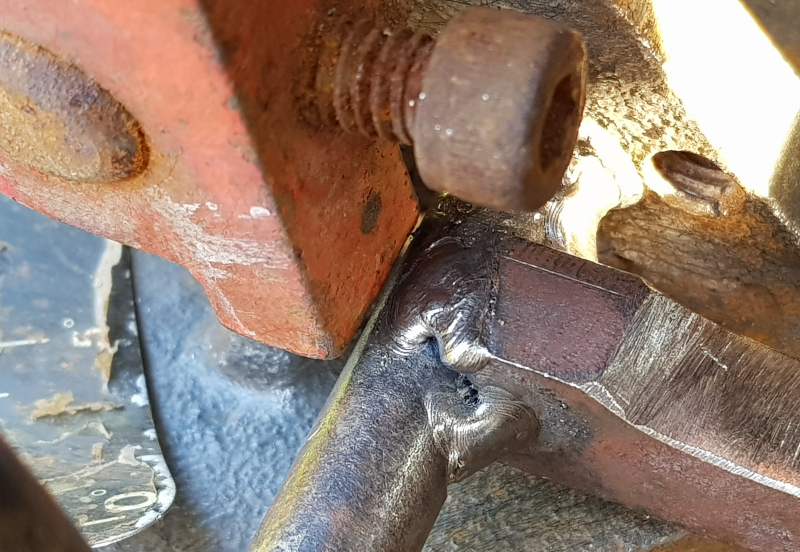
I had some 1.6mm 6013 rods, which I thought would be a good application as I didn't want to blow a hole in the washer but it became painfully obvious I need a lot more practice with them as I made a complete pig's ear of it, so switched back to 2.6mm rods with much better results but did blow a hole in the damn washer, so had to clean it up with the grinder:
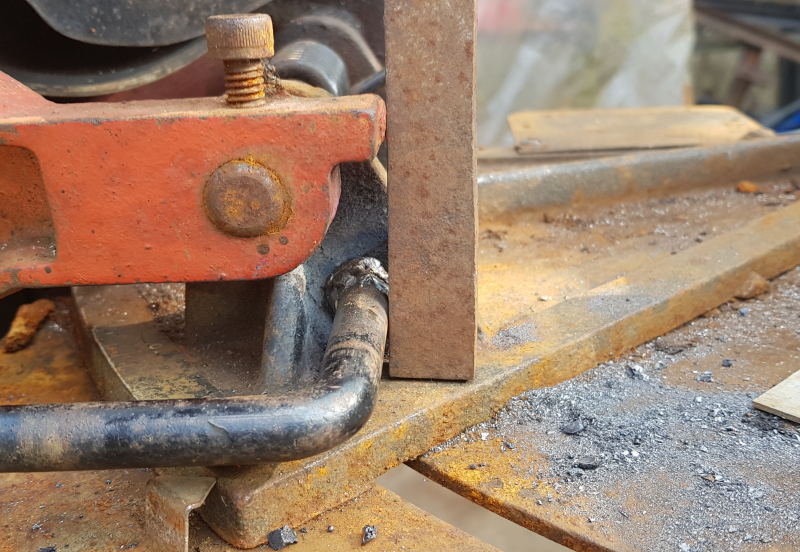
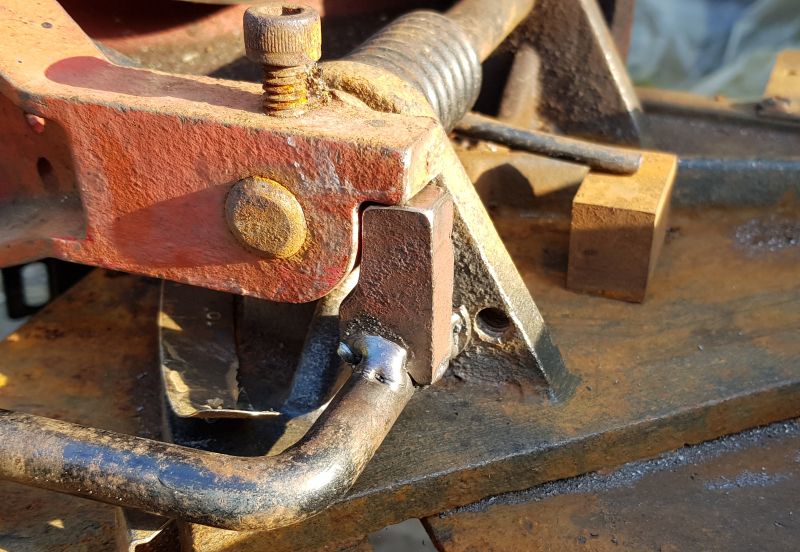
Cleanup wasn't perfect but with it having been so close to being scrapped, I decided to leave as is, which turned out to be an advantage as the lever tightens up intwo spots due to a little bit of the weld I didn't grind away and they are most handily the horizontal and vertical positions
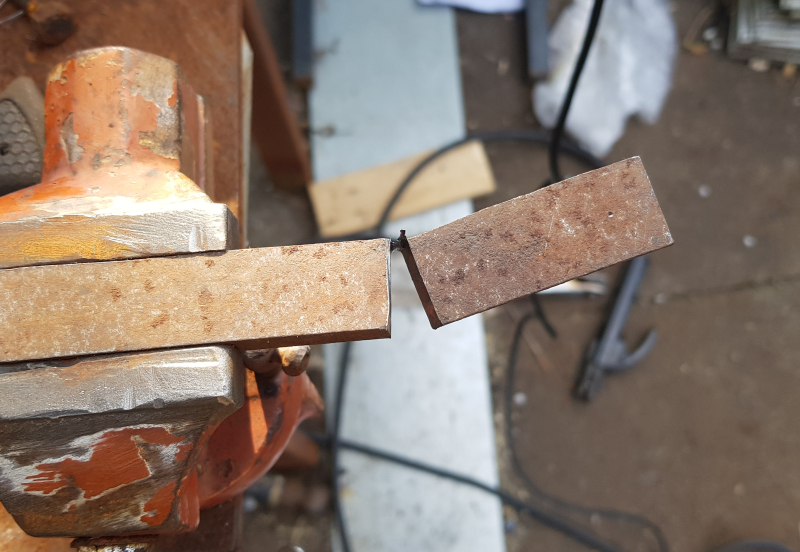
After deciding which position I wanted the lever to be for locking the in the vertical position, I dug around my materials and settled on using some 18mm x 10mm flat bar I had:
I then measured and cut a short section off with the grinder..
...drilled a hole near one end...
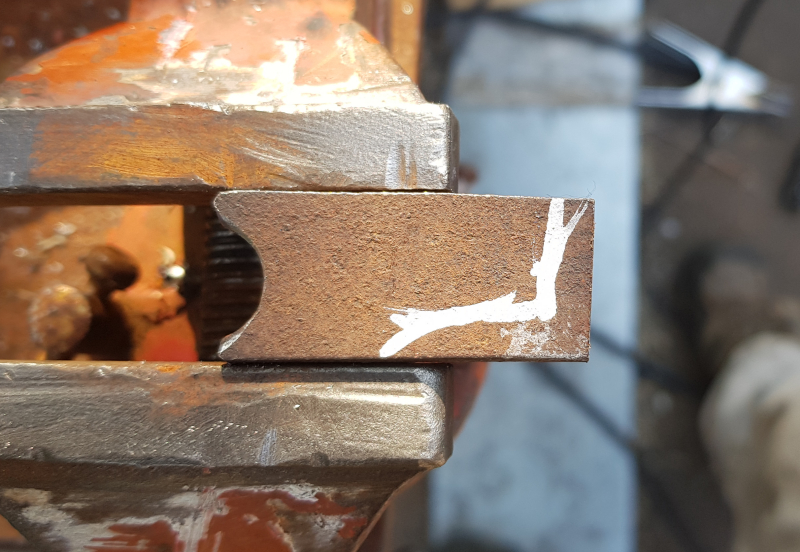
..and then sliced the hole in half to give me the correct profile for welding it onto the lever. The bar was wider than the casting and needed to be shaped, so I marked the area I needed to remove with my chalk pen and used my angle grinder to carve it out:
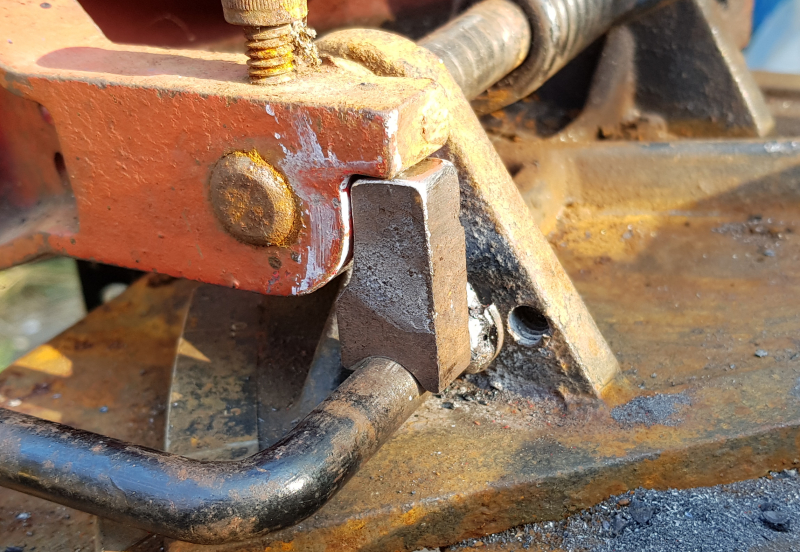
Like a glove
At this point the welds puddles were starting to behave, probably the heat build up giving better results:
As mentioned, the lever is nice and secure in both horizontal and vertical positions and not likely to work it's way out of position due to vibrations, however, in my excitement I hadn't considered clearances, though luckily for me, I ended up with about 1/2mm gap between the lever and the casting so didn't have to make any fine adjustments (phew!)
Not bad for a days fun, though I'm just getting started, there's still a few more things on my "to do" list and will update this thread as and when I finish them.
Stay safe and well and thanks for looking.
Canobi (c:


 LinkBack URL
 About LinkBacks






 Reply With Quote


Bookmarks