Homemade Rotary Table
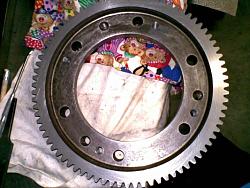
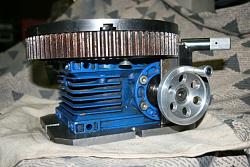
I needed a rotary table to machine circular sections of parts on my milling machine and to drill holes equispaced on a PCD. I had a right angle drive wormbox with an 80:1 reduction, so I figured if I could somehow fix a clamping table to the driven axis then I would achieve what I needed. During my search for suitable plate steel I came across a flywheel from a soil compactor with 80 teeth. This would at least enable me to use divisions of 80. (2,4,5,8,10,16,20) A little restrictive but better than what I had.
First job was to machine both sides of the wormbox, which I did by using and end mill and clamping the driven axis of the wormbox to my milling table and rotating the box by hand, (very carefully I might add).
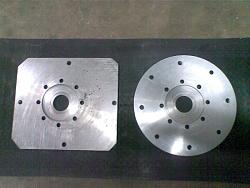
Next was to machine the top and bottom plates to be a precise fit onto the box and to integrate the flywheel under the top plate.
The 10” diameter plates were at the limit of my lathe’s capacity and some care was needed with toolpost placement at times. The pitched holes were all carefully manually marked and drilled as I didn’t have a better method at this stage.
I made a sub-top plate and axle to attach the top plate to the driven gear, machined tee-slots into the top plate and made tee-nuts to suit. Unfortunately I don’t have any photo’s of these items.
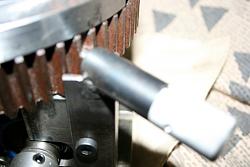
I made an aluminium drive handle with speed holes manually pitched, and a 3 position division locking mechanism. 1stposition- engaging the root of the tooth, 2nd position- straddling the tip of the tooth, 3rd position- fully retracted.
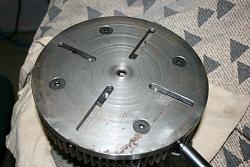
I enjoyed making this table and continue to enjoy using it, and just recently I have acquired another rotary table which has 360 degree divisions with accuracy in minutes and seconds, so this now allows me to cover all possible divisions.


 LinkBack URL
 About LinkBacks





 Reply With Quote








Bookmarks