The net is full of example of DIY touch probes, but when I searched this forum I did not find any examples so here is a post describing one that I made a couple of days back, along with an explanation of how they work and what you need to make them work well. I also describe how I checked for accuracy.
Click for full size.
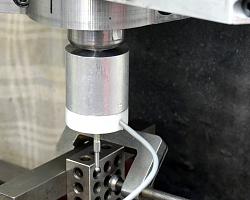
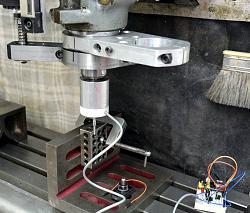
This picture shows a typical use that I have for it. Inspecting a motorcycle crankcase that I made from a solid block.
These probes have numerous uses such as reverse engineering parts, setting workpiece positions prior to machining, 3D surface scanning and part inspection. First invented in the early 1970s for a difficult inspection job on Concorde engines, they are now widely used on milling machines and CMMs (Coordinate Measuring Machines). Some top of the range versions have sub micron accuracies. I was aiming for mine to be better than the 10 micron resolution of the slides and DROs on my mill. Testing showed that I was successful.
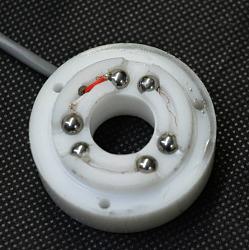
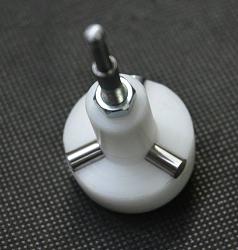
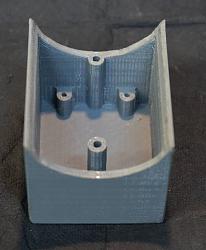
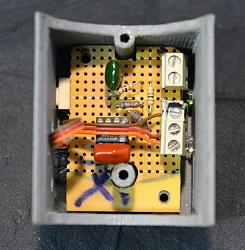
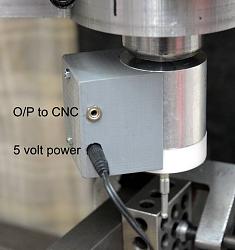
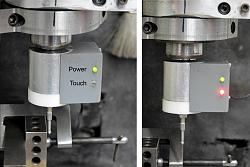
The important bits.
For the full story see a PDF document at https://motochassis.com/FileDump/CNC_Probe.pdf
If I get a moment over the weekend I'll make a video showing the testing procedures.


 LinkBack URL
 About LinkBacks


 Reply With Quote


Bookmarks