Sometimes a project gets made because the right materials and/or components appear, Such was the case of the hand tapping device, the construction of which forms the basis of this post.
Click on thumbnails for full size images.
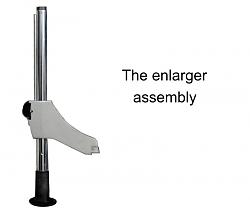
For quite a long time a hand tapper as featured here has been on my rainy day list but it had never risen to the status of do it NOW, That is until out of the blue it occurred to me that parts of my old Russian photo enlarger (from pre-digital camera days) provided most of the bits that I would otherwise have to make. I knew that it would come in handy one rainy day.
The rest of this tool was be made from stuff out of the scrap bin.
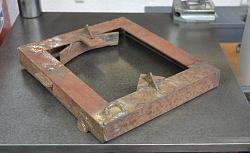
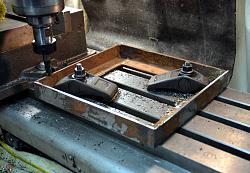
I went digging for some angle iron for the base but that had all been used except for this old piece of frame work,
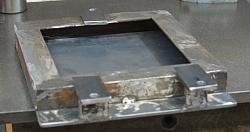
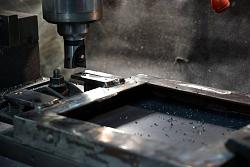
A few minutes with a cutoff blade in an angle grinder soon had it looking more useful. I think that this might have been something that my son used for welding practice and I needed to add a bit more weld in places. Then it was mounted on the mill to flatten the surface to which the top plate would be welded.
Once the plate had been welded on the base was inverted and three feet added.
These were then machined flat to give a plane surface to machine the top surface from.
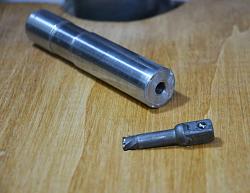
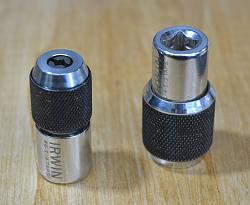
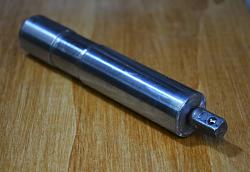
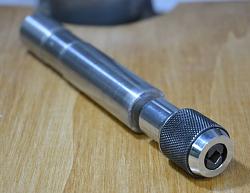
The tap driving spindle was made from a piece of Thomson shaft fitted with a 3/8" square to drive a Erwin tap holder.
The best way to follow this build is to watch the 24 minute video on Youtube at
This video discusses in a lot of detail how the logic behind various features evolved as well as an explanation of how drill or mill powered tapping heads work.
BTW. the welding shots were done with the method described in my post of a few days back http://www.homemadetools.net/forum/w...welding+videos


 LinkBack URL
 About LinkBacks


 Reply With Quote


Bookmarks