Prologue: Glamour shots
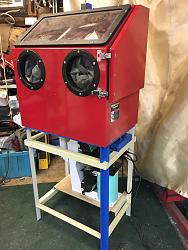
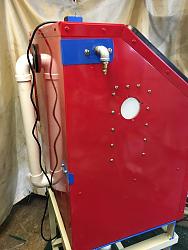
Fit the first: the stand.
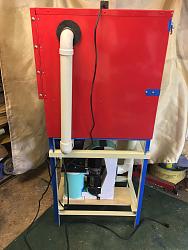
Though it looks planned, the real reason I built it in this 2-box style is that I'd bought 70 L-shaped things (no idea what they are) at Purdue Surplus that were made from 1 1/2" x 1/4" L-channel with one 27" leg and one 15" leg. I wanted this stand to be 32" high, so I had to stack them. It would have been much easier to just weld two bits together to make one 32" tall leg, but that's not how I roll. It turned out to look better this way, and it provided more mass in a compact space (it weighs 65 lb). I decided to not add wheels or feet. I'll fabricobble some socketed bolt-on feet later.
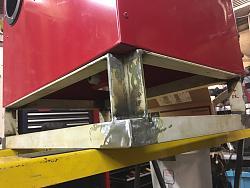
Fit the second: the exhaust fan.
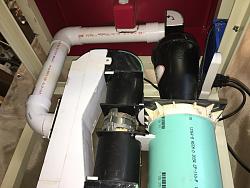
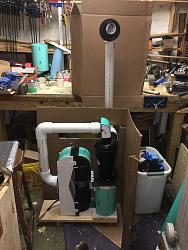
I took advantage of the dead space under the cabinet for the air tube from the cyclone to the fan intake plenum.
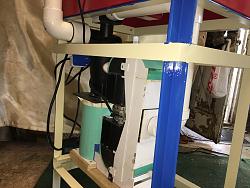
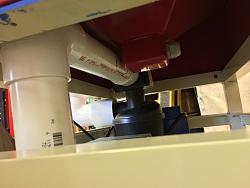
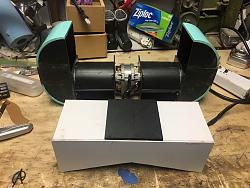
This whole thing was built around the black stovetop hood fan. Other than the fan and the Chinesium cyclone, it's entirely made from PVC (arbitrary rule). It's 1/4" and 1/8" Celtec board and PVC piping. Looks were not a concern with this part of the project. I just cut, carved and bent stuff as I went along.
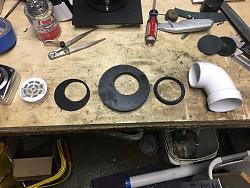
This was a botched part that I repurposed as an elbow.
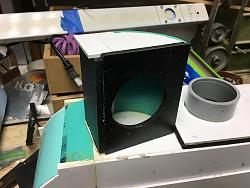
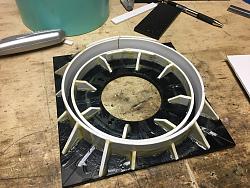
This is the vortex mount / catch bin lid. It is removable and makes a nice seal.
I wasn't sure how long the pipe should be, so I made this is a rotating adaptor the original air intake port on the back of the cabinet. The part in the center rotates. The rest are glued together.
This is a slip-on adapter to connect the metric vortex to the SAE piping.
Attachment 23751
This is the CAD file I used to mock up the fan unit. I mis-measured a bit, and the tall pipe is about 1/2" too short.
Fit the third: the lights.
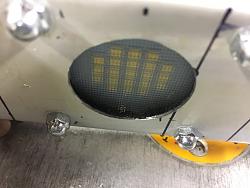
I gutted two mini LED work lights from Rural King, and they happened to fit the filler panel that was between the freezer and fridge doors on our old fridge. The same one that donated its doors and shelves to my lathe table. They're printed onto aluminum sheet, so don't need a backer and computer standoffs were perfect. The glass is an oven light lens. It diffuses the light and will survive whatever heat the LEDs put off. They're cushioned on both sides by neoprene foam.
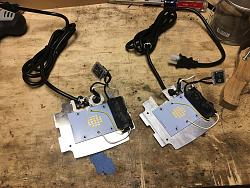
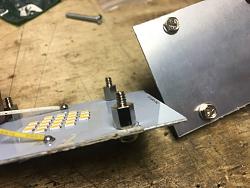
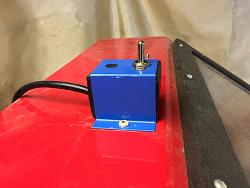
The light switch box was salvaged from the same fluorescent light that donated the ballast box (now the wiring/switch box for the fan). The plastic is a scrap of ABS that I heat-bent to fit. This part tuned out quite nice.
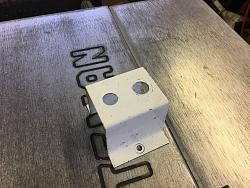
Fit the fourth: the cabinet mods.
Some of these can be seen in the glamour shots.
I relocated the blast air inlet to the top of the left side panel, added a swivel joint to both ends of that air hose, which I made from a heavy-duty air hose.
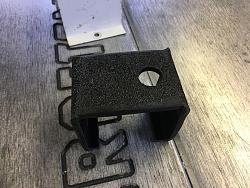
I made a cover/guide for the air inlet (formerly exhaust port) from the back panel of a drier cabinet. The number of bolts may be excessive, but it allowed for even clamping without distorting that panel (it's spaced away from the wall with neoprene foam).
I replaced all of the craptastic sheet metal screws with bolts & nuts or steel rivets.
I replaced the short power cord of a small power strip with an 8' power tool cord, and bolted the strip to a panel under the light switch. The lights and fan plug into this. It could double as a big, bulky extension cord.

I painted this when I painted my bandsaw stand, and it's just as much a Monet. As usual, the colors are inspired by 80s BMX freestyle bikes. This time, SE racing (almond tan) and Haro (red & blue). I used cadmium plated bolts left over from my Shedipede because they looked right.


 LinkBack URL
 About LinkBacks



 Reply With Quote







Bookmarks