Hi folks
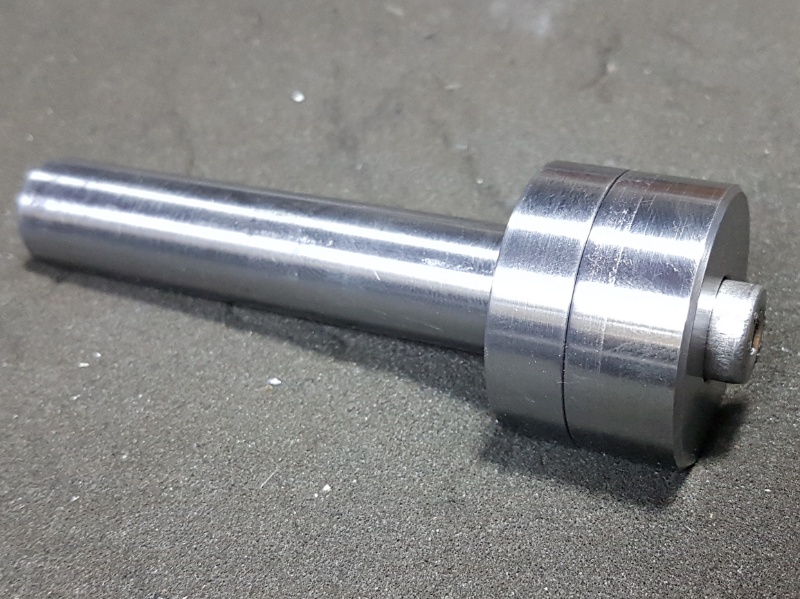
I made a mini slitting saw arbour not long ago but since it isn't up to holding proper grown up slitting saws, I made it a big brother.
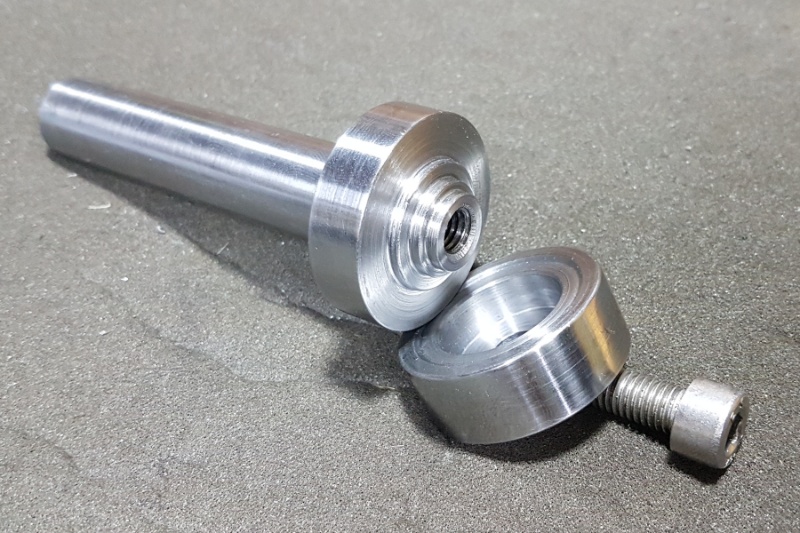
Other than being of a harder material (again) both parts were straightforward turning/drilling/boring so I didn't take WIP pics this time:
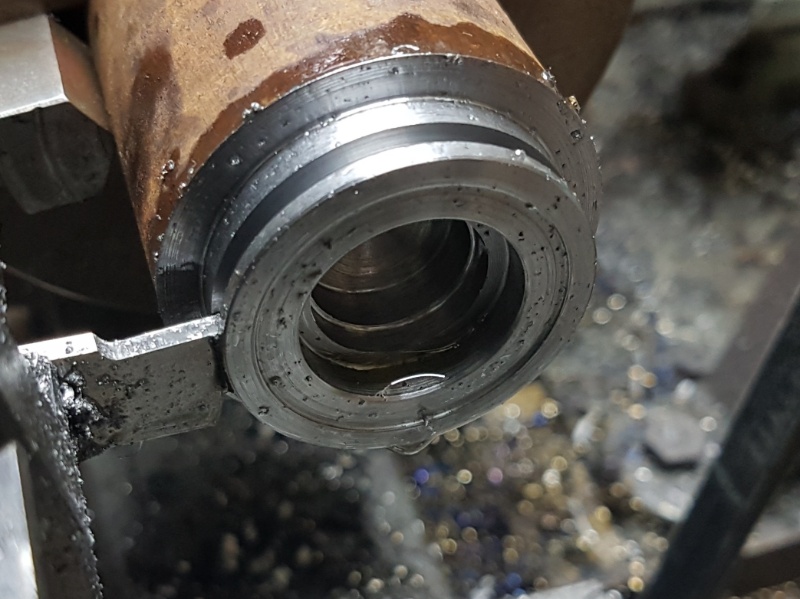
I decided to make the arbour with a stepped boss arrangement, each being 2mm deep that would take saws with 13mm, 16mm and 22mm bores as I can also use it for other disc saws and cutoff wheels I have in my workshop.
Initially I was going to cut flats on the main arbour flange for a regular spanner but found I don't have a spanner big enough and I'd end up losing a good portion of the flange, so I opted to make a c spanner for it instead. I figured this build would be far more intersting to document, so here we go.....
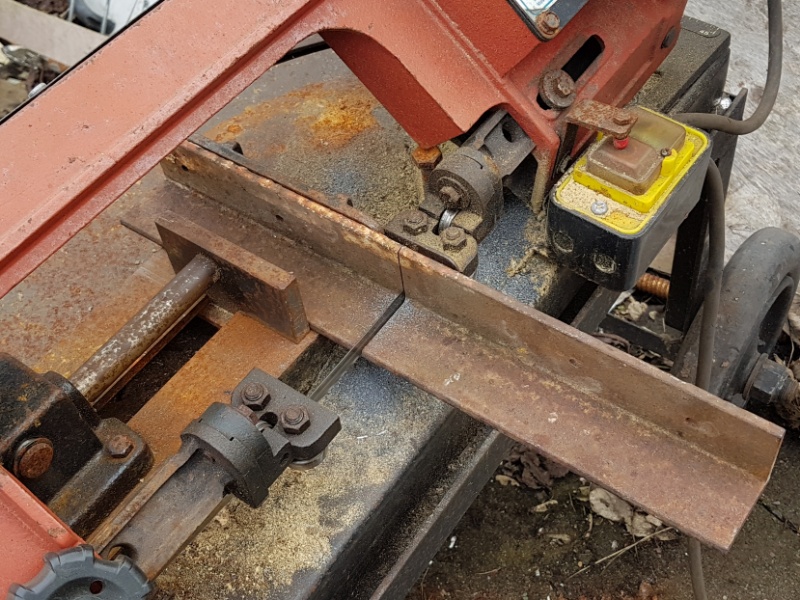
After selecting a few things I could make one from, I opted to carve it out of a length of 5mm thick right angle that I'd been given by the local garage:
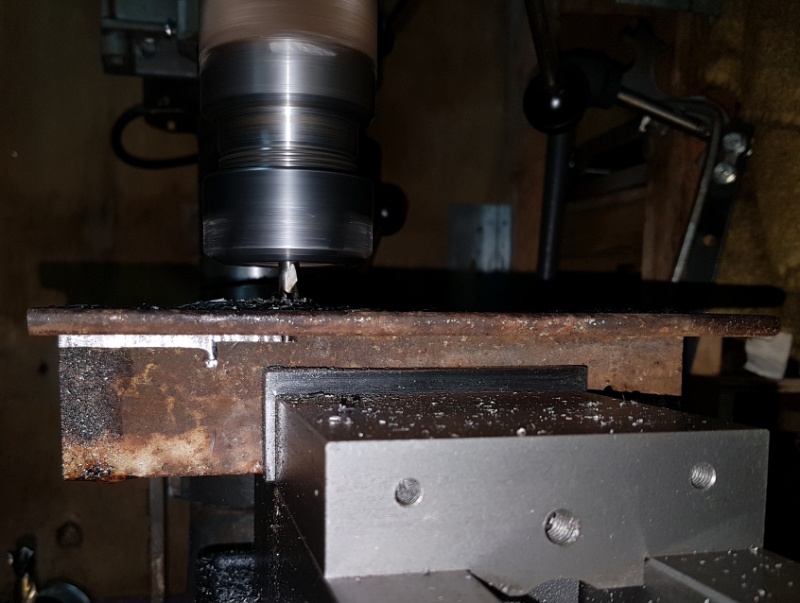
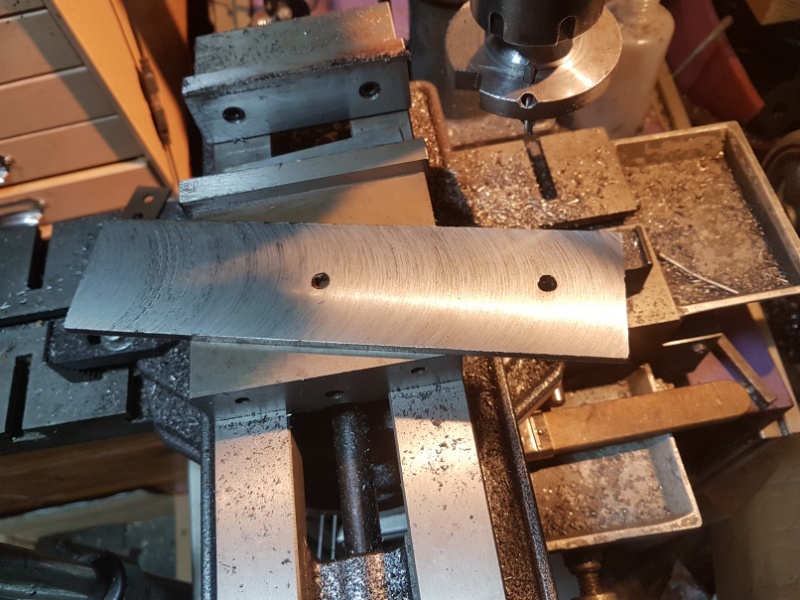
The piece was too long to clamp it virtically in order to cut it lengthways using my power hacksaw, so I stuck it in the mill vice and used a 6mm four flute endmill to cut one of the sides off instead, though not optimal, it was far safer than what I had considered attempting earlier:
After the peice was cut, I got it as level as I could in the vice and used my sturdy flycutter to clean it up:
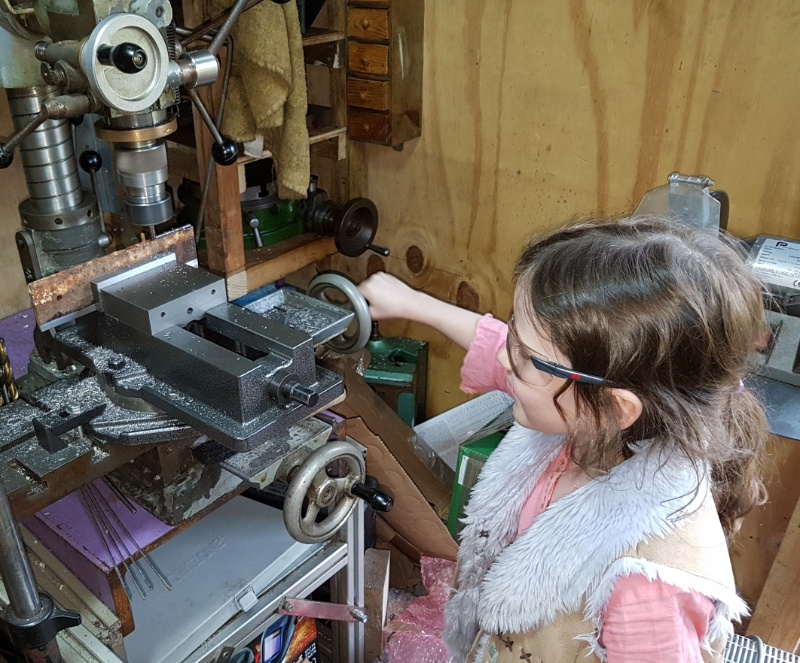
At this point, I was surprised to discover I'd garnered the keen interest of my young daughter, who has already shown a high level of common sense and caution around my dangerous machinery, so on her behest, I adorned her with safety squints and tentetively let her take the rains on the mill while squaring the edges (no flies on this one I can tell you, she has the knack too, her feed rate was bang on ):
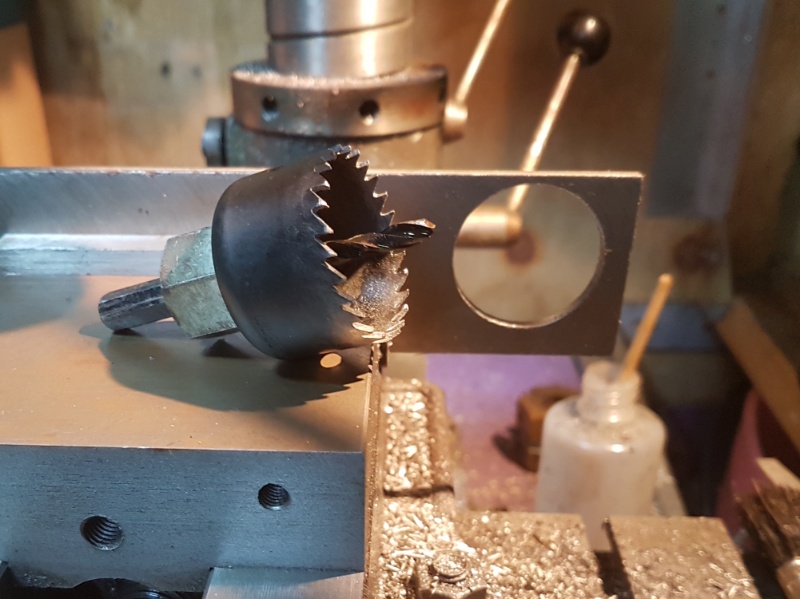
With the piece cleaned up and my new young apprentice having taken her leave, I dug around for a hole saw that was closest in diameter to the arbour flange and drilled a hole biased to one side of the bar:
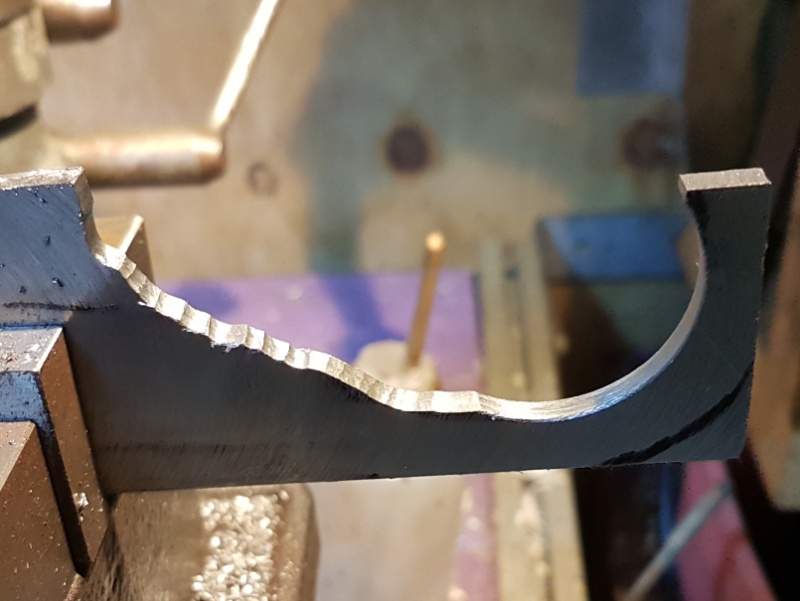
There was a lot of material to remove so I took the chance to play around a bit and used my mill like an "Ech-a-Sketch" to carve out the swan neck below the c. Got a bit close my rough drawn outline but all went well, so I then trimmed off the excess from around the handle using more traditional milling methods:
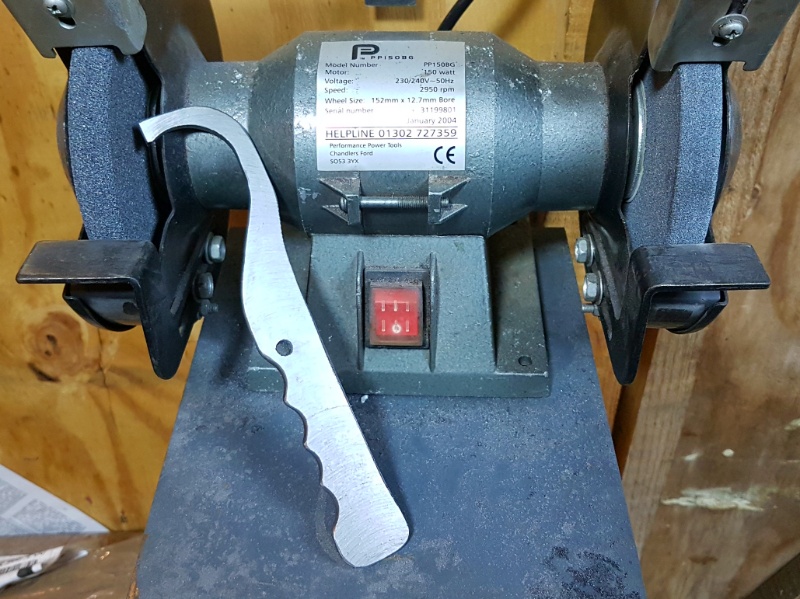
I then used a bench grinder to fine tune the main shape some (not sure why I added the finger indents, must be watching too many knife making videos):
To make the hook, I used part of a shank from a broken 3mm endmill. I thought it was HSS at first but after going through two cut off discs using my dremal and only just about scoring a line in it, I figured it must be carbide. Still, with a score line made, I was able to snap it off to the right length.
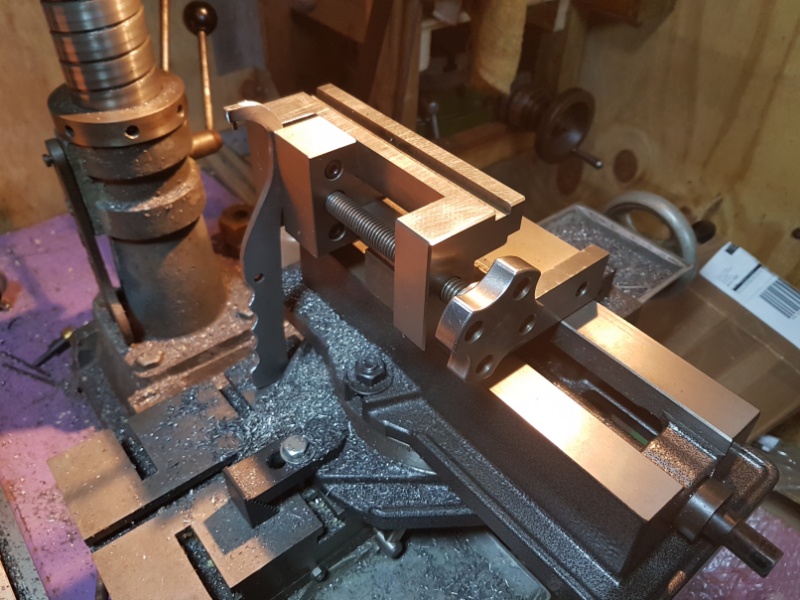
Setting up to drill the hole for the hook was a bit of fun. Best practice being to clamp the part as close as one can to the area being drilled, which my short vice was not going to be able to do on it's own. I didnt want to have to tear the vice down to make a rig after having just trammed it in, so I opted to move the jaws to the outside and use it to clamp my toolmakers vice on it's side so I could at least hold the spanner virtically:
I got the angle of the hole wrong a couple times but after having a word with myself, I eventually got it right. The good hole turned out to be a bit oversize and the superglue i have (620) wouldn't set properly. So I cleaned off the peg and then proceeded to grind off the part of the nose with the dud holes in it and tried again while it was still good and hot.
Worked a treat that time as the hole had shrunk just enough to be a good fit for the peg and the extra warmth had the glue set sharpish
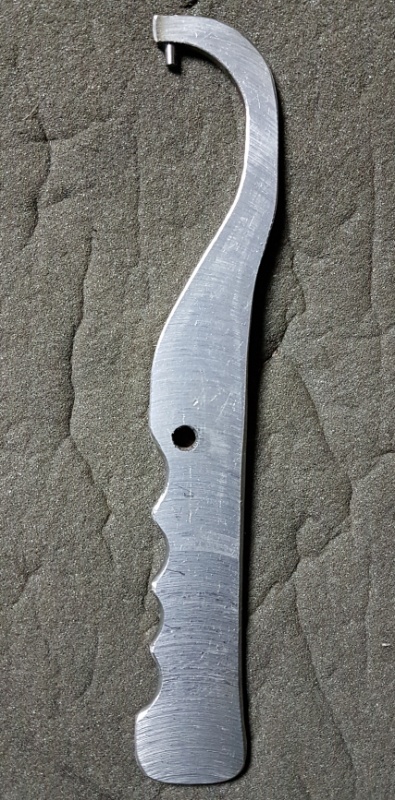
With the peg in place, I used a half round and did some hand finishing, though I mostly just took the edges off as I like it's rough and ready look:
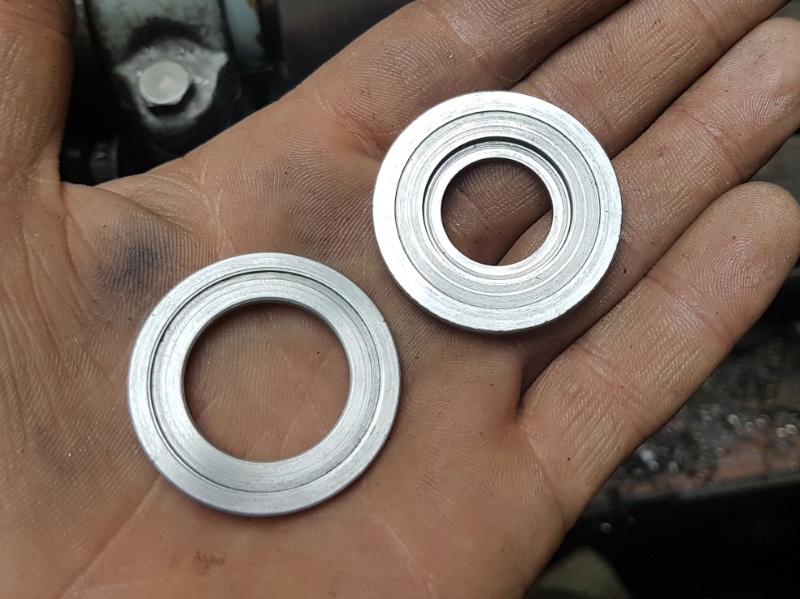
To finalise the build, I figured it would be prudent to make a couple backing spacers for the 16mm and 13mm bosses if I ever plan on using very thin slitting saw discs with tbose bores as there's good chance they could warp under high clamping pressures:
The one on the left is 2mm thick and fits snugly around the 22mm boss, the one on the right is 4mm thick and fits around both the 22mm and 16mm bosses.
Well, that about wraps it up for this project, until next time, stay safe, have fun and keep those chips flyin'


 LinkBack URL
 About LinkBacks



 Reply With Quote


Bookmarks