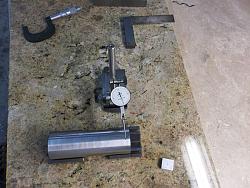
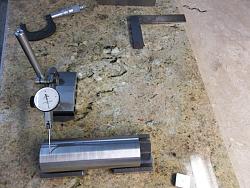
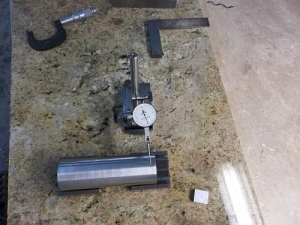
I made this square from a piece of 2" Round 6" long 4140 Heat Treated round stock. I was over at my metal rack and noticed the piece of stock sitting there, I mark all my alloy steels for future references.
I wondered what could I make with it, So I took it to the table and sit there with it in my hand just turning and looking at it, Then it hit me, I'll make one of those cylinder squares !
I started out by sawing the stock down to 6.060" long, It was like 9", I then chucked it up, Faced both ends to about 6.015, Drilled a #5 Center drill in each end, Undercut each end .060" deep to a 1.500" Dia. Then put it in the milling machine and drilled and tapped a 1/4"-20 hole in one end for the drive, All those measurements are on the attached drawing.
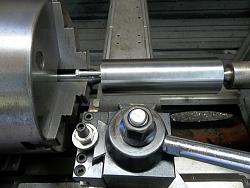
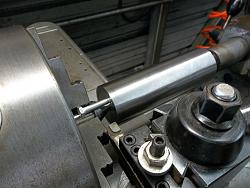
Once that was all done I set up the #3 dead center in the tail stock of the lathe, I didn't remove the 3 jaw chuck because I have a hardened dead center I made for the chuck, I simply take a carbide bit and true up the 60 deg. center while it's chucked up in the lathe. Now both centers are as dead nuts as I'll ever get them. I screwed a 1/4" bolt into the drive hole of the square to act like a lathe dog and let it rest against one of the jaws of the chuck. Now I can turn the O.D. and machine both ends all at one time without removing the square from the lathe. Don't forget to grease the dead center in the tail stock.
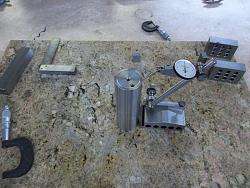
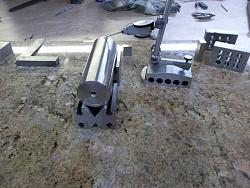
I ground up a carbide turning tool with about a .125" nose radius and a very fine feed, Took about .005" cut to see how straight the lathe was cutting, Come to find out I had a .002" taper, So now comes the fun part ! I put a dial indicator on the tail stock and moved it .001" over and took another cut of .005", Check it and it was about .0007" out. I did this about 5 times before I finally got it to .0002". I didn't use any emery cloth or any abrasives to help true up the O.D. The large radius on the tool gave a beautiful finish and that's what I wanted, I then took a left and right carbide tool and machined each end only taking a couple .002: per pass until the ends were the same finish as the O.D.
Below are some photos
As always thanks for looking and happy machining
Doug
Click here for a free set of these plans http://www.homemadetools.net/forum/f...re-plans-46233
Click here for a free set of these plans http://www.homemadetools.net/forum/f...re-plans-46233


 LinkBack URL
 About LinkBacks



 Reply With Quote




Bookmarks