I have three different sizes of countersinks that pretty much cover everything I need to do; I noticed a while back that a couple of the most commonly used countersinks were not cutting very efficient anymore and I would soon be making a decision on whether to buy new ones or to make a re-sharpening fixture for the surface grinder, good countersinks are relatively expensive I just couldn’t see paying for new ones which would have been around $90.00 when all I needed to do was touch up the cutting edge a little on the old ones.
All my countersinks are 82° and single flute; I have used multi fluters over the years but the single fluters work the best in my personal opinion, so naturally this fixture was made with a one lobe cam to sharpen only single flute countersinks, but it could be made to sharpen multi fluters easily with the appropriate cams, a three flute countersink would need a cam with three lobes a four flute would need four lobes and so on.
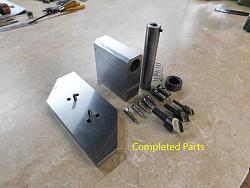
I didn’t want to spend allot of time making this fixture nor did I want to take out a loan, so it was manufactured from what was available on the shelf. everything was made from 1018 steel except for the single lobe cam which is hardened 4140 and the aluminum rotating knob.
The cam has a .030” axial movement for one complete revolution of the spindle; this is what gives you your cutting edge relief.
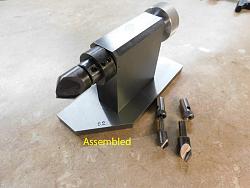
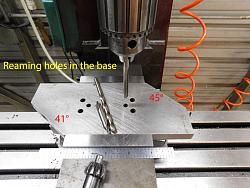
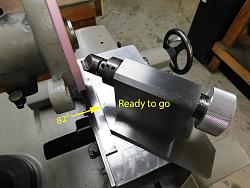
This fixture will sharpen single flute countersinks with 82°or 90° angles, the spindle of the fixture was made to accommodate 1/2” shank cutters, I made two additional collets that was 1/2" O.D. with 1/4” I.D. and 3/8” I.D.holes to accommodate cutters with 1/4” and 3/8” shanks, the base of the fixture is machined on each end with 82° and 90° angles clearly stamped, all that is required to use this fixture is to sit the base down on the magnetic chuck with the corresponding angle you want to sharpen up against the back rail of the magnet, align the cutting edge of the countersink with the cam lobe, then lock down the set screw and sharpen away.
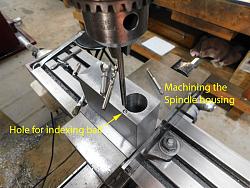
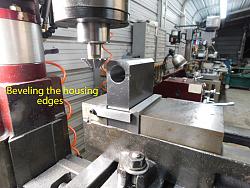
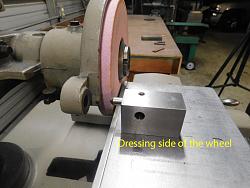
I have included a couple photos of the setup and machining along with a short demonstration video of the setup and sharpening process.
As always thanks for looking and happy machining
Doug


 LinkBack URL
 About LinkBacks



 Reply With Quote


Bookmarks