Hi All
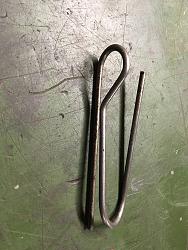
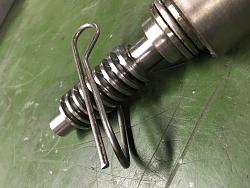
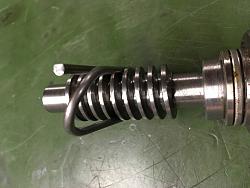
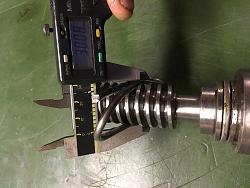
When machining worm shaft for the rotary table modification I am currently working on. I had an issue on how to check that I had machined to correct depth as I had no gauge to check fit before removing from the lathe. As I had removed original worm shaft from table, I decided to use the 3 wire method to check correct depth was achieved. I didn't have any thread wire gauges so decided to bend a piece of 5/32" rod as this fitted in the Vee-form nicely and was high enough to measure over the top of rod. I produced Mod 2 form tool using a tool and cutter grinder so was reasonably confident profile would be correct so the only thing I needed to worry about was the depth. I know this method is used to normally check the effective diameter and thread fit but this worked and enabled me to compare original worm depth to new worm. The photos below will hopefully clarify this method.
Wire gauge bent from 5/32" rod
Wire gauge in place ready to be measured with caliper
Another view of wire gauge in place for clarification
The gauge is a good tight fit over worm and is slightly sprung to keep in place and ensure all three wires are snug in the vee-form of worm
Measuring over the wires.
Both shafts measured the same across the wires and when the new shaft assembly was test fitted there was no play and moved table smoothly.
Thank you for taking the time to read
The Home Engineer


 LinkBack URL
 About LinkBacks


 Reply With Quote


Bookmarks