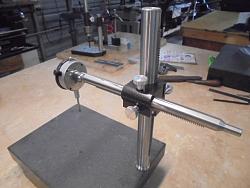
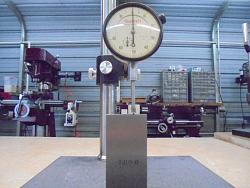
This tool was designed to be used as a height comparator, for measuring recesses and shoulders, checking for flatness and parallelism; small shafts can be checked for straightness with the aid of a pair of v-blocks, it will hold a drop type indicator or a dial test type.
This comparator is no different than any other comparator, the only difference is the adjusting of the indicator, this comparator uses rack and pinion gears to adjust the vertical and horizontal positioning of the indicators which gives the advantage of finer adjustments in both directions. This comparator uses a surface plate that has two ledges, this is so you can adjust the position of the column and then lock it down by the cap screw under the ledge.
Plans for this tool will be available soon
As always thanks for looking and happy machining
Doug
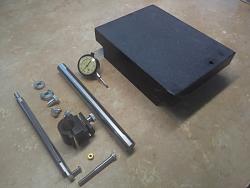
All parts machined and ready to be assembled
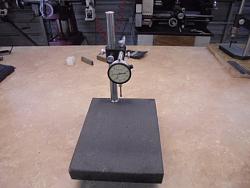
Looking straight on
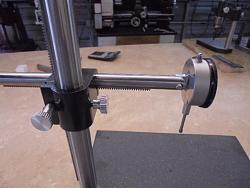
Close up of the yoke assembly
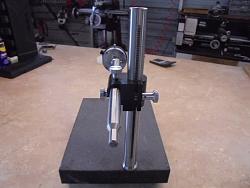
Showing back side
Showing at an angle
Setting the height to 3.000"


 LinkBack URL
 About LinkBacks



 Reply With Quote


Bookmarks