My late 1940's Clausing model 111 mk3 lathe came with no gear train shroud, and my brother kept after me on the dangers of running it with those open gears spinning away. Finally, I decided something needed to be done. My first step was to make a wireframe full sized model just so I could get the feel for the curves and perhaps some insight on how to go about making one from scratch. I wanted to make the entire shroud out of at least 1/8" steel. The wireframe also helped me with clearances on gears and the sliding gear. I had no drawing, so I depended on images I found via Google. The wireframe will be tossed when I'm done with this little project.
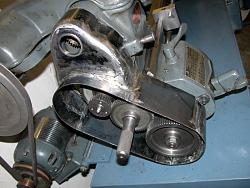
Next, I formed an outer frame from 1/4" CRS, striving to make it fit as
close to the online images I'd downloaded.
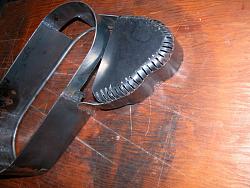
Now it was time to start bending and tack welding the sides. The upper strip
is 2" wide, and the lower is 4" wide, all from 1/8" thick steel.
By making a form about 3/4" oversized from the pattern I now had, I began
making 1/16" slits about 1/4" apart around the periphery, and bending them into
shape with pick hammer and visegrip pliers. I did not have a large enough sheet of 1/8" plate to do the entire form in this area, so I was forced to patch it together in pieces.
You can now see where this is going. Probably WAY too much effort going into
this, but I wanted it to look nice and be stout. I did consider making it out
of fiberglass, but gave up on that.
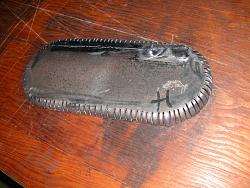
Below, shown with the mounting tabs welded on and the upper part formed and
rough sanded with a #60 flap disc. I stopped long enough to make the steel
ring insert for the spindle access hole.
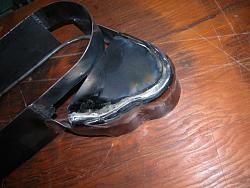
Now I was ready to make the end plate. Same process, but it went a little
easier since it was so straight forward.
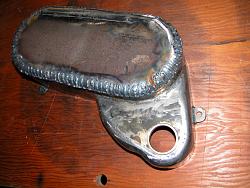
Below, after about an hour of TIG welding.
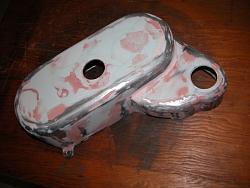
After cutting another large holes and some final grinding and sanding, I
gave it a very thin coat of bondo and did some final sanding.
Next I put down a couple of coats of high solids primer and shot it with a
light coat of white to help spot trouble areas before final painting.
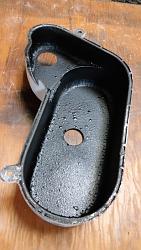
I used a high speed handheld grinder with a carbide burr to remove evidence
of welding burn through areas, and shot a coat of auto undercoating on the
inside. Not that it will help with the noise, but it does make it look a little
better.
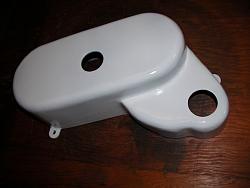
Finally, a final coat of paint. Color not matched very closely, so I may try
to darken up the enamel a little with some black myself.
Obviously not an exact duplicate of the original, but fairly close. Most photos I see show another smaller (1"?) hole in back of the sliding gear, towards the headstock, but they don't appear to line up with the upper mounting stud on the quadrant, of any of the gears, so I'm not going to drill that one in.
Dan L


 LinkBack URL
 About LinkBacks




 Reply With Quote


Bookmarks