There are many ELS (Electronic Lead Screw) and Lathe CNC projects on the net. This post shows my take on it. It is a lathe conversion which I guess is between ELS and CNC. I just call it an electronic lathe.
Here is a list of the lathe's automatic functions in addition to retaining full manual control, albeit fly-by-wire;
Multipass turning, boring and facing in either direction.
Multipass RH or LH threading, external/internal, in either direction and taper threading.
Tapers, big to small and small to big
Curve machining, concave or convex.
I have just made a video to introduce a series of videos describing the whole build. You can find it here:
Enjoy the video and please like and share. Do not forget to subscribe to my channel and click the bell shaped icon to ensure that you get notified when the other videos in the series get published. Which will be located in this playlist;
https://www.youtube.com/playlist?lis...phh8KleeqPiqpz
These will show both the mechanical and electronic hardware construction and modification, as well as the control programming.
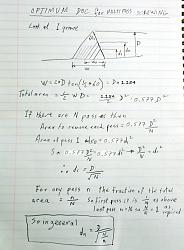
There is a bit more about this project in a recent post about the optimised threading that I programmed into the control Screwing without screwing up.
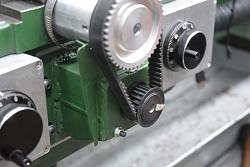
I did not start out to build this but the project just grew. Some time back I converted the cross slide ACME screw to ball screw. That is described in this previous HMT post
Lathe cross slide conversion to a ball screw
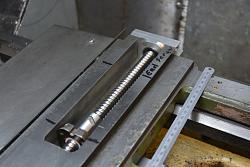
Click images for full size.
I was so pleased with the smoothness and precision that I decided to replace the main Z axis leadscrew also. The ball screws do not have half nuts so it meant that it would have to be motorised and that meant that I would need motor drivers and some form of control. I thought that if I was doing that to the Z axis I might as well do it to the X axis also.
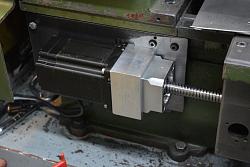
Then I would have all the hardware needed for a CNC conversion except for a CNC controller which are available quite cheaply. I did NOT want a full CNC. I wanted to retain full manual control but with some common lathe tasks automated. The manual control is fly-by-wire controlled by MPGs (Manual Pulse Generators).
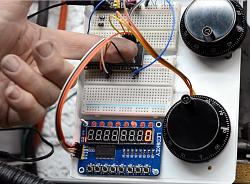
An Arduino was my first thought for being the controller brains but the base models could not produce a high enough pulse rate for the rapid movements or the coordinated movements of turning tapers or ball ends. I chose to use an ESP32 micro, which is like an Arduino on steroids. The ESP32 is circled below and the finger shows the small size of an amazing amount of computing power.
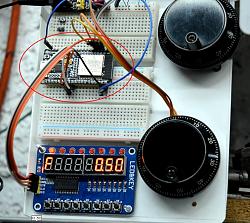
For entering the control demands I use a small and unbelievably cheap display, "LED&KEY" with buttons as shown here.
I was planning on using a touch screen display before I saw these. The buttons are very close together and could easily result in two being pressed together. To avoid that I made different length buttons shown in the second photo below.
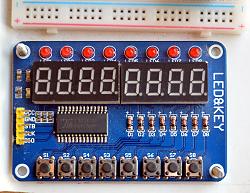
Clough42 has a long series of videos about his ELS build and it was the first of these which alerted me to the "LED&KEY" devices. Thanks James, you unwittingly helped out. Here is his channel https://www.youtube.com/c/Clough42


 LinkBack URL
 About LinkBacks


 Reply With Quote



Bookmarks