I have just completed my aluminum melting foundry and thought I would share my build. I have been doing a lot of research and watching videos for the last year. I finally found sometime to start working on this just before Thanksgiving. It went together pretty well and I have been having a lot of fun with it so far.
*****PHOTOBUCKET HIJACKED MY PICTURES SO I HAVE EDITED THE POST TO ADD THE PICTURES BACK. THEY ARE NO LONGER IN ORDER TO MATCH COMMENTARY MADE WHEN THE THREAD WAS STARTED. MORE PICTURES AT THE END OF THE THREAD.
I started with a disposable helium tank I found in a field. It has a 12" diameter.
Tank with lid removed.
I added some additional material to the lid to help hold the refractory cement.
Drain welded at the bottom.
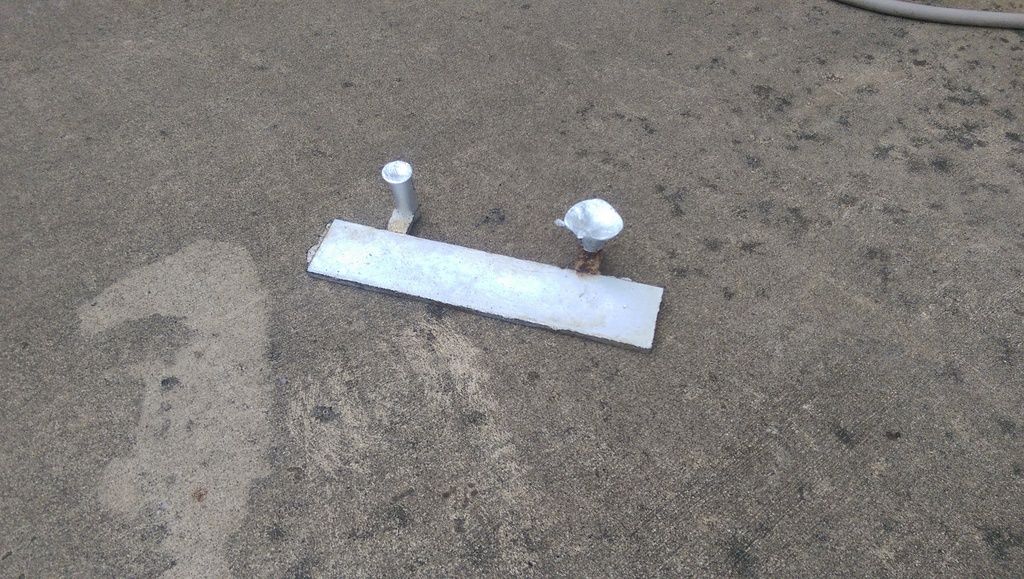
Studs welded in the lid to hold the cement.
Refractory cement added with a cup in the middle to form the vent.
Base layer poured into the furnace.
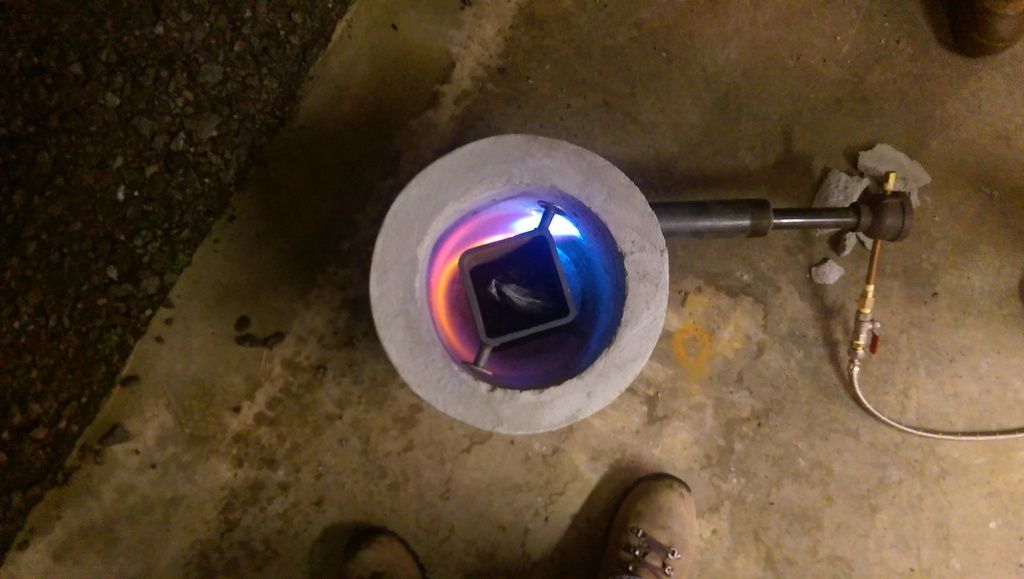
Tube added for the propane burner to enter the furnace.
Reinforcement studs added to help hold the cement.
Furnace walls poured with an 8" tube forming the middle.
Cement dry and 8" form removed.
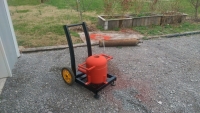
This is a cart I made to move the furnace around. Particularly after a melt when it is too hot to handle.
After cleaning it up and some paint.
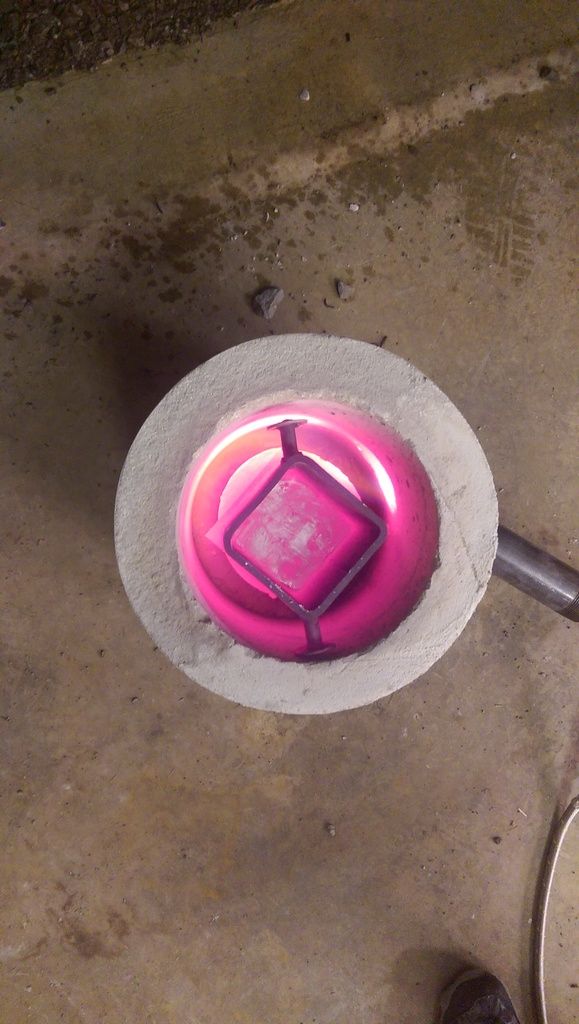
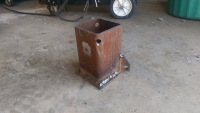
Here is my crucible. It is made from square pipe and 1/4" plate.
These are the tools used to remove the hot crucible from the furnace.
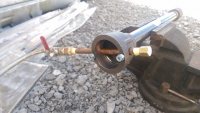
I am using a Reil style burner. It has a 2.5" to 3/4" bell reducer on one end of a 3/4" pipe and a 3/4 coupling on the other. The tube feeding the propane is a 1/8" brass with a small jet hole directed down the burner tube. The coupler and reducer were both milled to remove the threads on the incoming and outgoing sides. The burner if feed from a standard propane tank with an adjustable regulator.


 LinkBack URL
 About LinkBacks


 Reply With Quote





Bookmarks